
This post may contain affiliate links, read my disclosure policy for details.
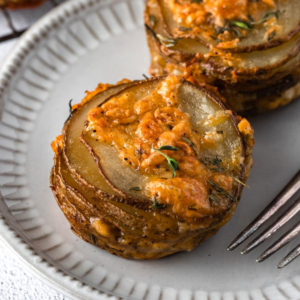
Thinly sliced potatoes layered with melty cheese, garlic, rosemary, and thyme make these Cheesy Potato Stacks a savory side dish with tender centers and golden edges.
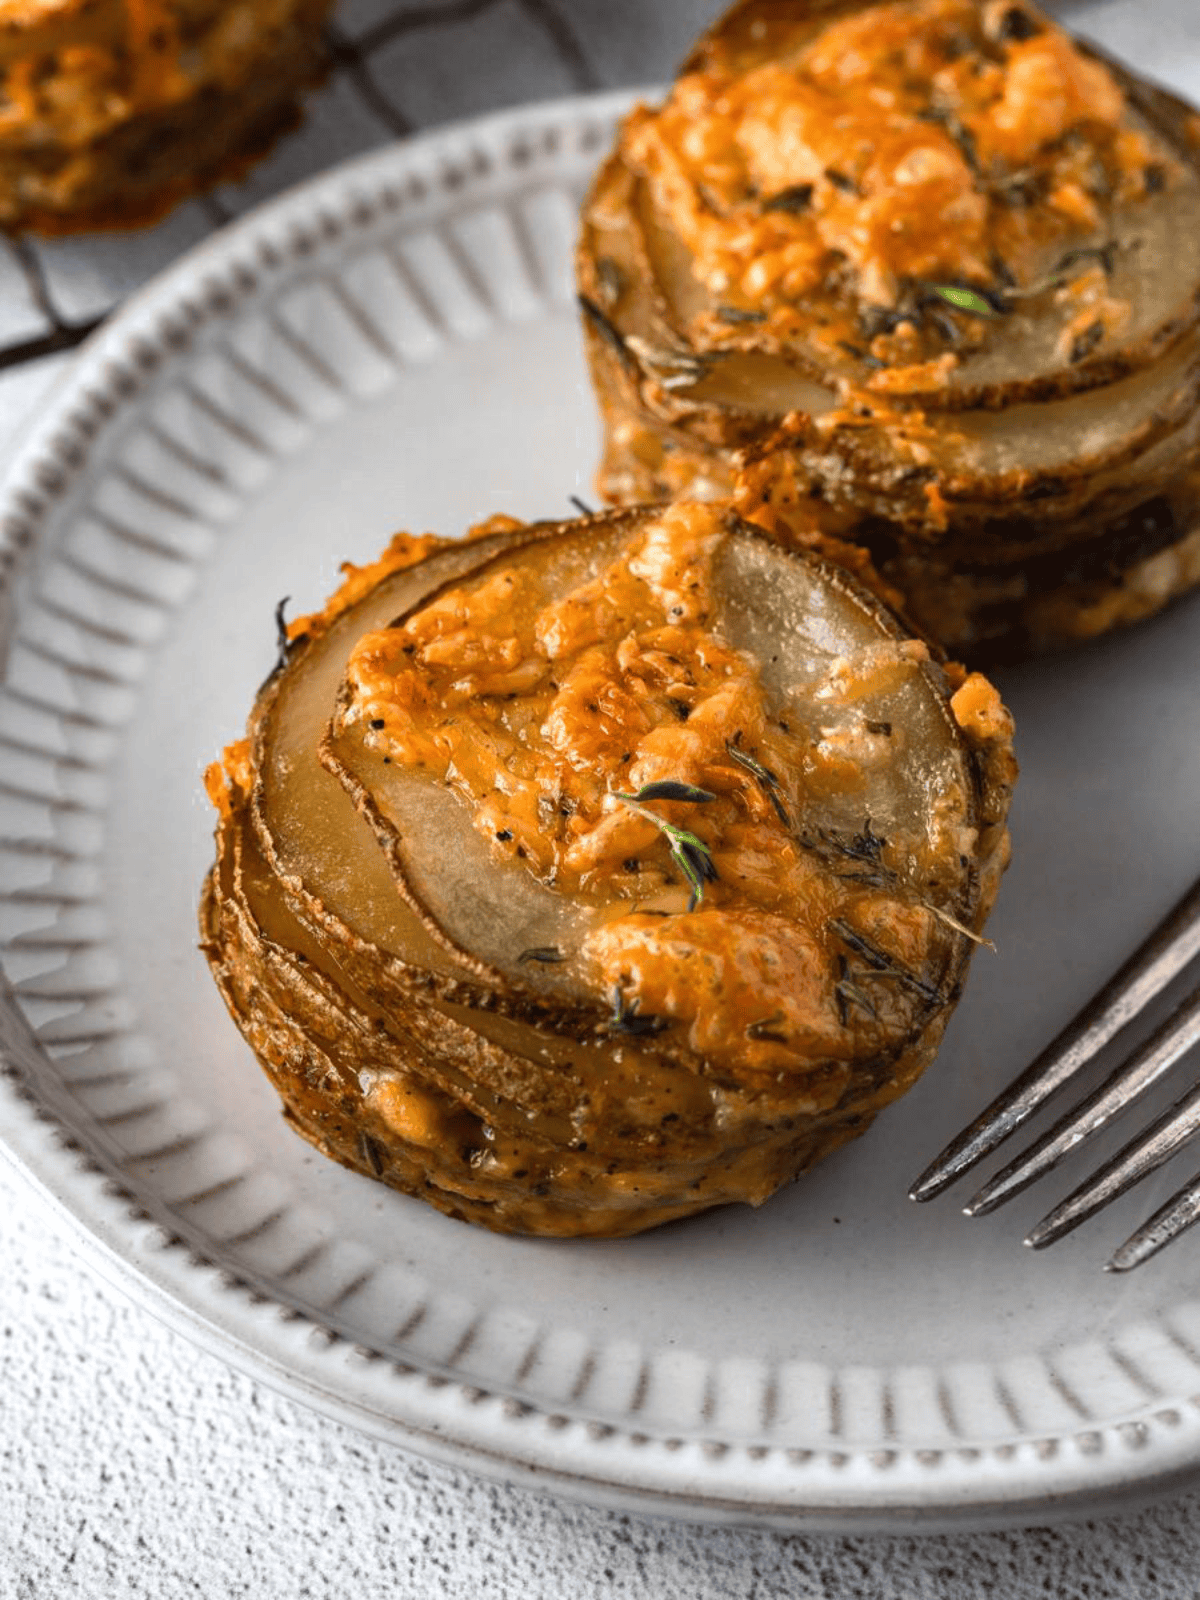
These potatoe stacks are like individual-sized potatoes au gratin, with layers of butter, garlic, fresh herbs, and melted cheese.
They’re a practical side dish for weeknight dinners, holiday meals, or entertaining. The individual portions also make them simple to serve.
If you’re looking for more potato recipes, try my Crispy Baked Potato Skins, Herb and Parmesan Oven Roasted Potatoes, or Lebanese Spicy Potatoes.
What Makes These Cheesy Potato Stacks a Favorite
- Perfect for serving. Baking the potatoes in a muffin tin creates individual portions that are easy to plate and serve.
- Simple ingredients. The recipe uses everyday ingredients that are easy to find at most grocery stores.
- Easy to customize. You can switch the cheese or herbs based on what you have on hand.
Ingrediets You’ll Need
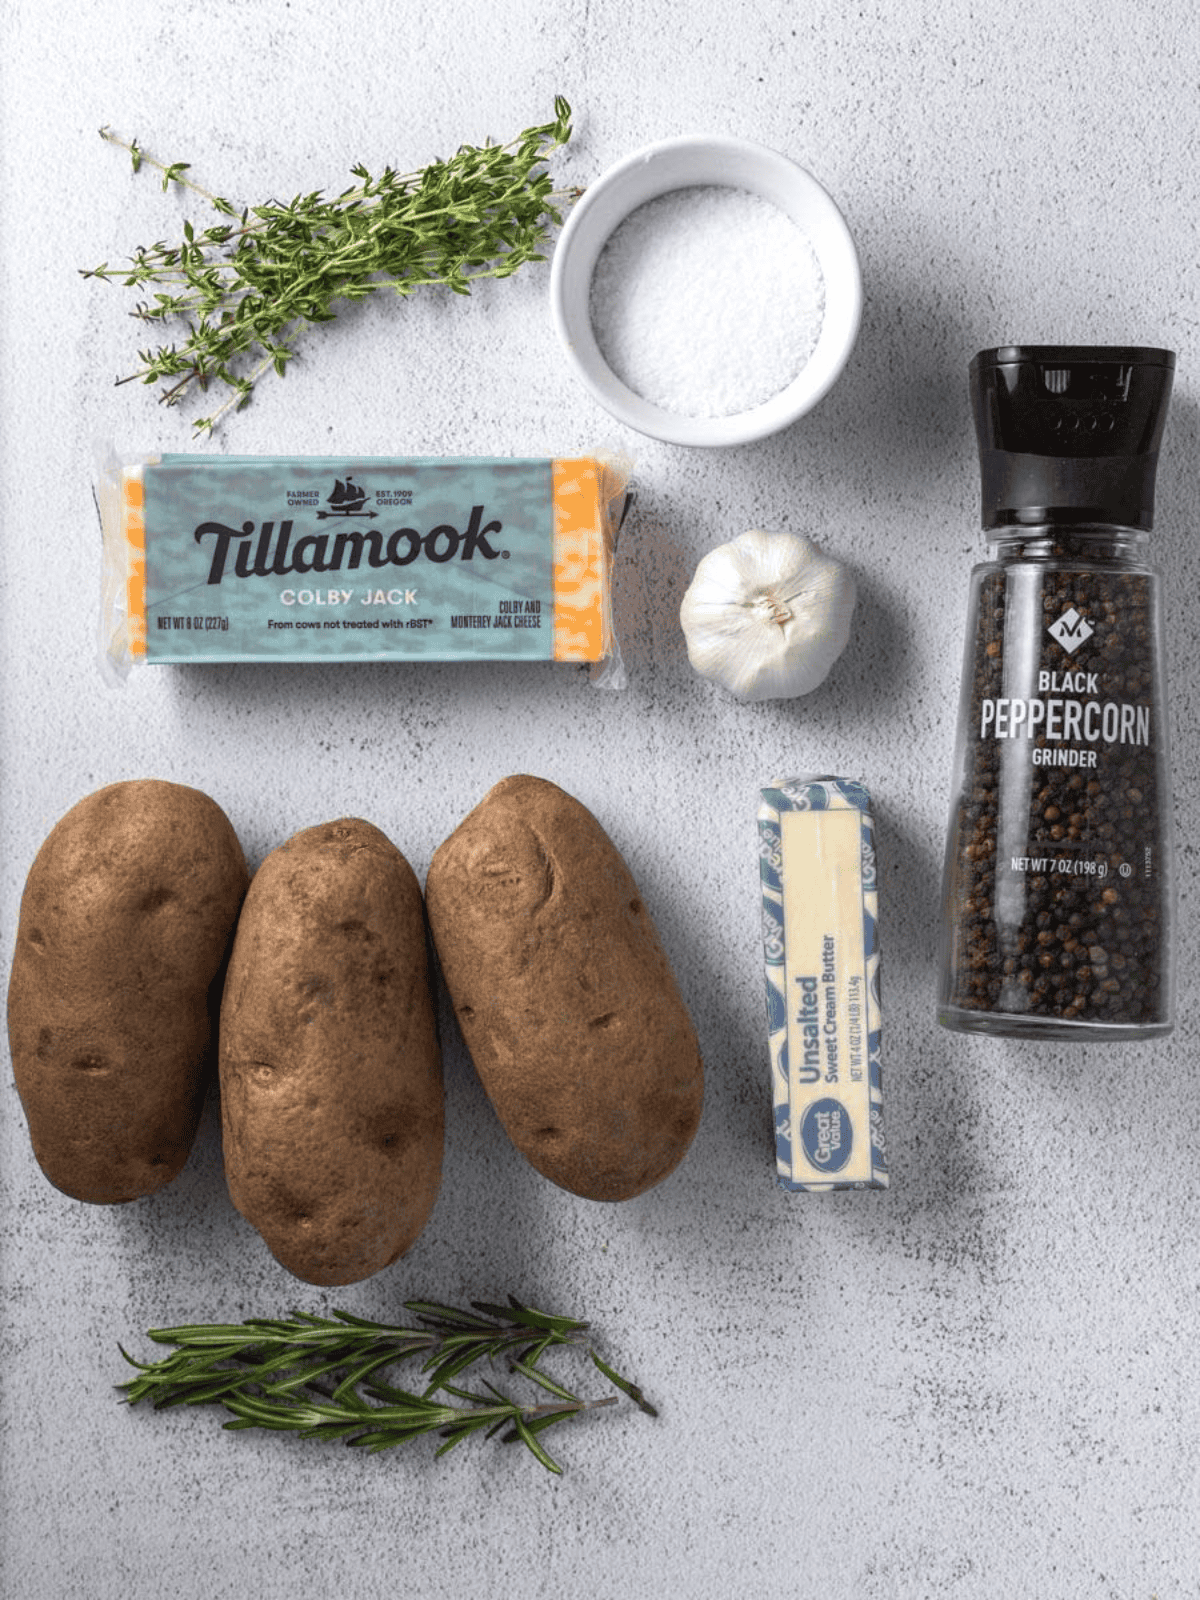
- Potatoes: I use russet potatoes because their starchy texture gives the stacks tender centers and crisp, golden edges. Yukon Gold potatoes are another good option for a creamier texture, while waxy potatoes tend to stay firmer when baked.
- Cheese: Colby Jack melts well and has a mild, creamy flavor. Other good melting cheeses, such as cheddar, Monterey Jack, or mozzarella, can also be used.
- Seasonings: Salt, black pepper, and minced garlic add savory flavor and complement the richness of the potatoes, butter, and cheese.
- Fresh Herbs: Fresh thyme and rosemary add a savory, herby flavor that pairs well with the potatoes and cheese.
*See the recipe card for full information on ingredients and quantities.
How to Make Potato Stacks
Step 1: Preheat the oven. Preheat the oven to 400°F. Set aside a regular-sized muffin tin.
Step 2: Coat the potatoes. Add the thinly sliced potatoes and melted butter to a medium bowl. Toss until the potatoes are evenly coated.
Step 3: Prepare the cheese mixture. In a small bowl, combine the cheese, salt, pepper, garlic, thyme, and rosemary to make the cheese mixture.
Step 4: Assemble the potato stacks. Layer two potato slices with about ½ teaspoon of the cheese mixture. Continue layering until each stack is slightly taller than the muffin tin.

Step 5: Bake the potato stacks. Loosely cover the tin with foil and bake for 15 minutes. Remove the foil and bake for another 30-35 minutes or until the potatoes are golden brown.
Step 6: Let the potato stacks cool. Remove the pan from the oven and let the potato stacks cool slightly in the muffin tin.
Step 7: Transfer to a wire rack. Use a spoon to gently remove the potato stacks from the muffin tin and transfer them to a wire rack.
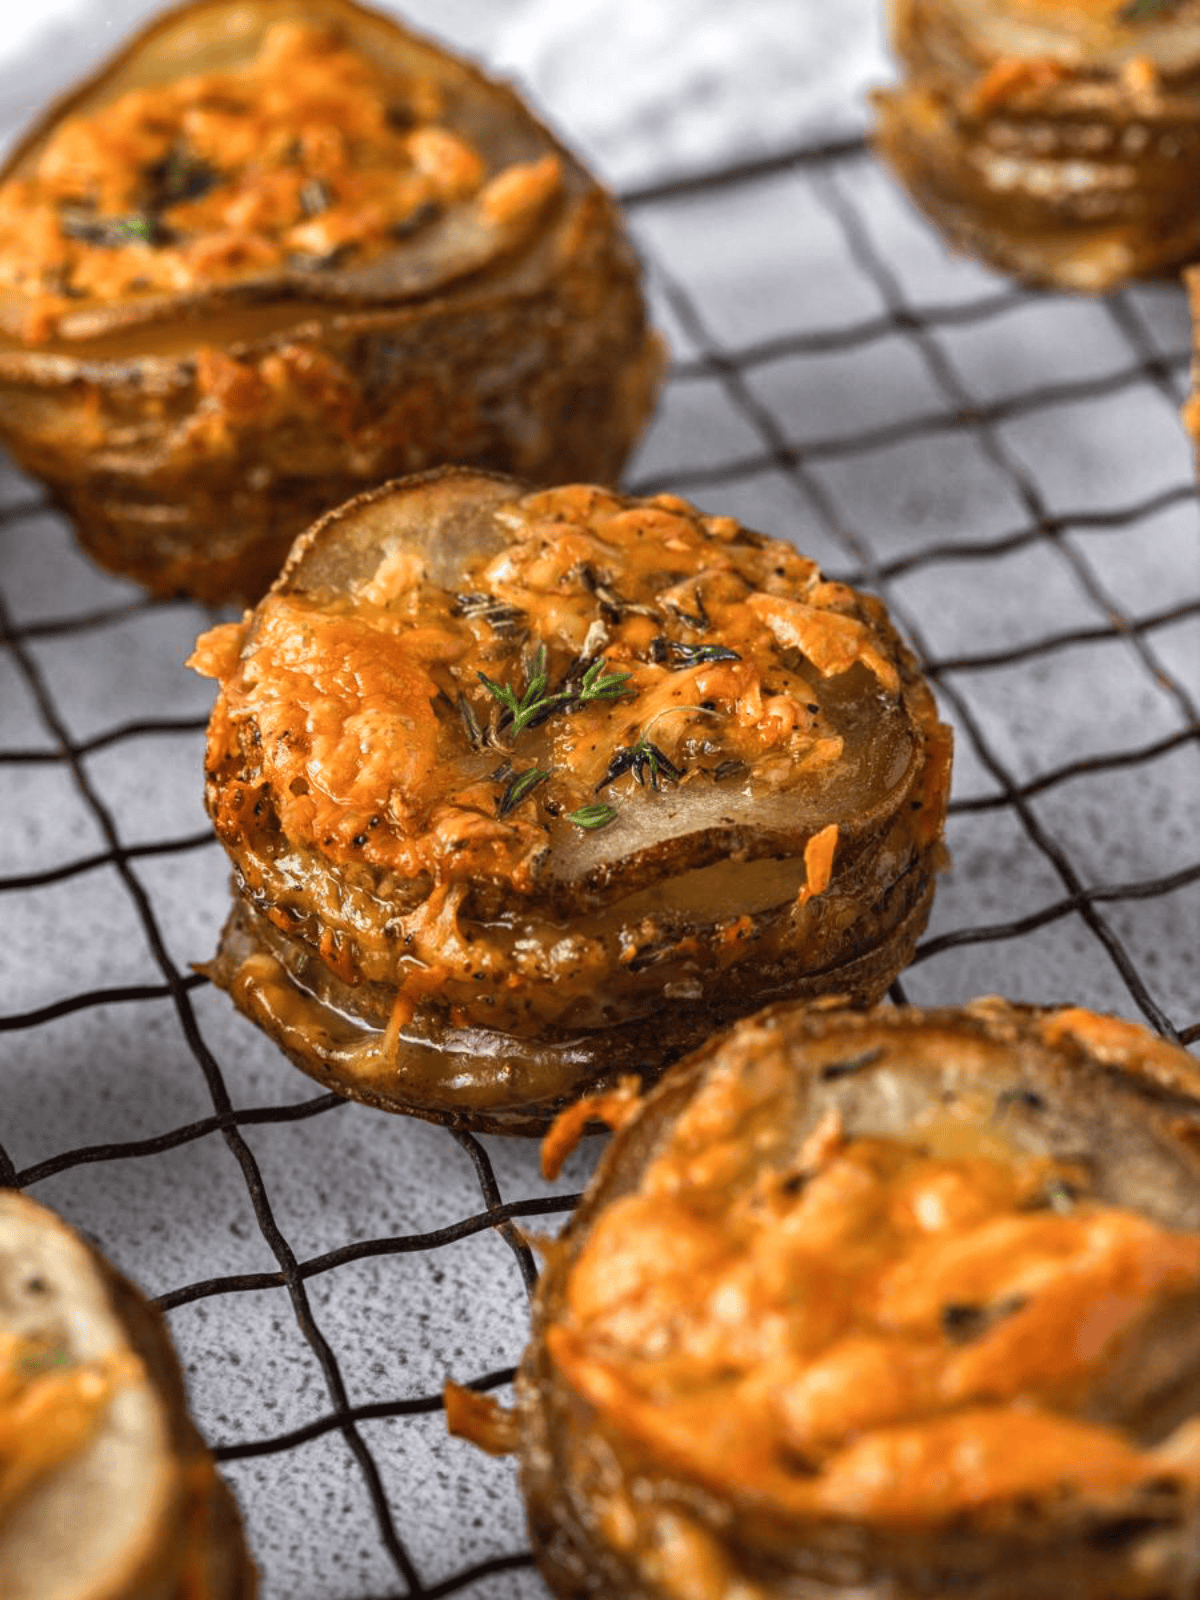
Step 8: Serve. Serve the cheesy potato stacks and enjoy!
Tips for Making Potato Stacks
- Slice the potatoes to a uniform thickness. Keep the slices consistently thin so they become tender at the same rate, and the stacks bake evenly.
- Grate the cheese from a block. Use freshly shredded Colby Jack for smooth melting and even distribution between the potato layers.
- Test the potatoes for tenderness before removing them. Insert a thin knife into the center of a stack near the end of the baking time. It should slide through the potato layers easily when they are fully cooked.
Frequently Asked Questions
Russet potatoes work well for potato stacks because their starchy texture helps create tender centers and golden edges. Choose potatoes that are similar in size so the slices fit more evenly in the muffin tin.
No. You can leave the skins on for added texture and crispness. Just scrub and dry the potatoes thoroughly before slicing, or peel them if you prefer.
Yes. Use a sharp knife to cut the potatoes into thin slices, keeping them as even as possible so they cook at the same rate. A mandoline makes uniform slicing easier, but it isn’t necessary.
Colby Jack is a great choice because it melts well and has a mild, creamy flavor. Cheddar, Monterey Jack, mozzarella, or Gruyère also work well.
Storing and Reheating
Store leftover cheesy potato stacks in an airtight container in the refrigerator for up to 3 to 4 days.
You can also freeze the potato stacks in a freezer-safe container for up to 2 to 3 months. Let them cool completely before freezing. Keep in mind that the texture of the potatoes may change slightly after freezing and thawing.
To reheat, place the potato stacks on a baking sheet and warm them in a 350°F oven for 10-15 minutes, or until heated through.
You can also microwave individual portions, but the potatoes may lose some of their crisp texture.
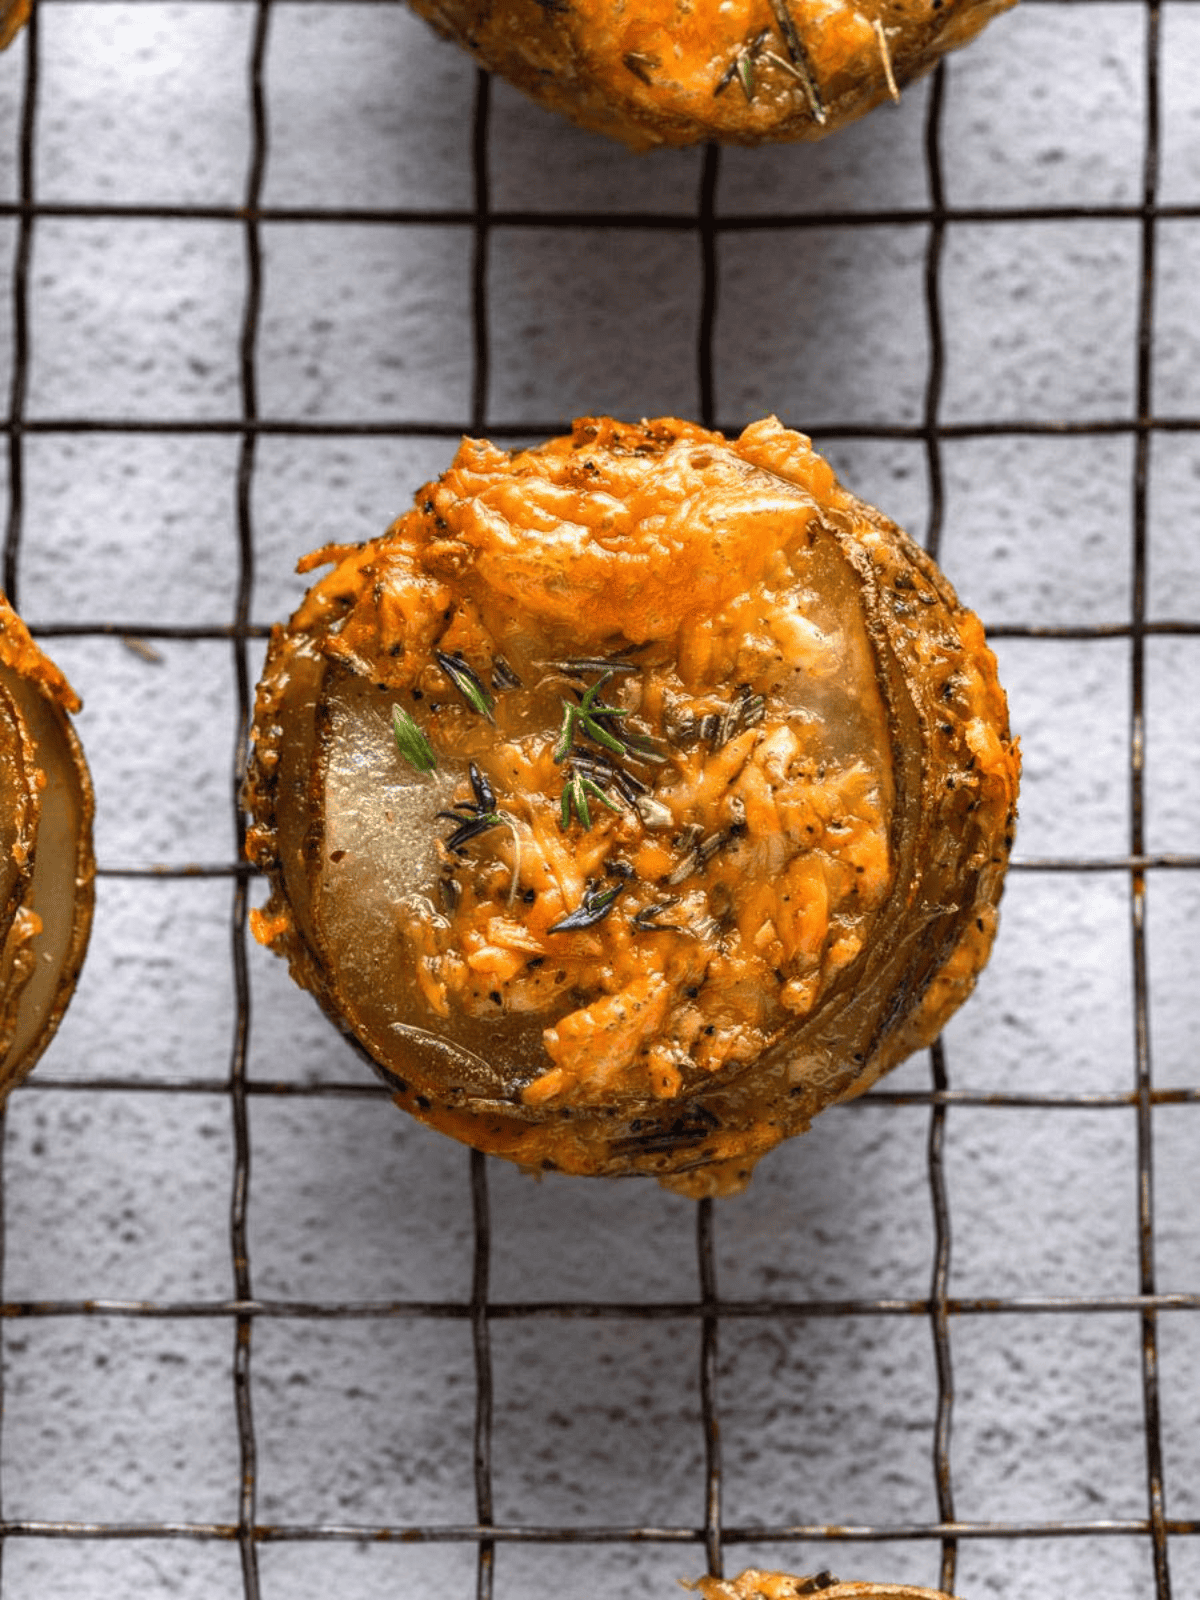
What to Serve with Cheesy Potato Stacks
- Broccoli and Cheese Stuffed Chicken
- Cheesy Sun-Dried Tomato Stuffed Chicken
- Chicken Parmesan Recipe
- Crispy Baked Salmon
- Baked BBQ Chicken Breast
If you try this recipe, I’d love to hear how it turned out. Leave a comment and rate the recipe! Also follow me at Cookin’ With Mima on Facebook |Instagram |Pinterest for all of my latest social posts and recipes.
Cheesy Potato Stacks
Ingredients
- 3 large russet potatoes, thinly sliced
- 4 tablespoons butter, melted
- 2 cups Colby Jack cheese, or any other melty cheese, shredded
- 1 teaspoon salt
- ½ teaspoon pepper
- 3 cloves garlic, minced
- 1 tablespoon fresh thyme
- 1 tablespoon fresh rosemary
Instructions
- Preheat the oven to 400°F. Set aside a regular-sized muffin tin.
- Add the thinly sliced potatoes and melted butter to a medium bowl. Toss until the potatoes are evenly coated.
- In a small bowl, combine the cheese, salt, pepper, garlic, thyme, and rosemary to make the cheese mixture.
- Layer two potato slices with about ½ teaspoon of the cheese mixture. Continue layering until each stack is slightly taller than the muffin tin.
- Loosely cover the tin with foil and bake for 15 minutes. Remove the foil and bake for another 30-35 minutes or until the potatoes are golden brown.
- Remove the pan from the oven and let the potato stacks cool slightly in the muffin tin.
- Use a spoon to gently remove the potato stacks from the muffin tin and transfer them to a wire rack.
- Serve the cheesy potato stacks and enjoy!





Yum, love this idea. I changed the herbs and spices to suit my tastes, but was a great little lunch snack.
Hi Karen!
Glad you enjoyed the recipe! thanks for the review.