This post may contain affiliate links, read my disclosure policy for details.
Made in one pot, this chili mac recipe is packed with flavor and a family favorite. It is such an easy weeknight recipe that will always hit the spot and is the perfect kid-friendly recipe. It’s so easy to whip up with pantry staples.
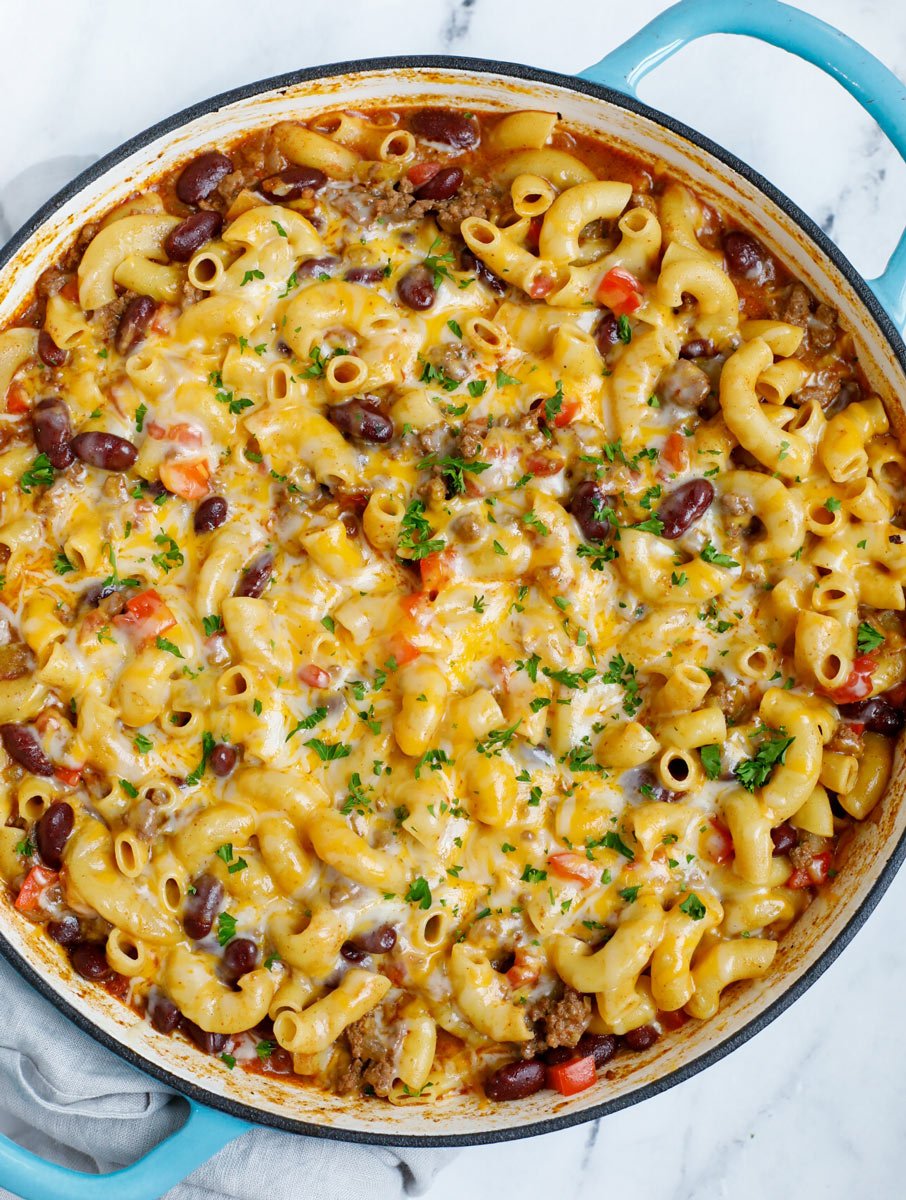
A combination of a hearty homemade chili and a cheesy mac and cheese, this Chili Mac and Cheese is comfort in a bowl! This chili mac is the perfect weeknight recipe.
If you want more quick and easy family friendly recipes, you need to try my Healthy Orange Chicken, Spinach Chickpea Salad Recipe, and Spicy Cashew Chicken Recipe. They’re so tasty and easy to make.
Why You’ll Love This Mac and Cheese with Chili
- A one pot wonder. The less dishes to do on a weeknight, the better! You’ve got the protein, carbs, and vegetables all in one pot. I love making one pot recipes since it’s so easy to cook up.
- It uses pantry staples. We use a ton of kitchen staples that we always have on hand, like canned beans and canned tomatoes. Plus a ton of seasoning that’s always in the spice cabinet.
- 30 minute dinner. You really can’t beat a 30 minute dinner. It’s fast, easy, and you won’t have to worry about the kids bugging you about being hungry for dinner.
Chili Mac Ingredients
- Elbow pasta — normal sized elbow pasta or a similar small pasta shape if you’d prefer.
- Diced tomatoes —petite diced canned tomatoes work fine.
- Seasoning —chili seasoning, powder, salt, cumin powder.
- Green chili pepper —canned green chilis work.
- Onion — you can use any type of onion: red, sweet, yellow, or white onion.
- Garlic —fresh garlic is preferred for this recipe.
- Broth — I use low sodium chicken broth.
- Red bell pepper — use fresh diced red bell pepper.
- Ground beef — anywhere from 85/10 or 90/10 is ideal.
- Olive oil — light flavored olive oil.
- Shredded Cheese — Shredded Mexican or Colby jack are my two favorite.
- Red kidney beans — choose one with reduced sodium.
- Cilantro — add flavor and great for garnishing.
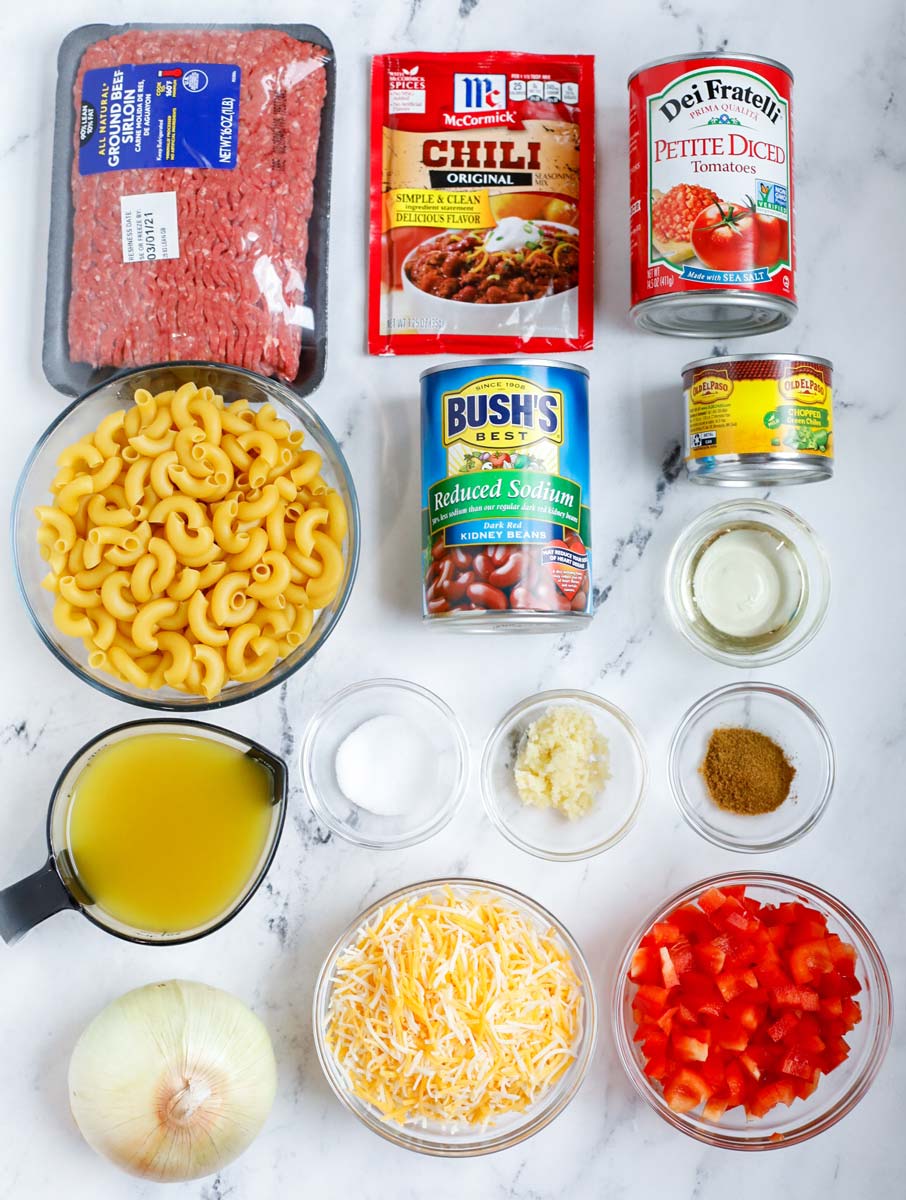
How To Make Chili Mac and Cheese
- Sauté the aromatics: Bring a large skillet or pot over high heat and add in the oil. Add in the onion and sauté until tender and translucent in color. Add in the garlic and sauté for another minute.
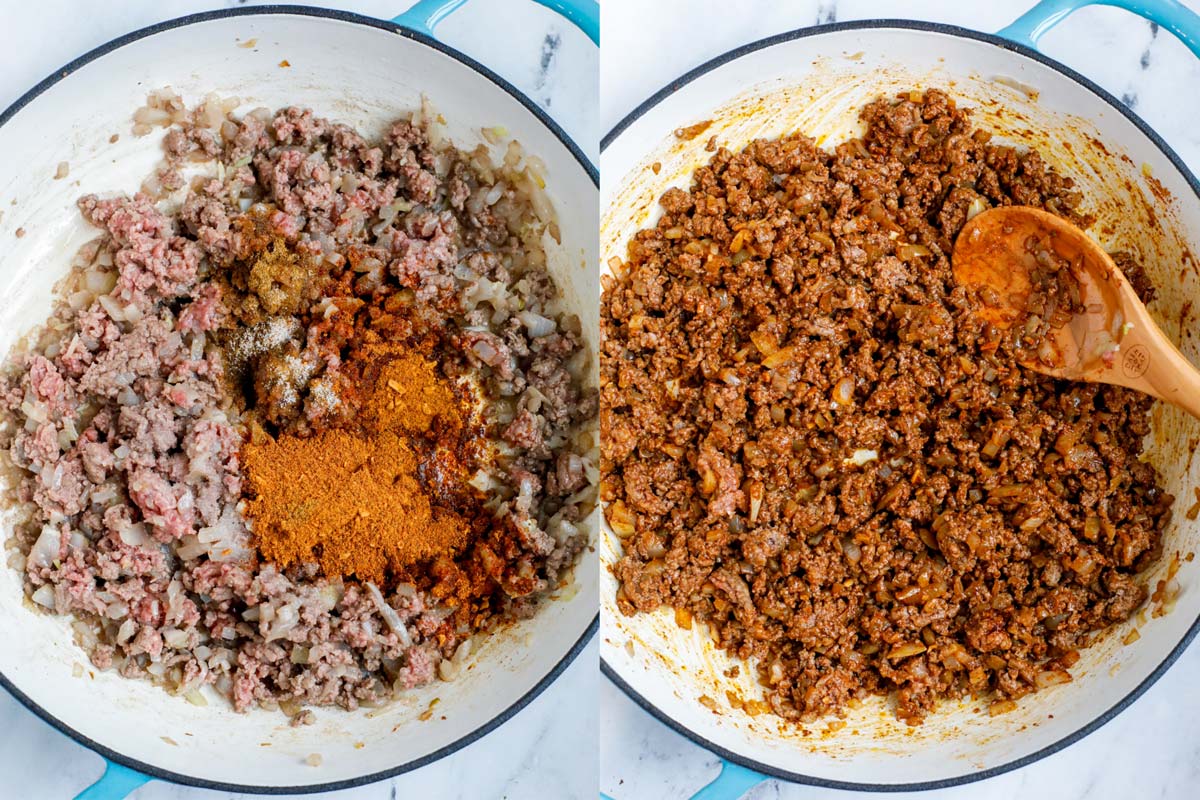
- Cook the beef and bell pepper: Add in the ground beef and sauté until cooked and no longer pink. Add in the spices, salt and sauté for another minute.
- Then add in the red bell pepper. Mix together with the meat mixture and cook for 2-3 more minutes.
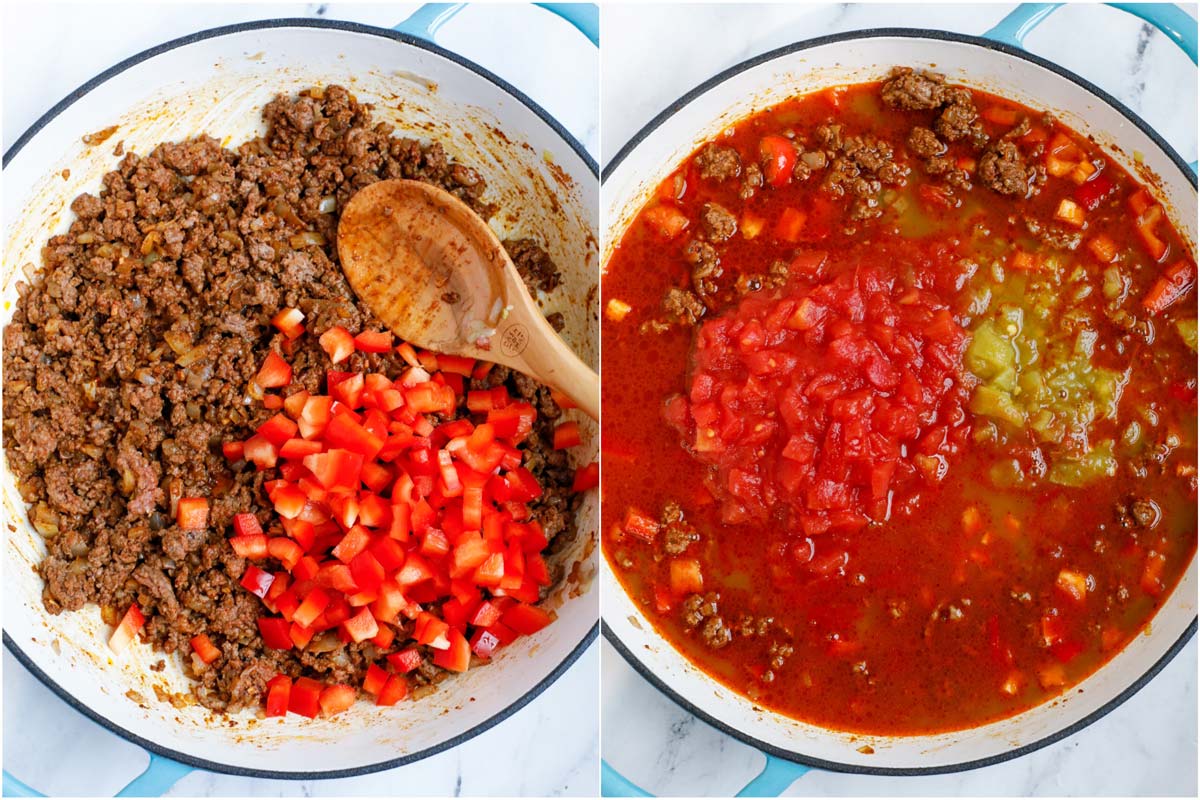
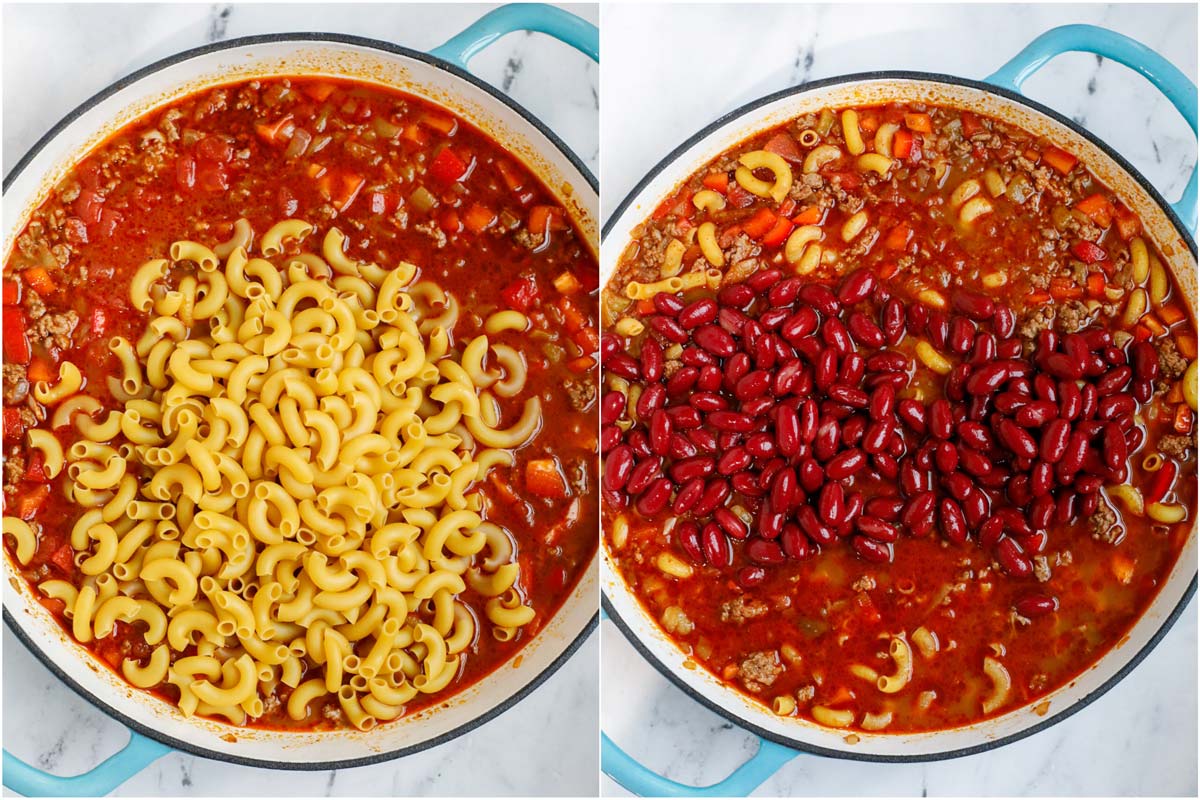
- Add in the rest of the ingredients: Add in the tomatoes, green chilies and chicken broth. Mix and then add in the pasta. Give it another mix, then cover the skillet. Bring the heat down to medium-low and allow the pasta to cook for 5 minutes. Open the pot and add in the drained beans. Stir and cover to cook for another 7 minutes.
- Add in the cheese: Open the lid and stir in half of the cheese. Mix to combine well. Then top the dish with the other half of the cheese. Turn the heat to low and cover with the lid to allow the cheese to melt. Once it melts remove the pot from heat. Takes just a couple of minutes.
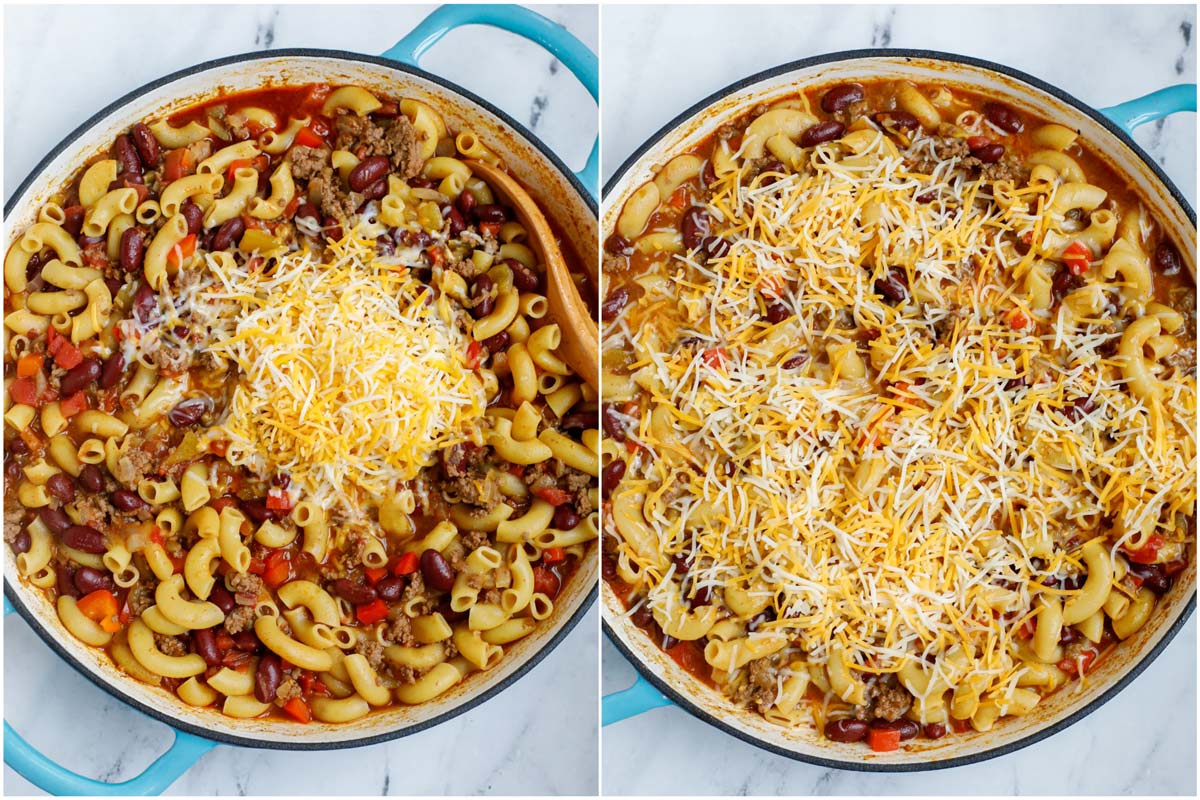
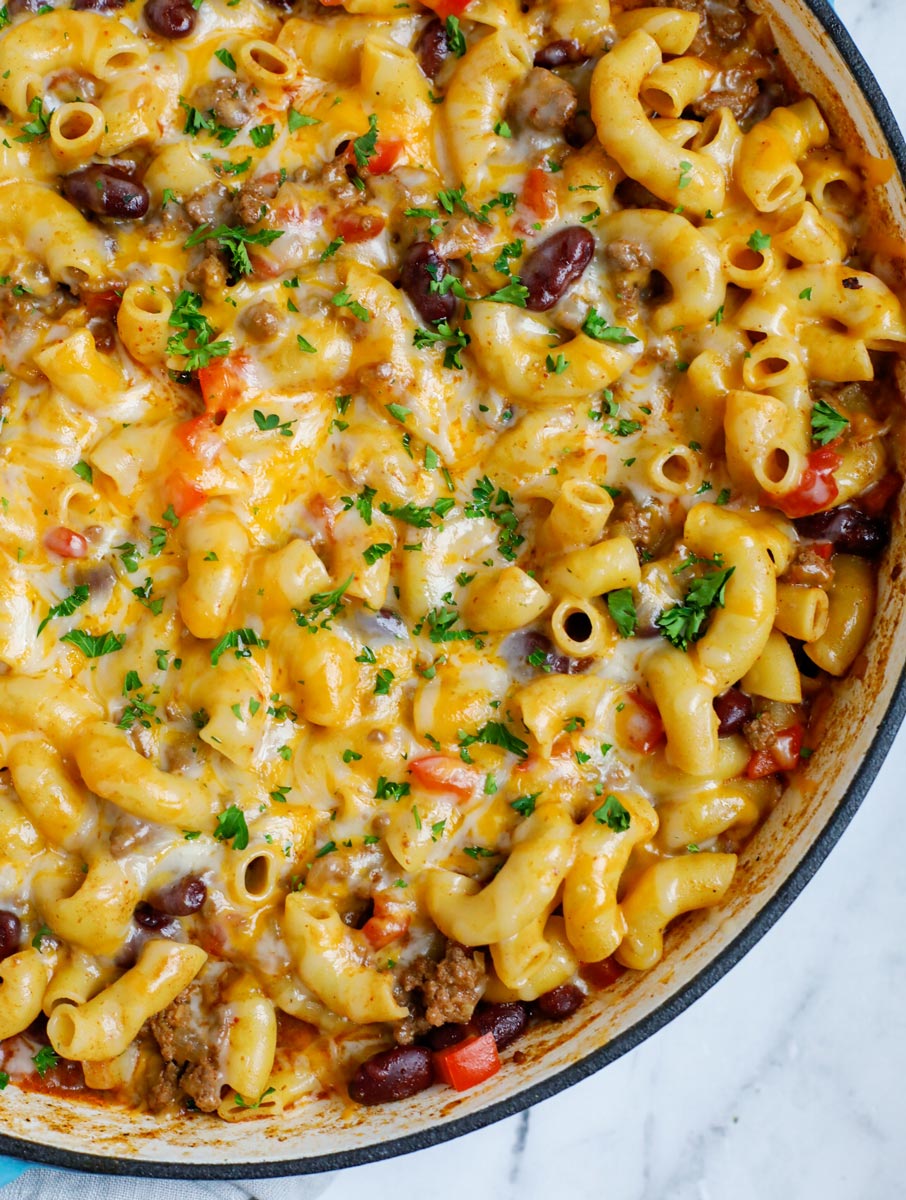
- Enjoy: Top with some fresh cilantro and serve.
Tips To Make Homemade Chili Mac and Cheese
- Feel free to change the red bell peppers to any type of bell pepper.
- If you want to make this spicier, you can add some cayenne pepper and red pepper flakes.
- You can swap the ground beef for any other types of ground meats like ground chicken, ground turkey, etc.
- Shredded your own cheese will give you the best results. Pre-shredded cheese has a dusting on them to keep them from clumping so it doesn’t melt as smoothly. Shred your own cheese by running a block of cheese through a food processor.
- Be sure to use a large enough pot or skillet so everything fits! At the minimum, your pot should be 5 QTs.
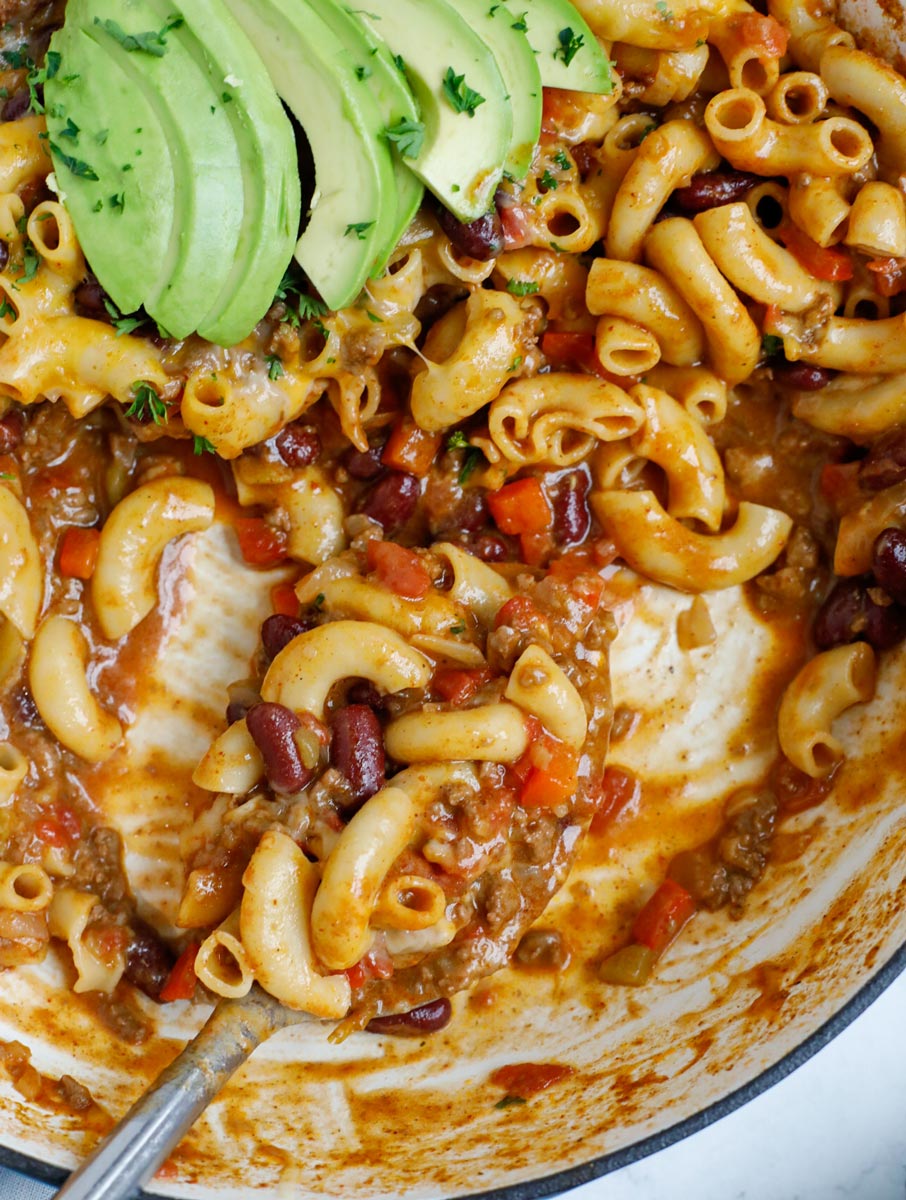
- Top this with whatever you desire! Avocado, fresh herbs, chips, and more. Any topping you use for chili will go well with this chili mac recipe.
Frequently Asked Questions
Yes, you can freeze this chili mac recipe. Once it has cooled to room temperature, you can transfer it to a freezer container and freeze for up to 3 months. Thaw in the fridge and reheat when ready to enjoy.
If you’ve got leftovers, you can let it cool to room temperature before transferring the chili mac to an airtight container. Store in the fridge for up to 3 days. You can reheat the chili mac and cheese recipe in the microwave or on the stovetop.
While this is a complete meal itself, you can totally whip up some sides to go alongside it. Try my Crispy Air Fryer French Fries, Roasted Garlic Bread, Cheesy Pesto Breadsticks, Garlic Butter Mushrooms, and my Brussels Sprouts Salad.
Want More Delicious Dinner Recipes?
- Spicy Chicken Chipotle Pasta
- Easy Sticky Chicken Recipe
- Tuscan Chicken Thighs Recipe
- Lemon Chicken Rice Soup
- Creamy Parmesan Chicken Recipe
I hope you enjoy all the recipes I share with you, including this delicious Homemade Chili Mac and Cheese recipe. I hope you try it, enjoy it, rate it and share it with your friends and family!
If you try this recipe and like it, please leave a star rating and comment below. Use my hashtag to share it with me on INSTAGRAM So I can see your delicious recreations! Also, follow me at Cookin’ With Mima on FACEBOOK |INSTAGRAM |PINTEREST for all of my latest social posts and recipes.
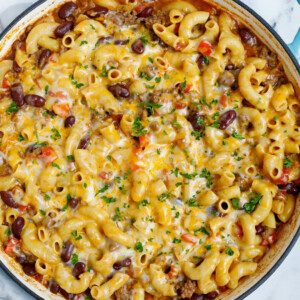
Easy Chili Mac and Cheese
Ingredients
- 8 oz. elbow pasta, 2 cups dry
- 1 can diced tomatoes, 14 oz., petite diced
- 1 pack chili seasoning
- 1 tsp. salt
- 3 tsp. cumin powder
- 1 can green chili pepper, 4.5 oz.
- 1¼ cup yellow onion, 1 medium size
- 4 large cloves garlic
- 3 cups chicken broth, low sodium
- 1 cup red bell pepper, petite diced
- 1 lb. ground beef, lean
- 2 tbsps. olive oil, light tasting
- 2 cups shredded Mexican cheese, or colby jack or cheddar
- 1 can red kidney beans, 14 oz.
- cilantro, chopped, optional for topping
Instructions
- Bring a large skillet or pot over high heat and add in the oil. Add in the onion and sauté until tender and translucent in color. Add in the garlic and sauté for another minute.
- Add in the ground beef and sauté until cooked and no longer pink. Add in the spices, salt and sauté for another minute. Then add in the red bell pepper. Mix together with the meat mixture and cook for 2-3 more minutes.
- Add in the tomatoes, and chicken broth. Mix and then add in the pasta. Give it another mix, then cover the skillet. Bring the heat down to medium-low and allow the pasta to cook for 5 minutes. Open the pot and add in the drained beans. Stir and cover to cook for another 7 minutes.
- Open the lid and stir in half of the cheese. Mix to combine well. Then top the dish with the other half of the cheese. Turn the heat to low and cover with the lid to allow the cheese to melt. Once it melts remove pot from heat. Takes just a couple of minutes.
- Top with some fresh cilantro and serve.
Video
Notes
- Feel free to change the red bell peppers to any type of bell pepper.
- If you want to make this spicier, you can add some cayenne pepper and red pepper flakes.
- You can swap the ground beef for any other types of ground meats like ground chicken, ground turkey, etc.
- Shredded your own cheese will give you the best results. Pre-shredded cheese has a dusting on them to keep them from clumping so it doesn’t melt as smoothly. Shred your own cheese by running a block of cheese through a food processor.
- Be sure to use a large enough pot so everything fits! At the minimum, your pot should be 5 QTs.
- Top this with whatever you desire! Avocado, fresh herbs, chips, and more. Any topping you use for chili will go well with this chili mac recipe.


This recipe is so good and easy to make. I like to eat in a bowl over a baked potato topped with cheddar cheese and a spoonful of sour cream. YUMMY!
Hi Val,
I am glad you enjoyed the recipe. Thanks for leaving a review.
My husband made this last night for us and it was delicious! Kiddos loved it as well.
Hi Ashley,
Glad you enjoyed it. Thanks for the review.
Quite easy and delicious. Definitely comfort food.
Hi Stephanie!
Glad to hear you enjoyed the recipe. Thanks for the review.