This post may contain affiliate links, read my disclosure policy for details.
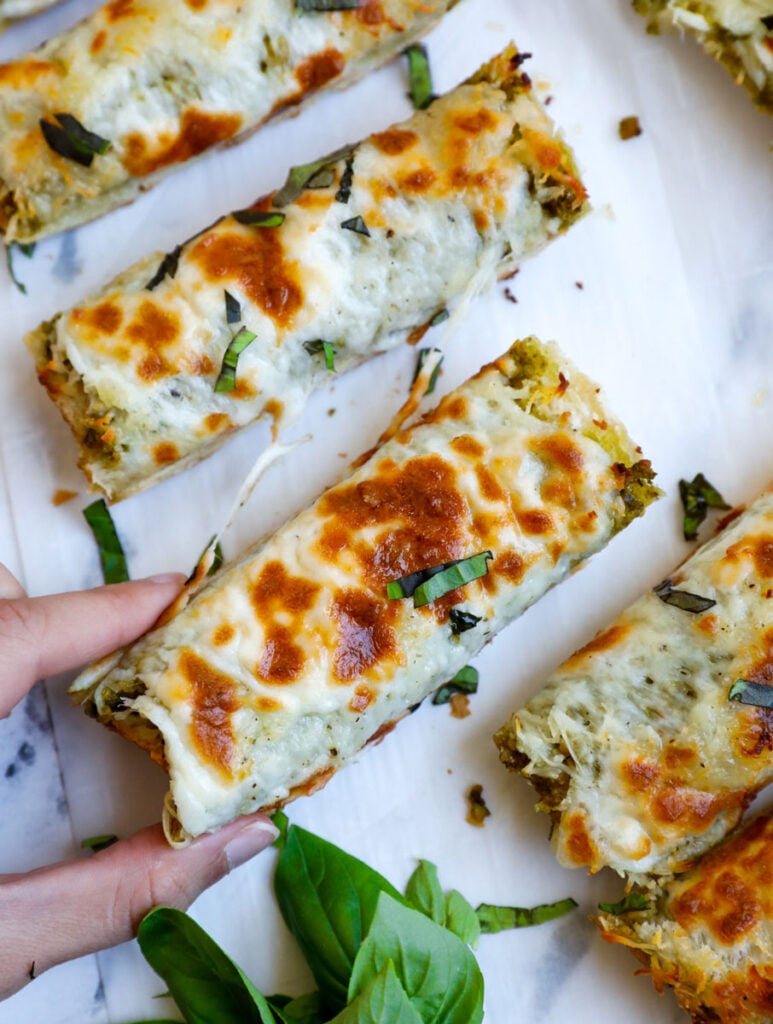
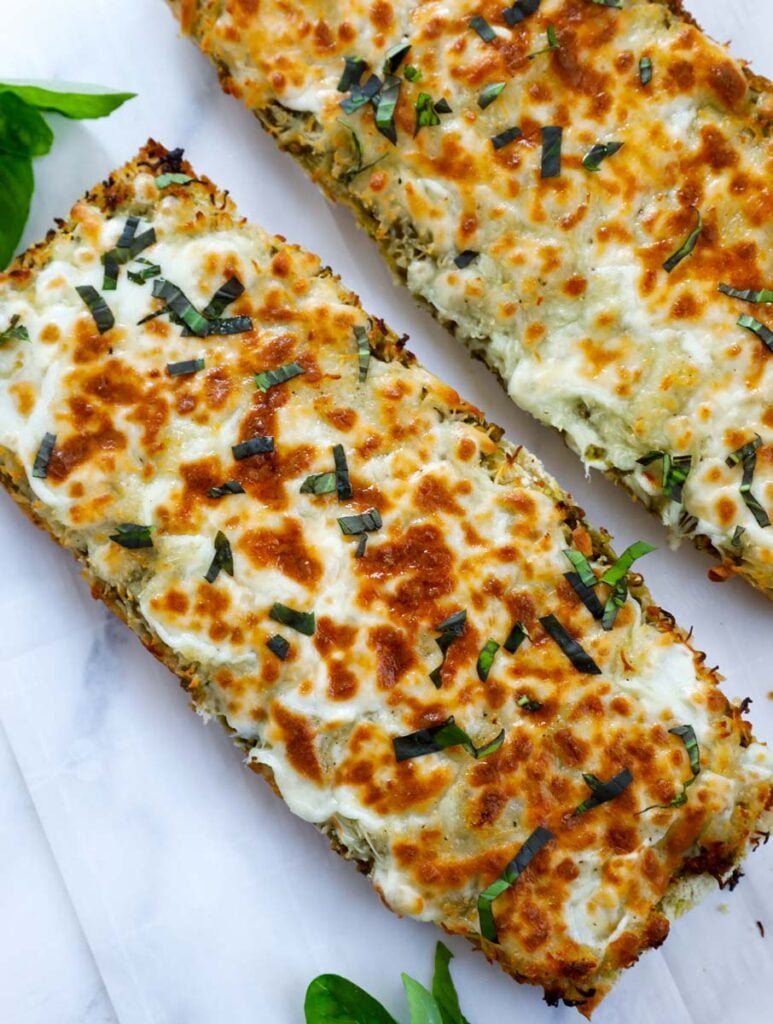
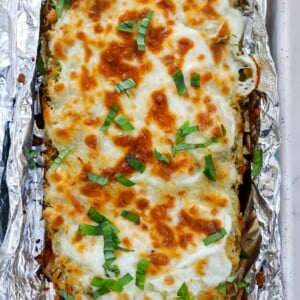
Super quick and super delicious, you can whip up a fresh batch of these homemade Cheesy Pesto Breadsticks in no time! Melty mozzarella smothers a layer of rich and herby pesto, all on top of crunchy bread. Ditch take out and opt for these beauties any day of the week!
When you have that cheesy pizza craving, fear not! It’s so easy to make these Cheesy Pesto Breadsticks, quicker than take out and more tasty. Perfect as a snack, app, side or easy lunch option. This pesto, cheese and bread combo really can’t be beat!
If you’re looking for other yummy appetizers, why not also try my Crispy Baked Potato Skins.
Why you’ll love these Cheesy Pesto Breadsticks
- Super cheesy. Oo-ey goo-ey metly mozzarella, cheesy perfection!
- Pesto power! A layer of pesto adds a flavor punch to these cheesy sticks.
- A super easy side or app. Only a 5ingredients needed, these homemade breadsticks come together in a flash!
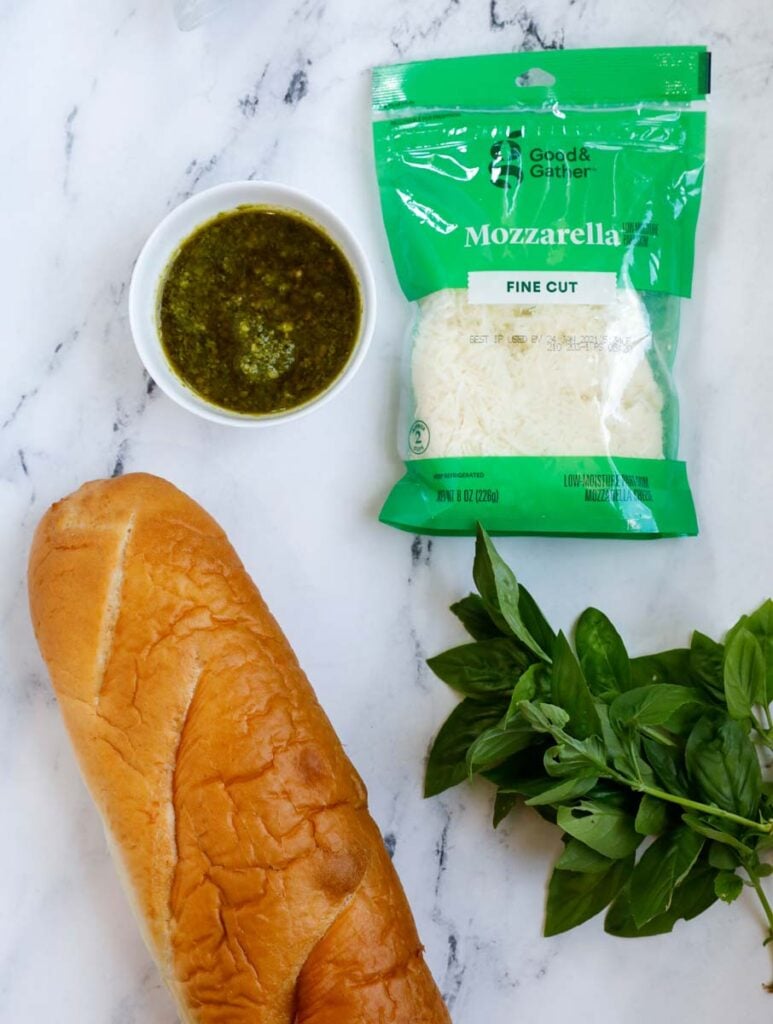
Ingredients you’ll need
- Loaf of bread
- Pesto
- Mozzarella Cheese
- Ground Black Pepper
- Fresh Basil
How to make Cheesy Pesto Breadsticks
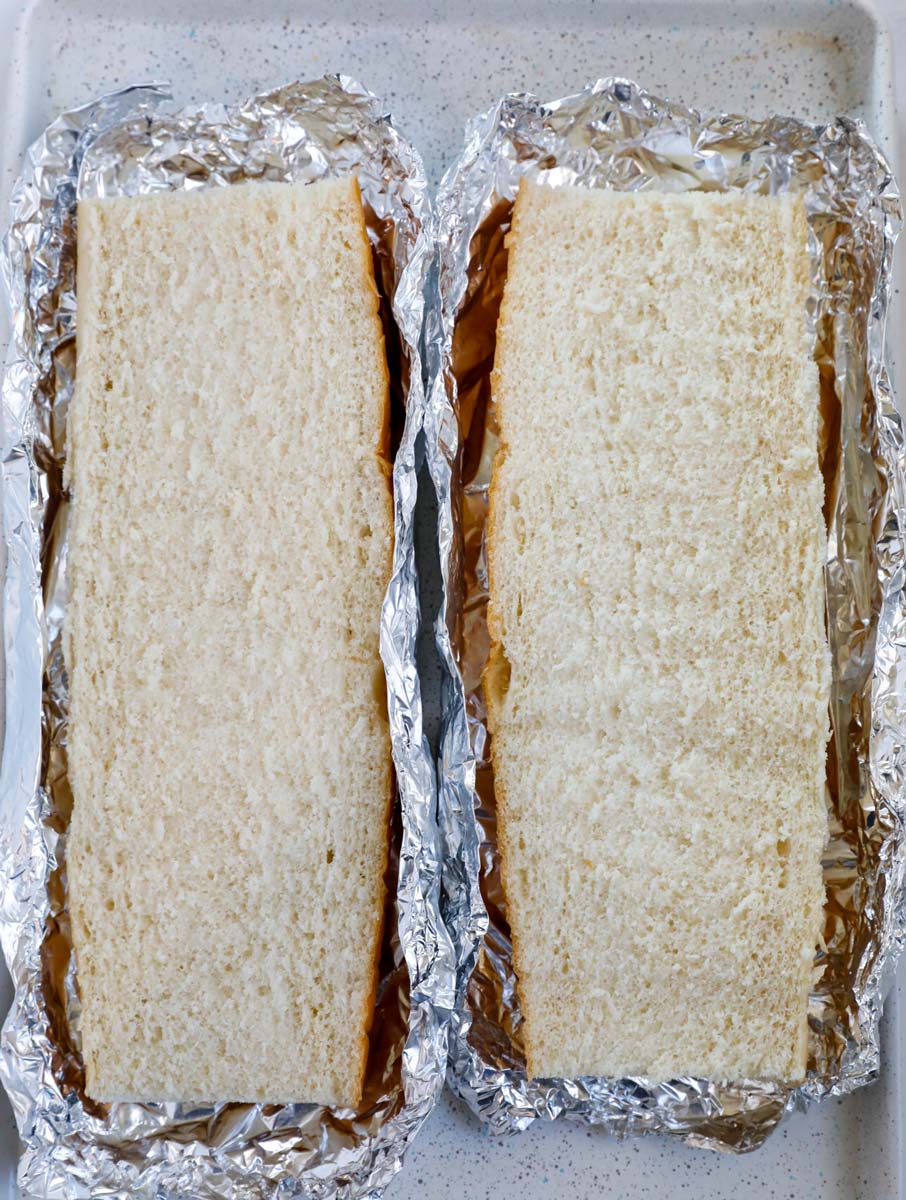
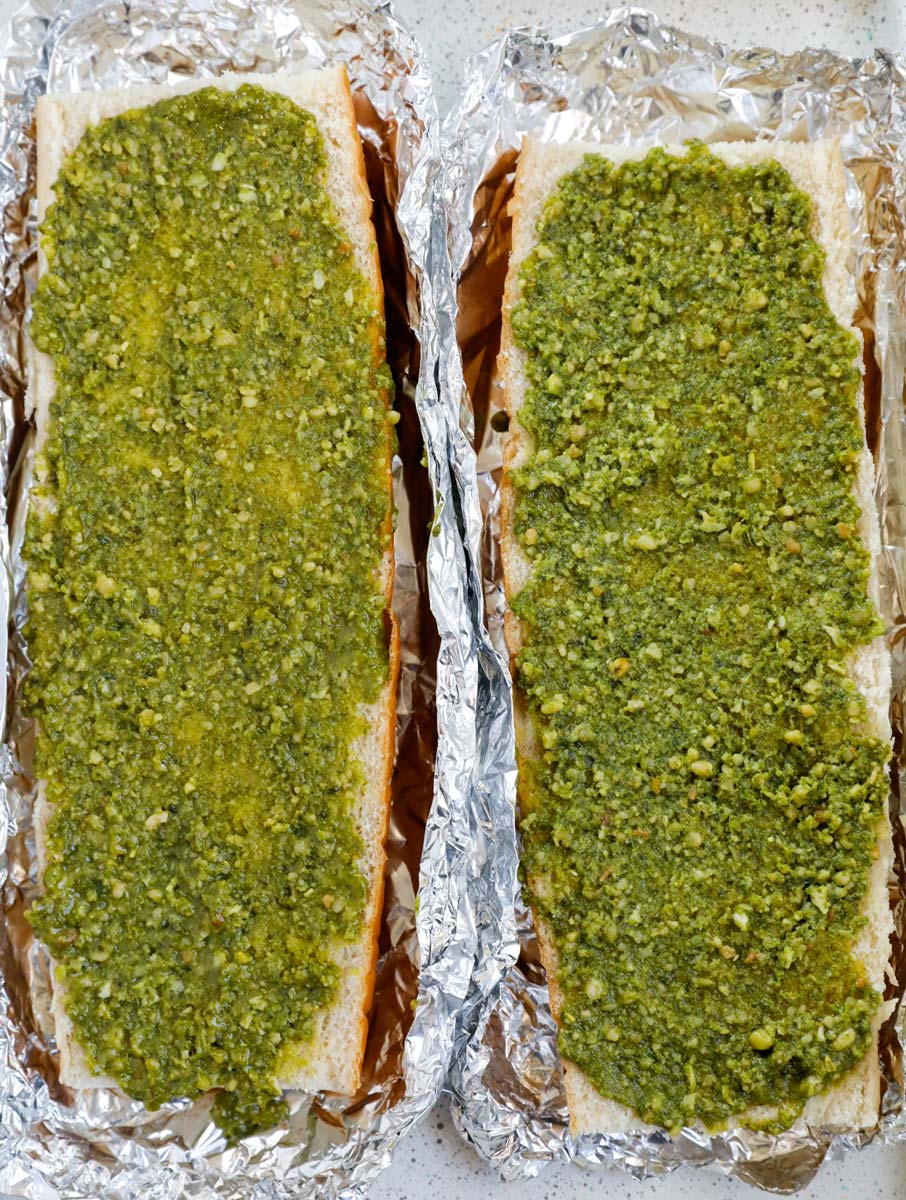
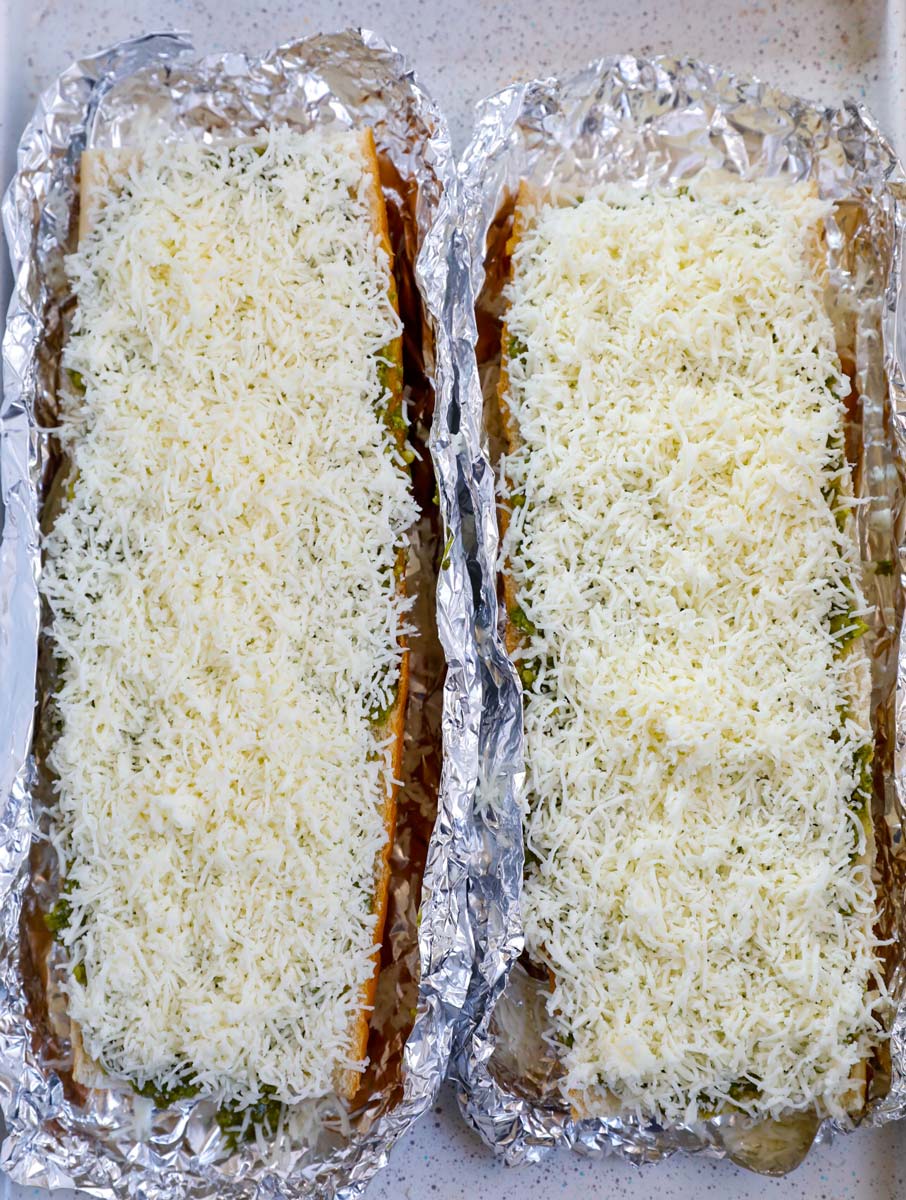
- Layer your bread – Slice the loaf in half, add a layer of pesto then cheese. Top with a sprinkle of black pepper.
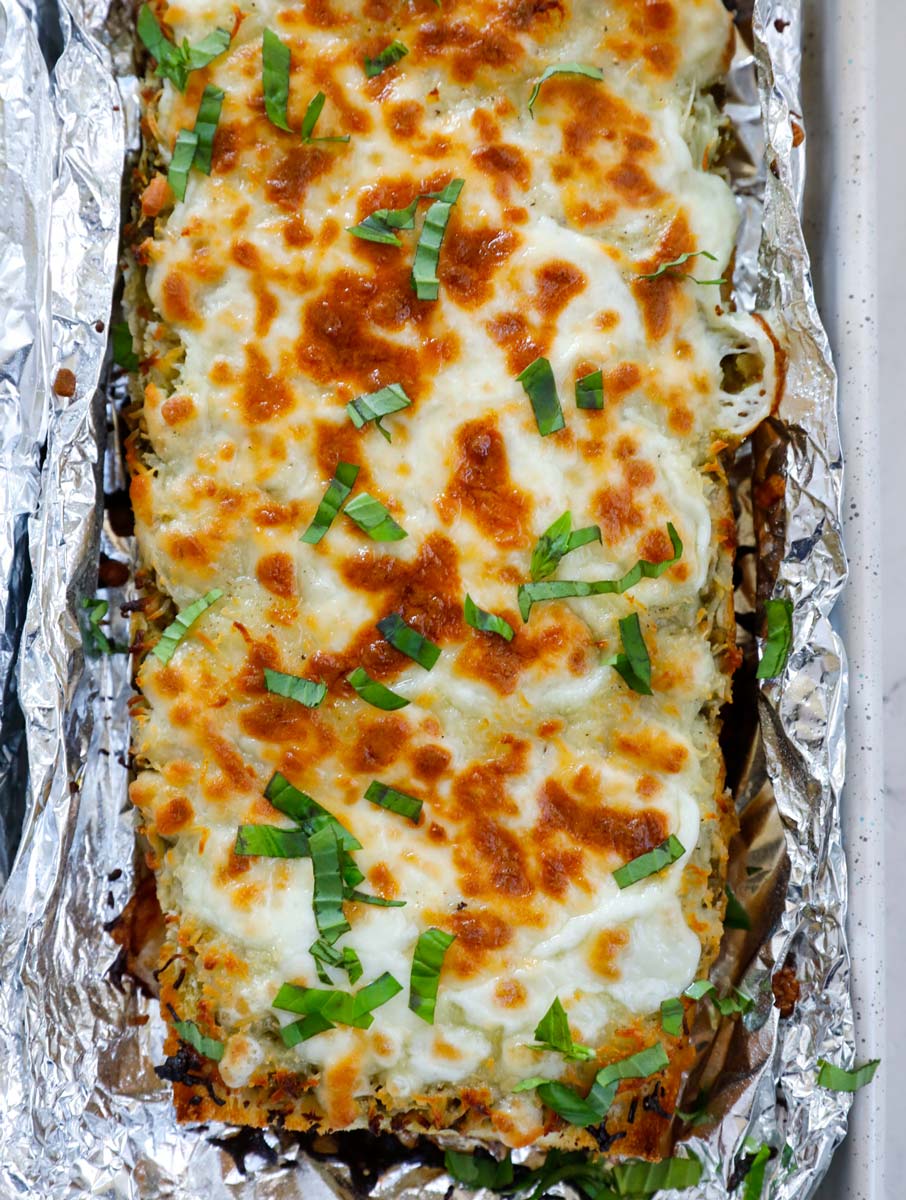
- Bake – Surround each slice with foil and bake for 12-15 mins.
- Remove from the oven, top with basil, serve and enjoy!
Recipe notes and tips
- Use a preheated oven.
- Shred your own cheese. Pre shredded cheese contains caking agents which means it doesn’t melt as well. But you can of course use pre shredded cheese if in a pinch, still tastes great!
- Ideally go for fresh pesto from the store. But you can use jarred if that’s what you have to hand, again, still tastes great!
- Top with fresh basil for a pop of color and an extra herby punch.
- Dip in a side of marinara sauce – so good!
FAQ’s
Can I use olive oil for this cheesy bread?
You really don’t need any butter or oil on the bread as the pesto contains all the oil you’ll need. The pesto lends the perfect velvety kiss to the crunchy bread in every bite!
Can I make the breadstick crispier?
If you want your Cheesy Pesto Breadsticks a little crispier, broil it the last 1 to 2 minutes when it’s in the oven.
Do I need to use foil?
Yes, the foil is essential when baking the bread, to stop the edges from burning while still getting an overall crispness.
What to serve with these Cheesy Pesto Breadsticks
This cheesy pesto bread is hearty, comforting and perfect with lots of mains! Here’s some ideas:
- Spicy Arrabbiata Pasta
- Crispy Buffalo Chicken Salad
- Buffalo Chicken Mac and Cheese
- Spinach Stuffed Chicken Breast
Other delicious side dishes
I hope you enjoy all the recipes I share with you, including this delicious Cheesy Pesto Breadsticks recipe. I hope you try it, enjoy it, rate it and share it with your friends and family!
If you try this recipe and like it, please use my hashtag to share it with me on INSTAGRAM for a chance to be featured in my story! Also, follow me at Cookin’ With Mima on FACEBOOK | INSTAGRAM | PINTEREST for all of my latest social posts and recipes.
Cheesy Pesto Breadsticks
Ingredients
- 1 large bread loaf
- 1 cup fresh pesto sauce, store bought, I got mine from Costco's
- 3 cups mozzarella cheese, shredded
- 1/2 tsp. fresh ground black pepper
- 1/4 cup fresh basil, chopped
- Aluminum foil
Instructions
- Preheat oven to 375 degrees F.
- Slice the bread loaf in half. Spread 1/2 cup of pesto sauce onto each loaf.
- Add one cup of mozzarella cheese onto each loaf to cover the pesto sauce. Sprinkle some black pepper on top of the cheese.
- Individually wrap each loaf to cover the surrounding sides of the bread.
- Bake in the oven until the cheese becomes golden brown. This should take about 12-15 minutes.
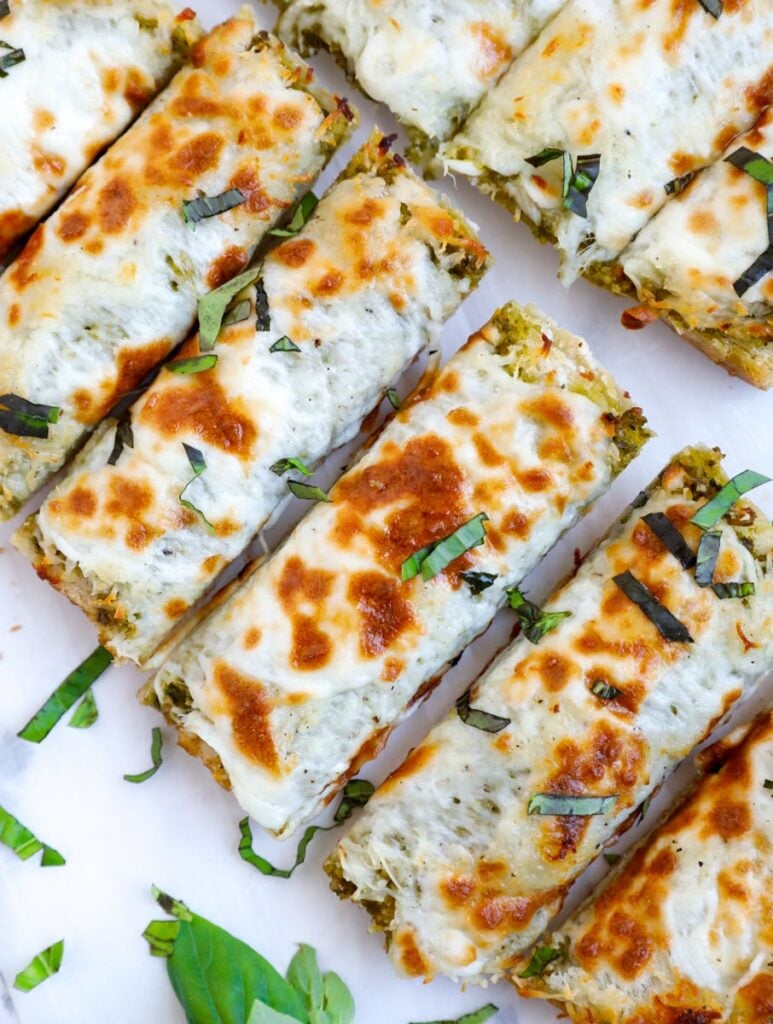
- Remove from the oven, top with some fresh chopped basil, slice and serve.
Notes
- Use a preheated oven.
- Shred your own cheese. Pre shredded cheese contains caking agents which means it doesn’t melt as well. But you can of course use pre shredded cheese if in a pinch, still tastes great!
- Ideally go for fresh pesto from the store. But you can use jarred if that’s what you have to hand, again, still tastes great!
- Top with fresh basil for a pop of color and an extra herby punch.
- Dip in a side of marinara sauce – so good!

