This post may contain affiliate links, read my disclosure policy for details.
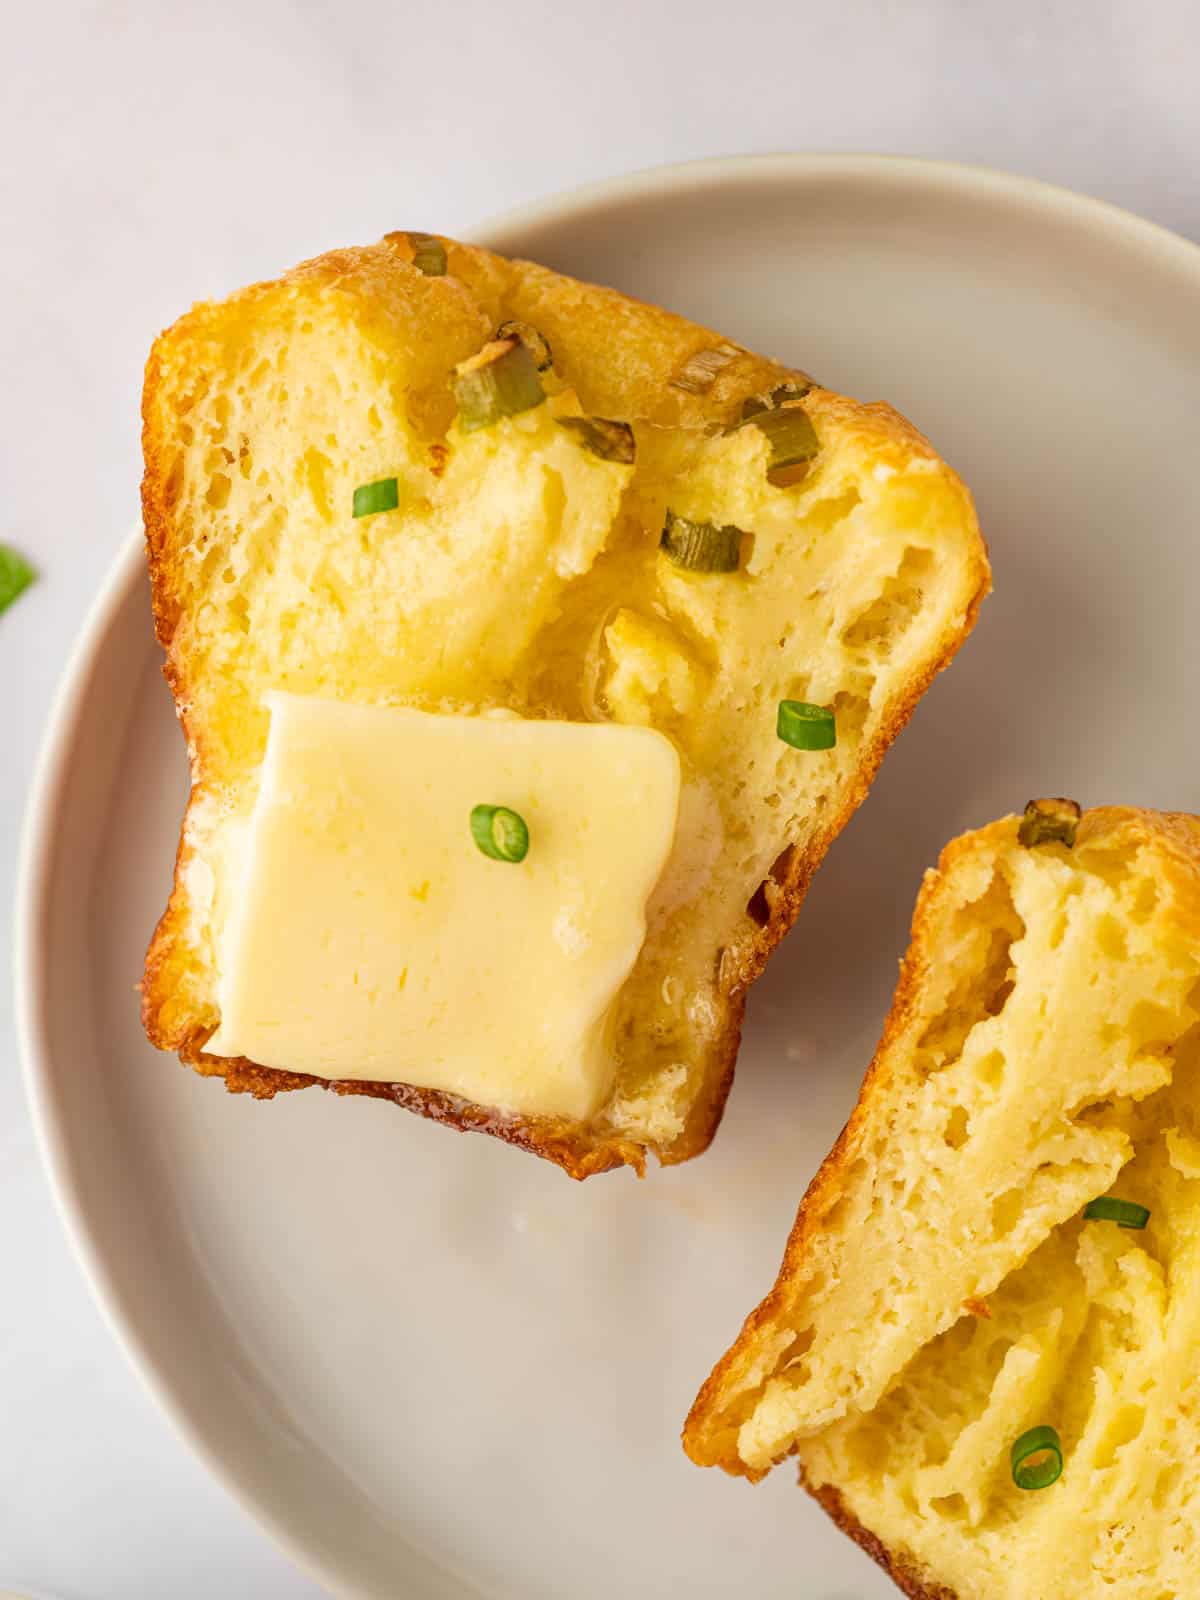
If you’re a fan of impressive yet easy-to-make baked treats, look no further than cheesy popovers. This recipe is one of those that triggers anyone’s cravings. Popovers come in all flavors and profiles – sweet to savory and everything in between. A golden-brown, crispy exterior with a soft interior, makes every bite a burst of cheesy deliciousness.
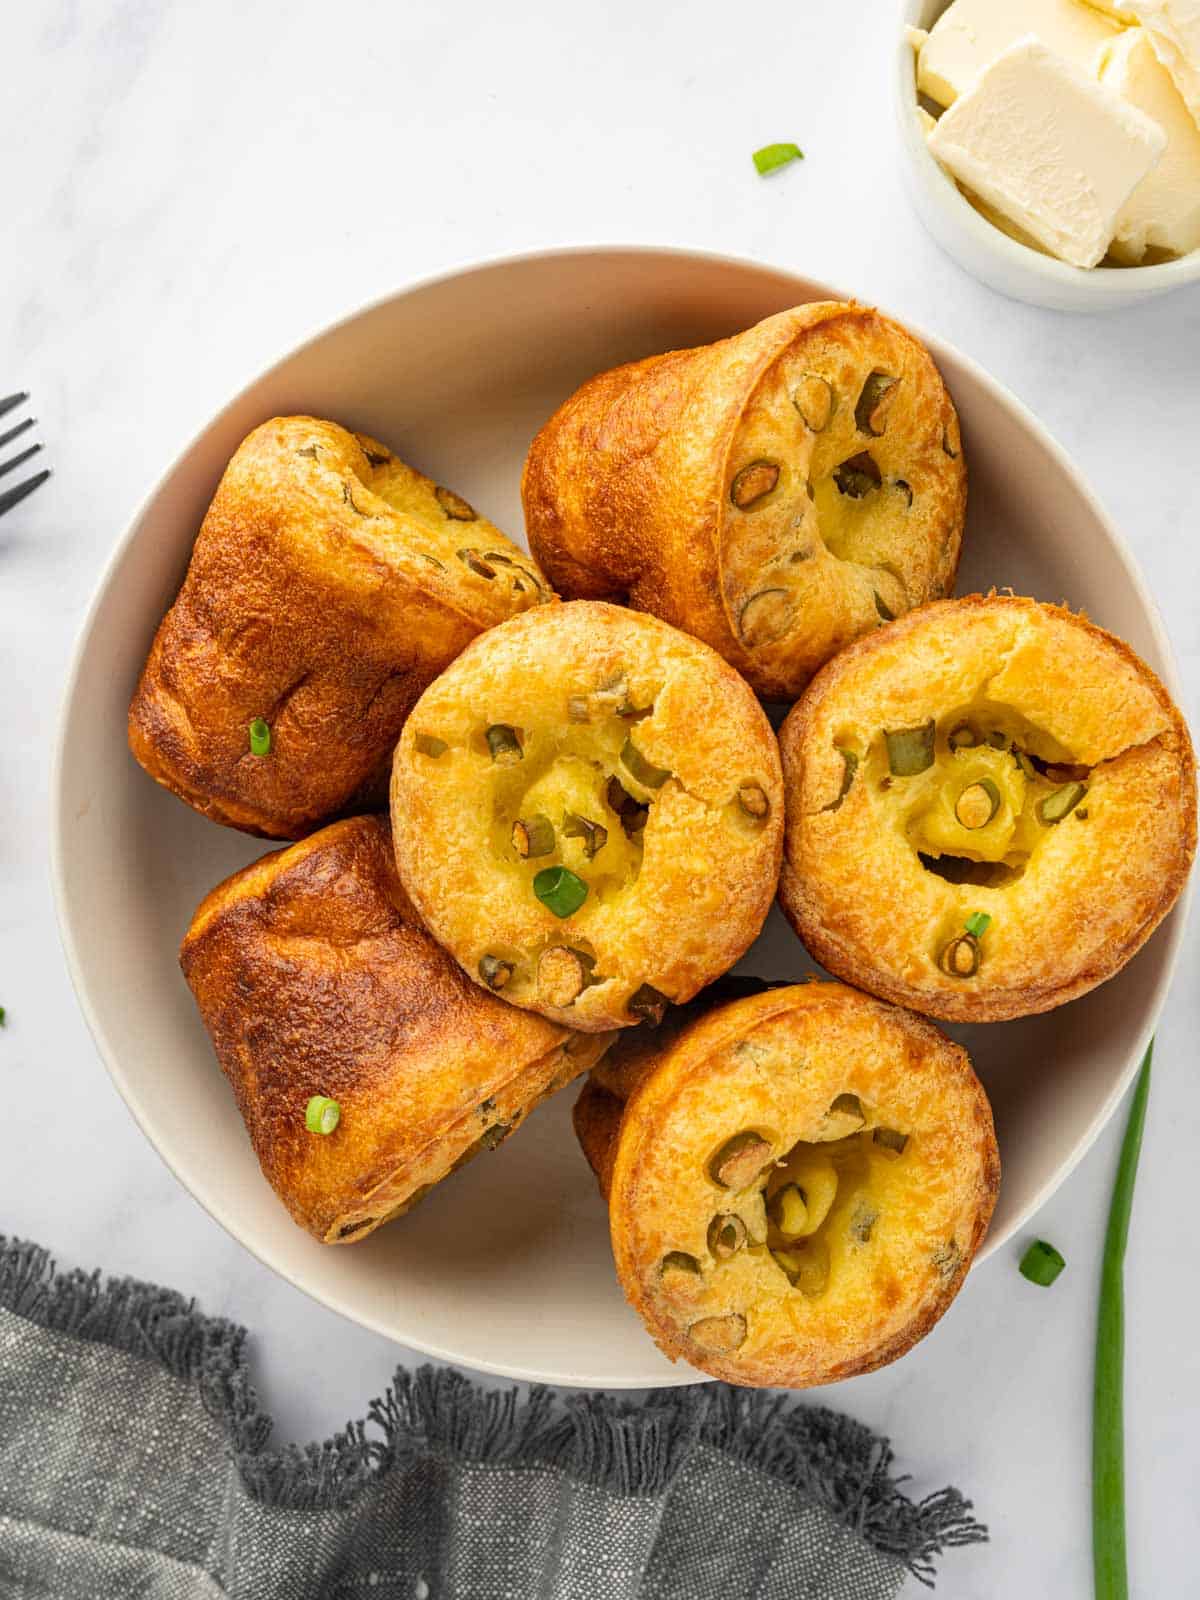
The key to cheesy popovers lies in the batter, which typically includes simple ingredients like flour, milk, eggs, cheese and salt. The result is a perfect combination of textures and flavors. The shredded cheese elevates the flavor, infusing the popovers with a rich and cheesy taste and at the same time creating crunchy exterior and fluffy pockets of melted cheese on the inside. These versatile treats can be enjoyed on their own or paired with various dishes or eaten as a snack.
Why l Love This recipe
- It’s quick and easy. They’re surprisingly simple to make. With just a few pantry staples and a good popover pan, you can whip up a batch in no time.
- It’s family friendly. Kids and adults alike adore cheesy popovers. They’re a fun and enjoyable cooking project for the whole family!
- It’s perfect for any meal. Versatility is the hallmark of cheese popovers – any meal, endless variations.
Ingredients You’ll Need
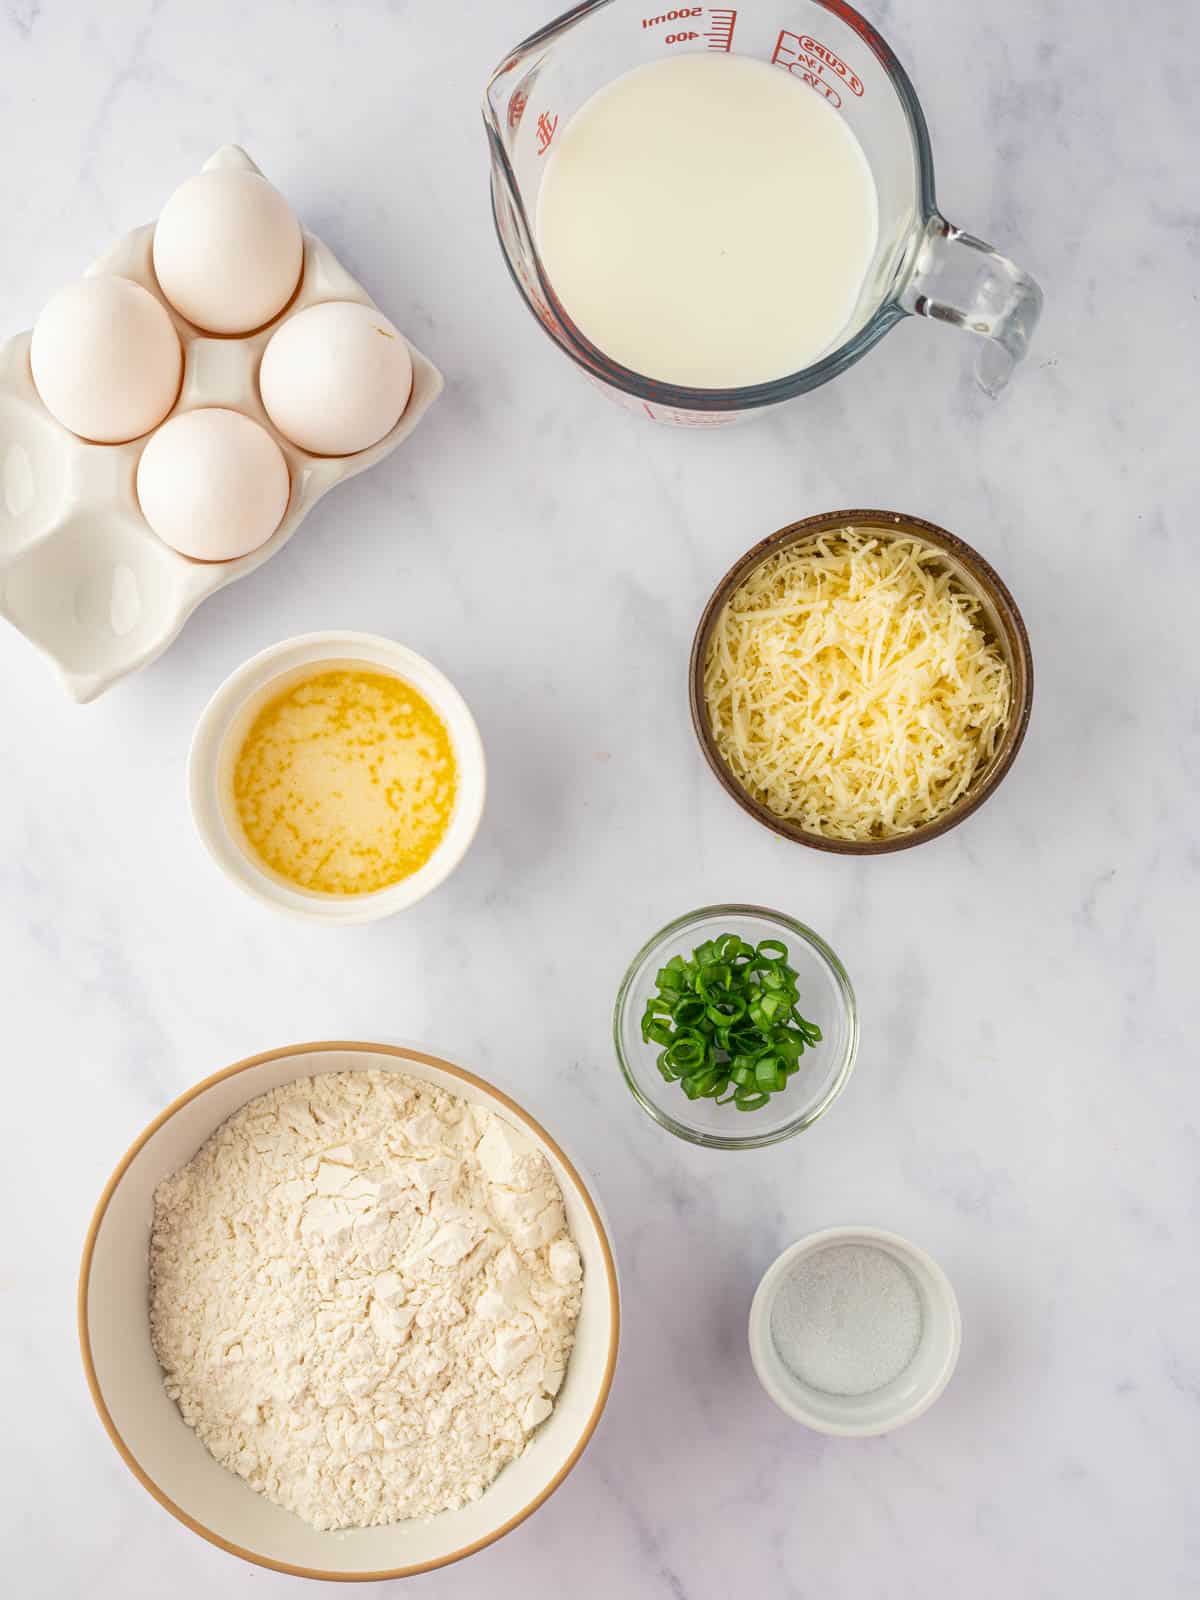
- Eggs: Eggs provide structure and help the popovers pop. If you don’t have eggs or have dietary restrictions, you can try egg substitutes like flax eggs, silken tofu, or commercial egg replacers, but be aware they may perform differently.
- Whole milk: Whole milk adds richness and moisture to the batter. If you prefer a lower-fat option, you can use 2%, skim milk or your favorite non-dairy option.
- Salt: Salt enhances the flavor of the popovers. You can adjust the amount to your taste, but don’t omit it entirely.
- All-purpose flour: Flour is the main dry ingredient that provides structure to the popovers. You can use gluten-free all-purpose flour if you need a gluten-free version.
- White cheddar cheese: White cheddar cheese gives a sharp and savory flavor to the popovers. You can experiment with different cheese varieties like Gruyère, Parmesan, or Swiss for unique flavors.
- Green onions/chives, chopped: Chopped green onions or chives add a fresh, mild onion flavor. If you don’t have these, you can use finely chopped shallots or omit them if you prefer a plain cheesy popover.
How To Make Cheese Popovers
Step 1: Prepare the equipment. Preheat the oven to 450 degrees F. Position the popover pan in a baking tray and place it on the lower rack of the oven as it preheats.
Step 2: Prepare the batter. In a large bowl, whisk the eggs until smooth. Add the milk and salt, then continue whisking for a couple more minutes. Gradually add the flour to the egg mixture and mix until smooth without any lumps. Gently fold in the cheddar cheese and green onions, and then set the mixture aside to rest for at least 10 minutes.

Step 3: Bake the popovers. Once preheating is complete, apply cooking spray to the popover pan and carefully pour the prepared batter into each slot, filling them almost to the top.

Step 4: Return the baking tray to the oven and bake for 20 minutes at 450 degrees F. After that, reduce the oven temperature to 350 degrees F and continue baking for an additional 12-15 minutes, or until the tops are golden brown.
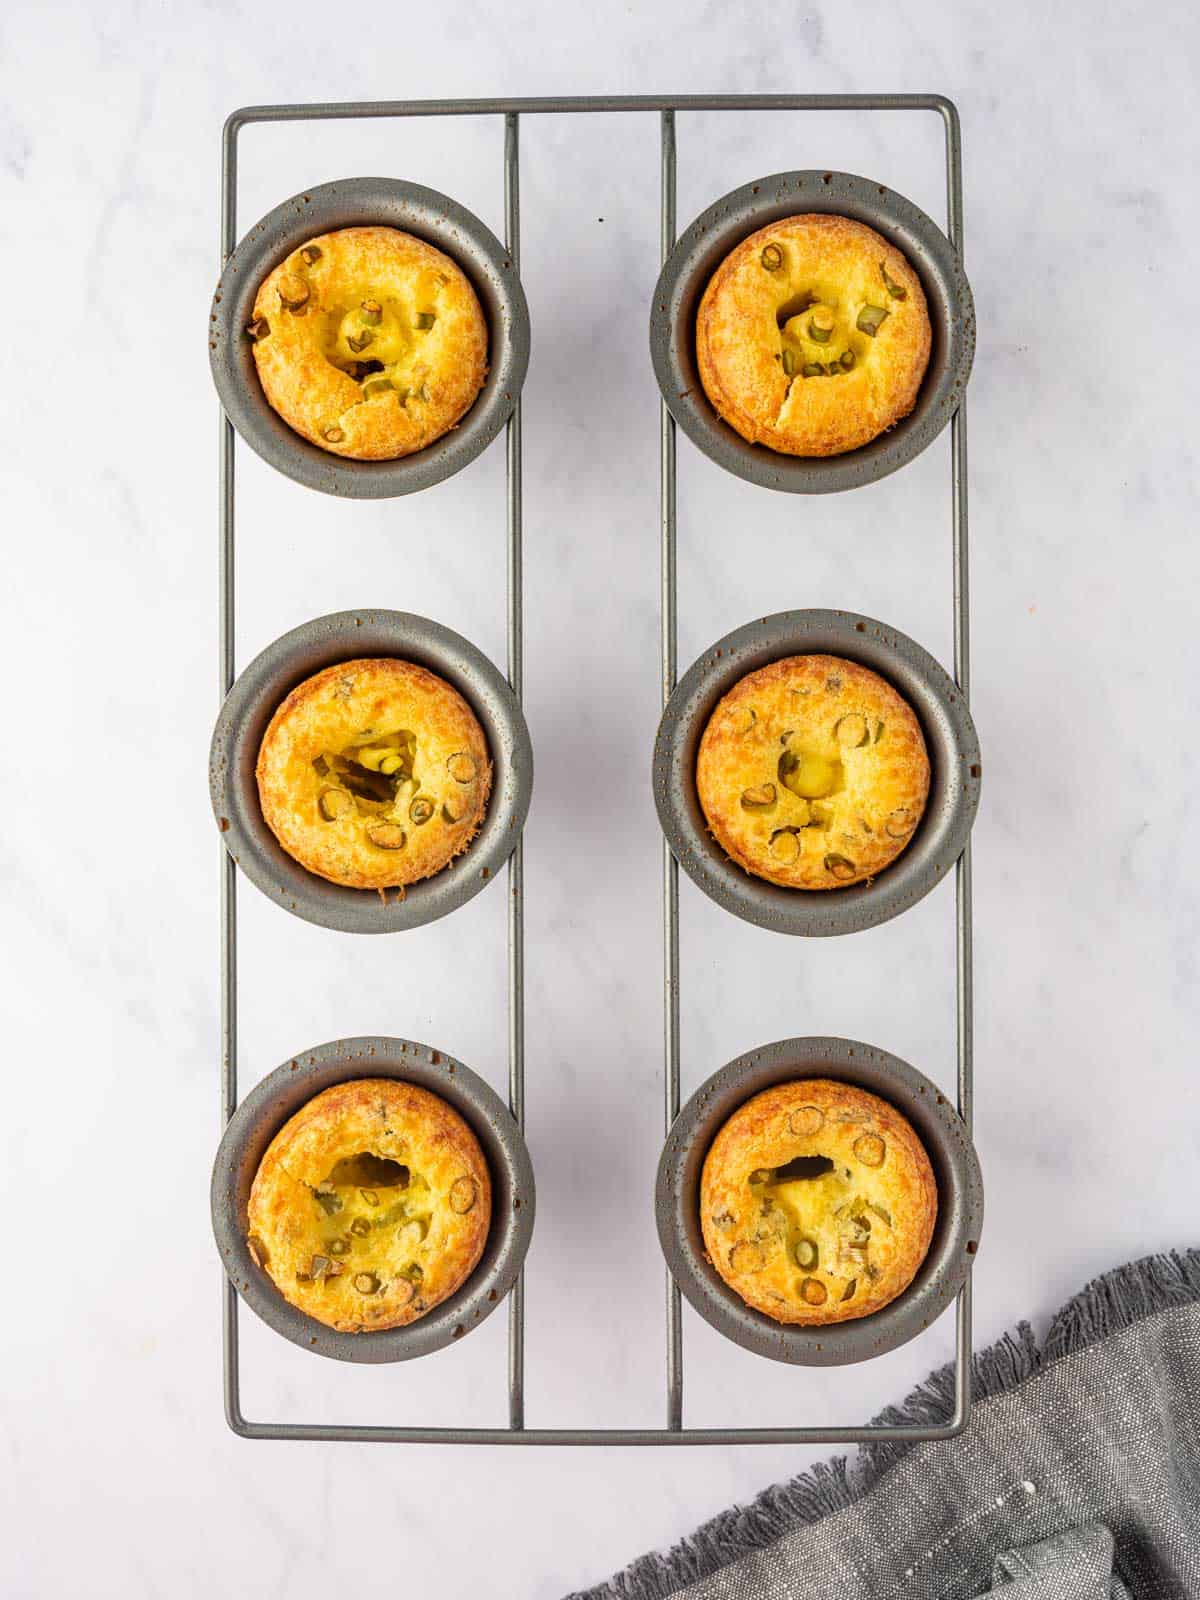
Step 5: Cool and serve. Once baked, take the baking tray out of the oven and gently pierce the tops of the popovers with a butter knife to release steam. Allow the popovers to cool for at least 5 minutes. Slice the popovers and serve them with butter to enjoy.
Expert Tips
- Use room temperature ingredients: Make sure your eggs and milk are at room temperature. This helps create a better popover structure and ensures even baking.
- Preheat the pan: Preheat your popover pan in the oven before adding the batter. This helps the popovers rise properly and ensures they don’t stick to the pan.
- Use a popover pan: While it’s possible to make popovers in a muffin tin, a specialized pan with deep cups is perfect for achieving the classic popover shape and puffiness.
- Don’t overmix: When combining the wet and dry ingredients, mix just until they are combined. Overmixing can lead to tough popovers.
- Rest the batter: Allow the batter to rest for 10-30 minutes before baking. This allows the flour to fully hydrate and results in a lighter texture.
- Fill cups two-thirds full: Fill each cup in the popover pan about two-thirds full with batter. This gives the popovers room to expand as they rise.
- Avoid opening the oven: While baking, resist the temptation to open the oven door. Sudden temperature changes can cause popovers to deflate.
Frequently Asked Questions
Yes, you can use a muffin tin, but the result won’t have the classic popover shape. Preferably the pop over pans are recommended.
Dense popovers may be the result of overmixing the batter or not allowing it to rest adequately. Ensure gentle mixing and a 30-minute resting period.
Popovers may not rise if your ingredients weren’t at room temperature, the pan wasn’t preheated, or you overmixed the batter. Ensuring the batter is well-rested and following the temperature guidelines can help.
Storing and Reheating
Storing: Popovers are usually best when served warm and on spot. However, there are always times when we have leftover and need to save them. Simply store them in an air tight container until ready to reheat. The more the sit, the less crispy they get and tend to shrink in height.
Freezing: Yes, you can freeze popovers. Wrap them individually in plastic wrap and then in foil before freezing. Reheat them in the oven when you’re ready to enjoy them again.
Reheating: Reheat popovers in a preheated oven at 350 degrees F for about 5-10 minutes to restore their crispiness. You can also reheat them in the air fryer with the reheat option or run it through for a few minutes on 350 F.
What to Serve with Cheesy Popovers
Popovers go as a side dish with almost anything. Or even served with some butter as a light appetizer. Some of our favorite recipes include Stuffed Air Fryer Bell Peppers, Baked Tuscan Chicken, Grilled Teriyaki Salmon, or Homemade Oven Beef Stew.
More Homemade Bread Recipes
- Sweet Hawaiian Bread Rolls
- Keto Naan Bread
- Homemade Roasted Garlic Bread
- No Knead Artisan Bread
- Easy Challah Bread
Whether you’re hosting a brunch, serving a family breakfast, or just treating yourself to a delicious snack, cheesy popovers are a versatile choice that can suit any occasion. Serve them alongside a hearty breakfast, brunch, or dinner, or get creative with fillings and toppings.
If you try this recipe and liked it, please leave a star rating and comment below. Use my hashtag to share it with me on Instagram so I can see your delicious recreations! Also, follow me at Cookin’ With Mima on FACEBOOK |INSTAGRAM |PINTEREST for all of my latest social posts and recipes.

Cheesy Popovers
Ingredients
- 4 whole eggs, at room temperature
- 1 ½ cups whole milk
- ½ teaspoon salt
- 1 ½ cups all-purpose flour
- 1 cup white cheddar cheese, grated
- 2 tablespoons green onions/chives, chopped
- 2 tablespoons melted butter
Instructions
- Preheat the oven to 450 degrees F.
- In a large bowl, whisk the eggs until smooth. Add the milk and salt, then continue whisking for a couple more minutes.
- Gradually add the flour to the egg mixture and mix until smooth without any lumps.
- Gently fold in the cheddar cheese and green onions, and then set the mixture aside to rest for at least 10 minutes.
- Meanwhile, position the popover pan in a baking tray and place it on the lower rack of the oven as it preheats.
- Once preheating is complete, apply cooking spray to the popover pan and carefully pour the prepared batter into each slot, filling them almost to the top.
- Return the baking tray to the oven and bake for 20 minutes at 450 degrees F. After that, reduce the oven temperature to 350 degrees F and continue baking for an additional 12-15 minutes, or until the tops are golden brown.
- Once baked, take the baking tray out of the oven and gently pierce the tops of the popovers with a butter knife to release steam. Allow the popovers to cool for at least 5 minutes.
- Slice the popovers and serve them with butter to enjoy.
Notes
-
- Use room temperature ingredients: Make sure your eggs and milk are at room temperature. This helps create a better popover structure and ensures even baking.
- Preheat the pan: Preheat your popover pan in the oven before adding the batter. This helps the popovers rise properly and ensures they don’t stick to the pan.
- Rest the batter: Allow the batter to rest for 10-30 minutes before baking. This allows the flour to fully hydrate and results in a lighter texture.
- Fill cups two-thirds full: Fill each cup in the popover pan about two-thirds full with batter. This gives the popovers room to expand as they rise.

