This post may contain affiliate links, read my disclosure policy for details.
This 4 ingredient No Knead Artisan Bread is fluffy on the outside with a golden crust surrounding it. No fancy equipment needed, this no knead bread is practically foolproof.
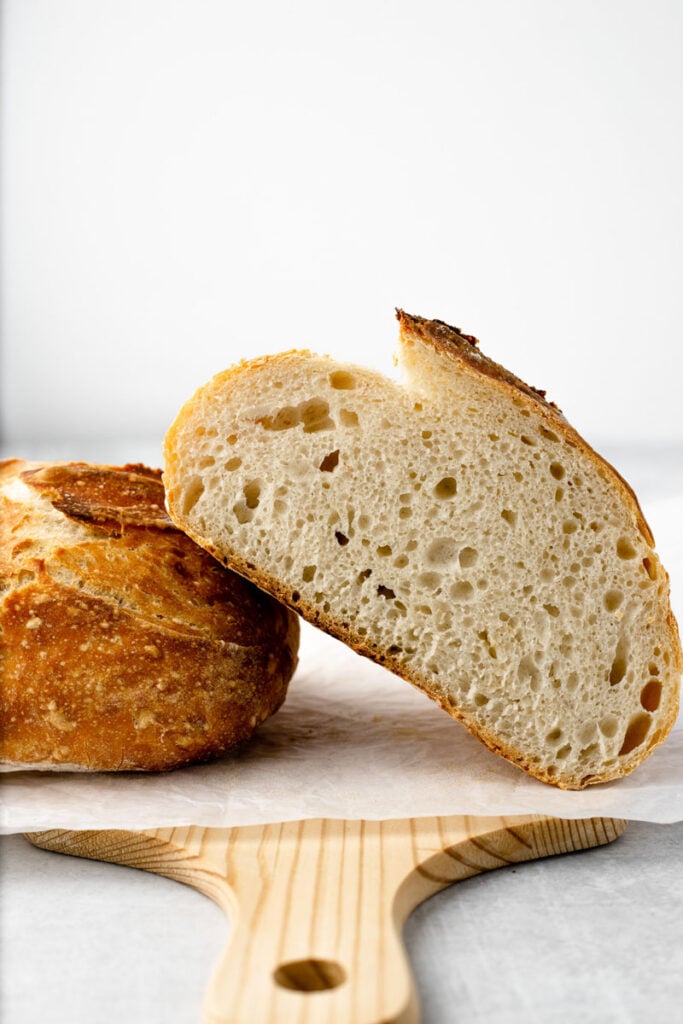
If you’re not sure where to start and want to make homemade bread, this is the perfect recipe for it. You would believe how delicious this bread is. It’s the perfect crusty bread to go with a warm bowl of soup, to soak up sauce, to turn into avocado toast, or to dip into things. It’s called no knead artisan bread because it’s truly no knead. All you have to do is give it all a mix together and that’s it.
Want to do more baking? Try my Easy Challah Bread, Hawaiian Sweet Rolls, or my Sandwich Bread! They’re so easy to make!
Why You’ll Love This Bread
- It’s easy! This is a very forgiving recipe and with only a couple of ingredients, it’s really hard to go wrong. There’s no kneading, there’s no fancy equipment to clean, it only requires a few minutes of “work.”
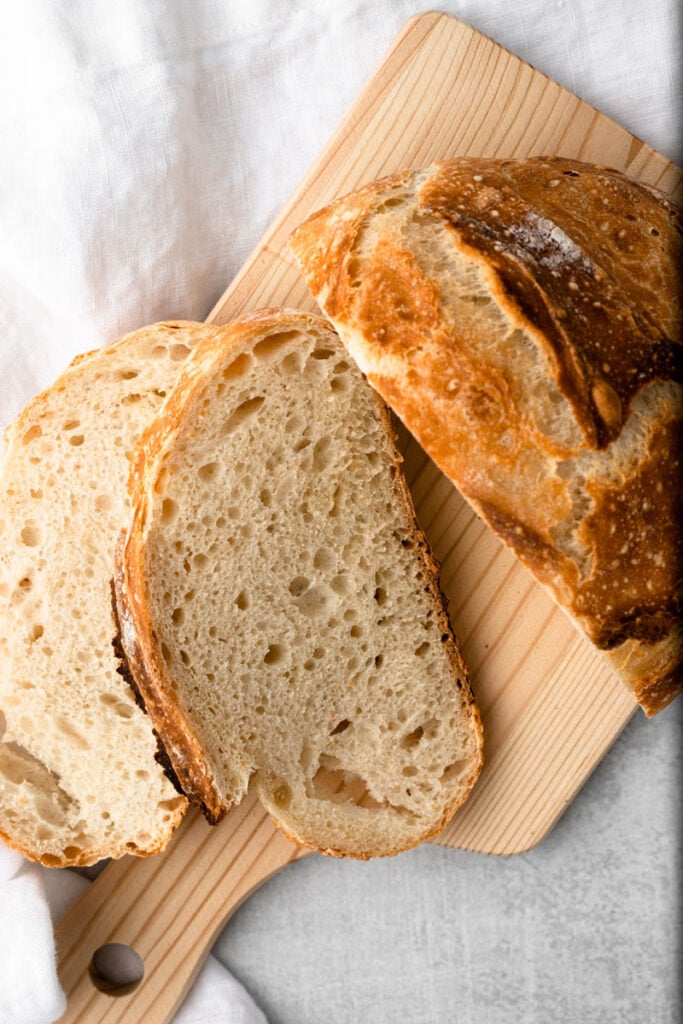
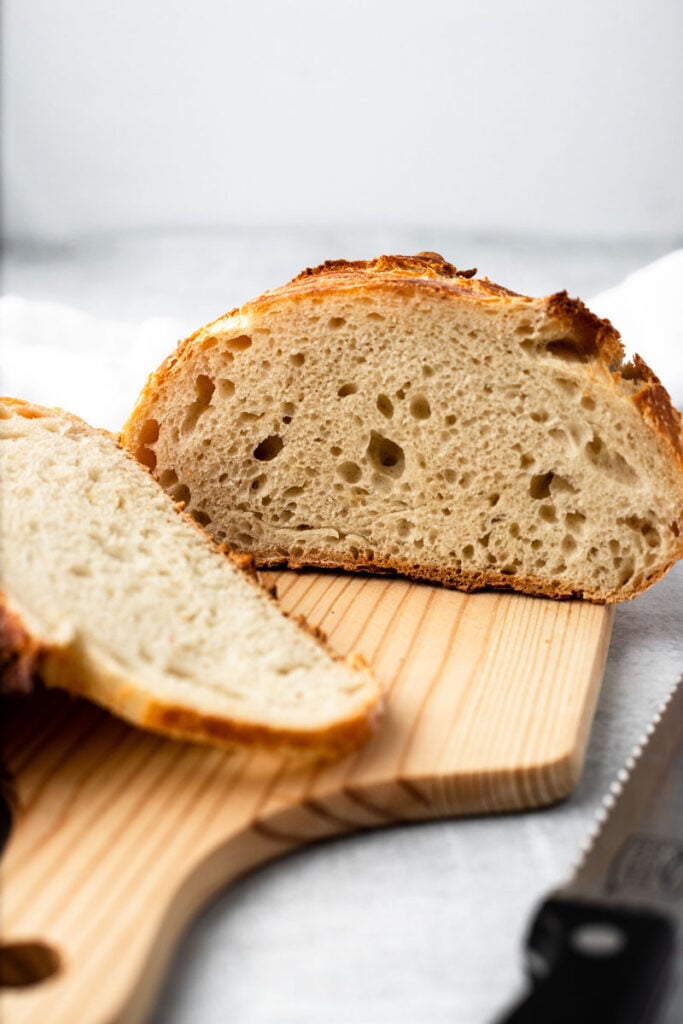
- It tastes amazing. And the texture is just like artisan bread you get at the bakery! The inside is fluffy, chewy, and spongy. The outside crust is thick, golden, and crispy.
- Only four ingredients are needed. You probably already have most of what you need in your kitchen. If you don’t want to count water as an ingredient, then it’s only three!
What You’ll Need to Make Homemade No Knead Artisan Bread
- All purpose flour — no fancy flour needed.
- Sea salt
- Instant yeast
- Lukewarm water
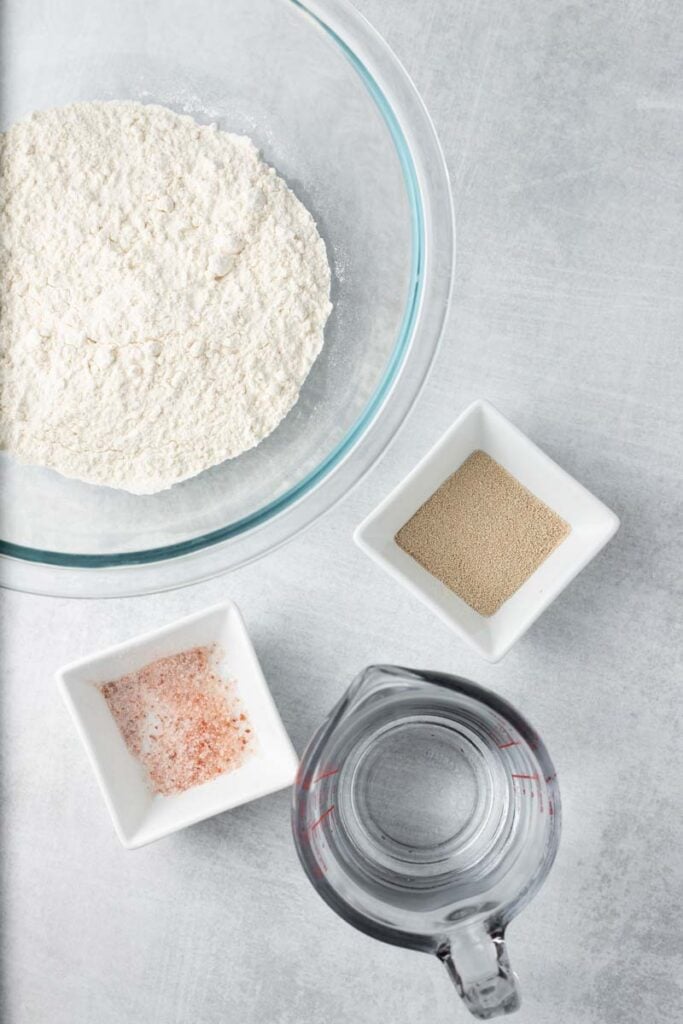
How to Make No Knead Bread
- Combine the ingredients: In a bowl mix in all the ingredients with a wooden spoon, until they are well combined – should just be about 2-3 minutes. Not necessary to knead the dough.
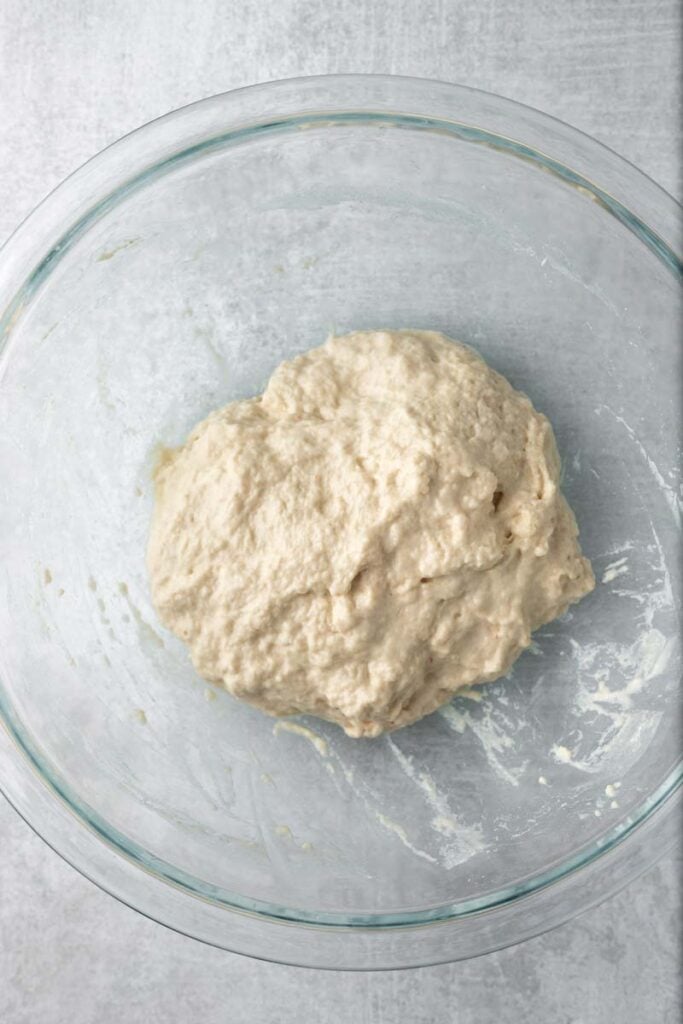
- Let the dough rise: Once incorporated, cover it with a tea towel at room temperature for about 2.5 hours.
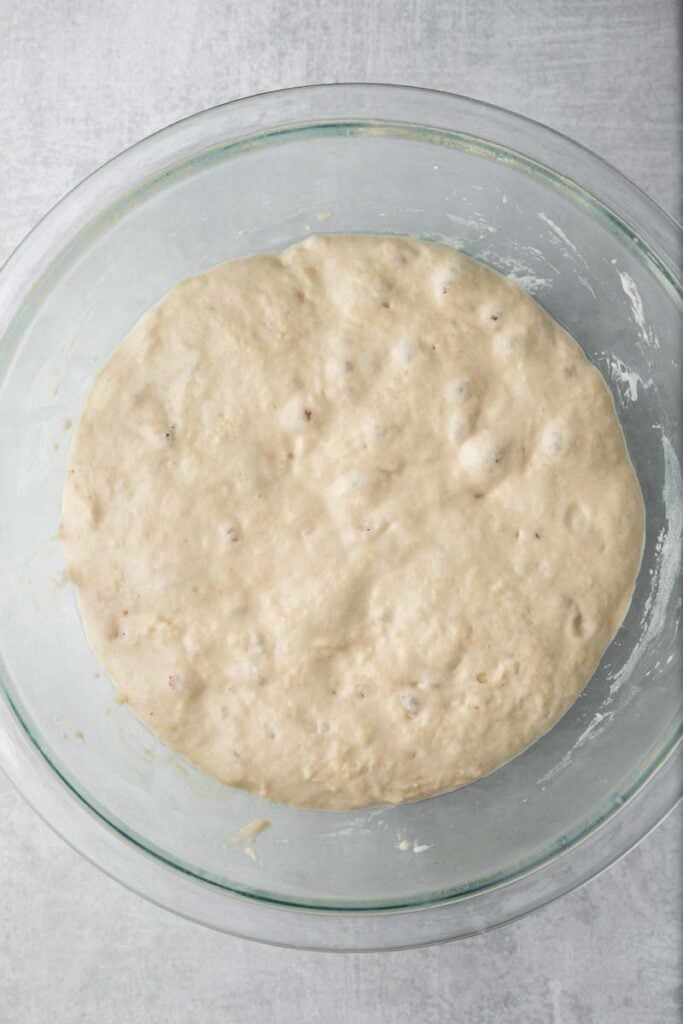
- Refrigerate the dough: After 2.5 hours, place the covered bowl with the dough into the refrigerator and let it refrigerate overnight (helps develop flavor and easier to work with when the dough is cold).
- Preheat the oven: Next day, place the dutch oven with lid on into the oven and preheat the oven to 450F for at least 20 minutes.
- Prepare the dough: On a table, place a large parchment paper (large enough to contain the dough) and sprinkle some flour on top. Carefully remove the refrigerated dough onto the floured surface. Shape the dough into a round ball by pulling the sides of the dough to the middle, forming a seam. Invert the dough such that the seam is at the bottom. Optional: score the dough with a few slashes.
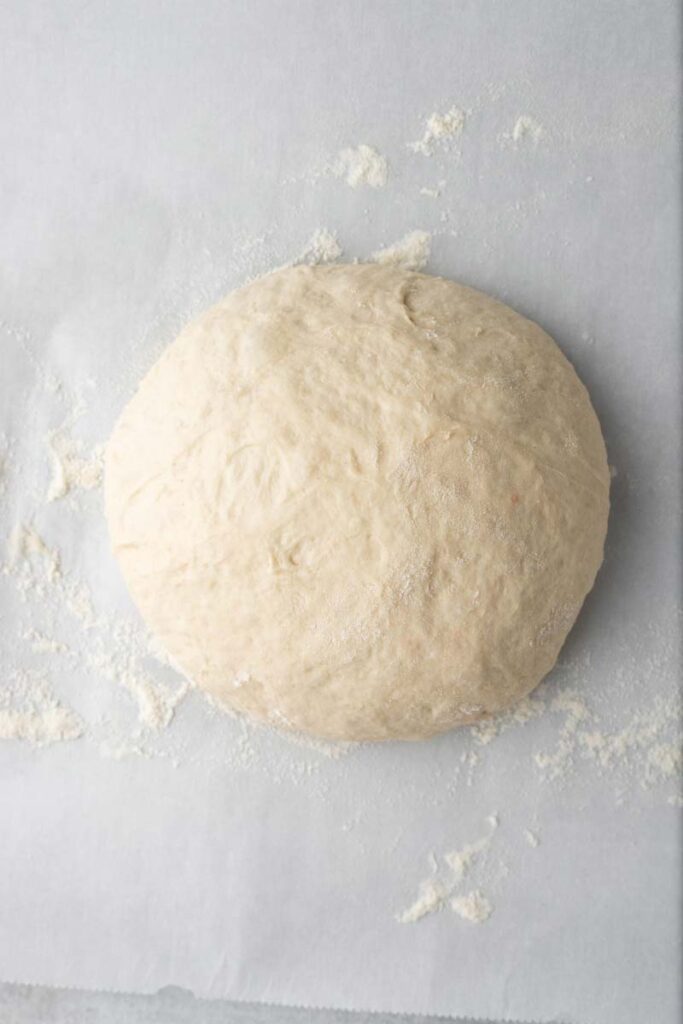
- Bake the bread: Carefully remove the dutch oven from the oven, and place the dough with the parchment paper into the dutch oven. Cover it with the lid and bake the bread for about 25 minutes. After 25 minutes, remove the lid and continue baking for another 20 minutes or until the bread is golden brown.
- Enjoy! Once baked, remove from the oven and let the bread cool completely before slicing it.
Tips and Notes
- Refrigerating the dough is what helps it build flavor. For the best no knead artisan bread results, you should refrigerate the dough from 8 to 12 hours.
- It’s important to use a cast iron pot for this as you need something that can withstand the high temperatures. Not all dutch ovens are made the same. You’ll be preheating the dutch oven at 450F and your dutch oven has to be able to withstand that. Some pots may look like a dutch oven but are not made of cast iron so please double check.
- No need to worry if you can’t shape your loaf into a perfect boule. Since this is meant to be artisan bread, the rougher shape makes it look rustic!
- If your house is not warm enough for your dough to rise, you can let the dough rise inside an OFF oven with the oven light turned on.
- We score the bread as it allows the top of the bread to expand while it bakes. If you don’t score it, the bread will burst and essentially make its own score.
FAQs
Lukewarm water is when the warm is just warmer than your body temperature. When you put your finger in the water, it should be warm but not hot. Aim for anywhere between 98 and 105F. If your water is too hot, it’ll kill the yeast. If the water is not water enough, your yeast won’t activate.
If you don’t have all purpose flour, you can use bread flour. I would not substitute with gluten-free or whole wheat flour.
This no knead artisan bread is freezer friendly! After it’s been baked, let the bread cool and then wrap it up tightly in an airtight bag and freeze for up to 2 months.
It might be easier to slice your bread before freezing as if you want bread a slice at a time, it’s easier to pull it out a slice at a time without thawing everything. If you plan on eating all the leftovers at once, you can skip slicing it.
It’s super easy to reheat frozen bread! All you have to do is bring the bread to room temperature and then heat it up in a 350F oven for a couple of minutes until it’s been warmed through.
This no knead artisan bread will be fresh for 2 days and then afterwards, I’d suggest it be toasted for the best flavor. Be sure to store in an airtight container.
More Bread Recipes You Might Like
I hope you enjoy all the recipes I share with you, including this delicious No Knead Artisan Bread recipe. I hope you try it, enjoy it, rate it and share it with your friends and family!
If you try this recipe and like it, please use my hashtag to share it with me on INSTAGRAM for a chance to be featured in my story! Also, follow me at Cookin’ With Mima on FACEBOOK |INSTAGRAM |PINTEREST for all of my latest social posts and recipes.
Artisan Bread
Ingredients
- 3 ¼ cup all purpose flour
- ½ tbsp sea salt
- ½ tbsp instant yeast
- 1.5 cup lukewarm water
Instructions
- In a bowl with a wooden spoon, mix in all the ingredients until they are well combined – should just be about 2-3 minutes. Not necessary to knead the dough.
- Once incorporated, cover it with a tea towel at room temperature for about 2.5 hours.
- After 2.5 hours, place the covered bowl with the dough into the refrigerator and let it refrigerate overnight (helps develop flavor and easier to work with when the dough is cold).
- Next day, place the dutch oven with lid on into the oven and preheat the oven to 450F for at least 20 minutes.
- On a table, place a large parchment paper (large enough to contain the dough) and sprinkle some flour on top.
- Carefully remove the refrigerated dough onto the floured surface.
- Shape the dough into a round ball by pulling the sides of the dough to the middle, forming a seam. Invert the dough such that the seam is at the bottom.
- Optional: score the dough with a few slashes.
- Carefully remove the dutch oven from the oven, and place the dough with the parchment paper into the dutch oven. Cover it with the lid and bake the bread for about 25 minutes.
- After 25 minutes, remove the lid and continue baking for another 20 minutes or until the bread is golden brown.
- Once baked, remove from the oven and let the bread cool completely before slicing it.
Notes
- Refrigerating the dough is what helps it build flavor. For the best no knead artisan bread results, you should refrigerate the dough from 8 to 12 hours.
- It’s important to use a cast iron pot for this as you need something that can withstand the high temperatures. Not all dutch ovens are made the same. You’ll be preheating the dutch oven at 450F and your dutch oven has to be able to withstand that. Some pots may look like a dutch oven but are not made of cast iron so please double check.
- No need to worry if you can’t shape your loaf into a perfect boule. Since this is meant to be artisan bread, the rougher shape makes it look rustic!
- If your house is not warm enough for your dough to rise, you can let the dough rise inside an OFF oven with the oven light turned on.
- We score the bread as it allows the top of the bread to expand while it bakes. If you don’t score it, the bread will burst and essentially make its own score.


Hi m’ima in planning to make your no kneed artisan bread what size Dutch oven do you use ?
Sorry for the late reply. My pot is 6 qrt.