This post may contain affiliate links, read my disclosure policy for details.
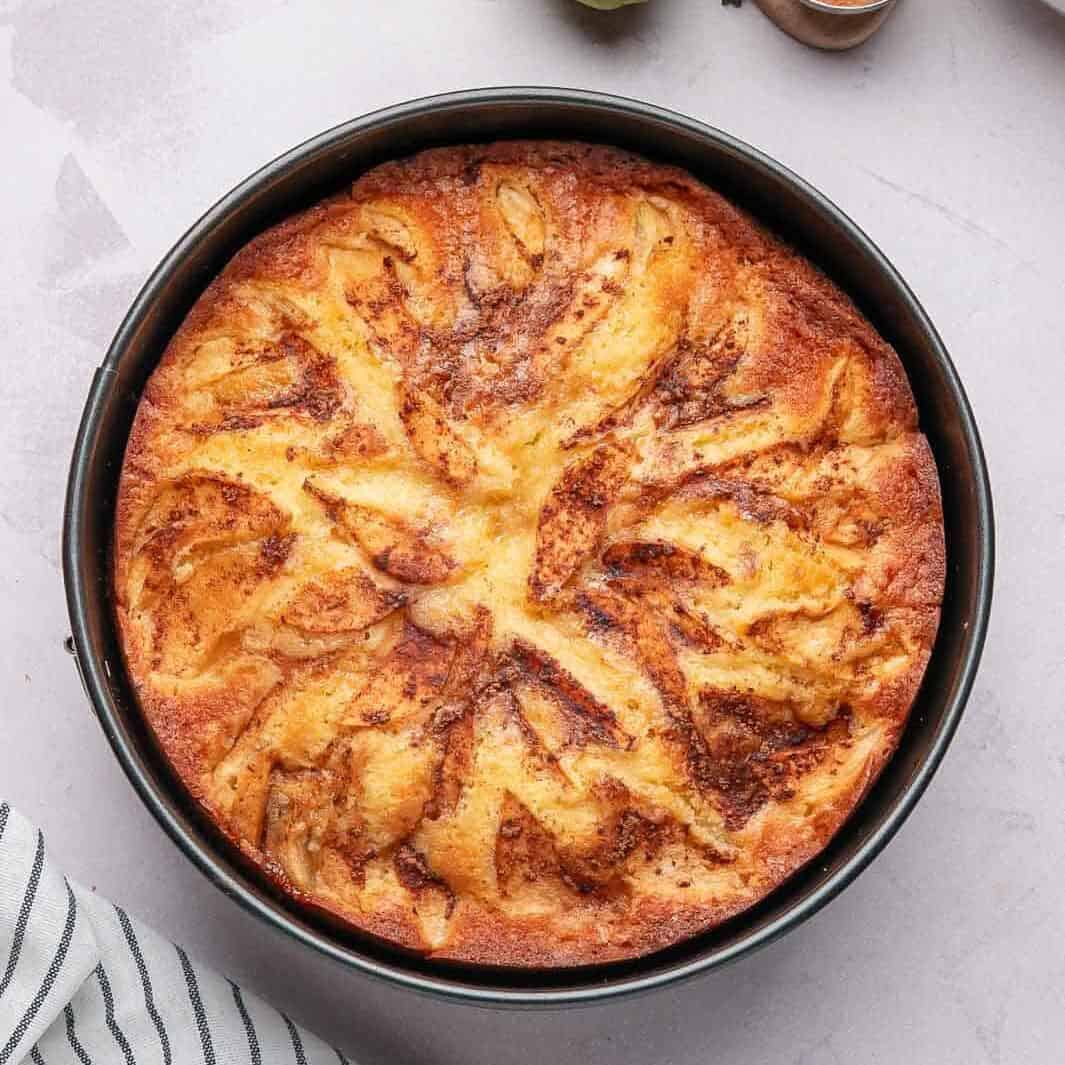
This tender, one-bowl Pear Cake features a buttery sponge and juicy sliced pears finished with a crisp, caramelized cinnamon-sugar crust.
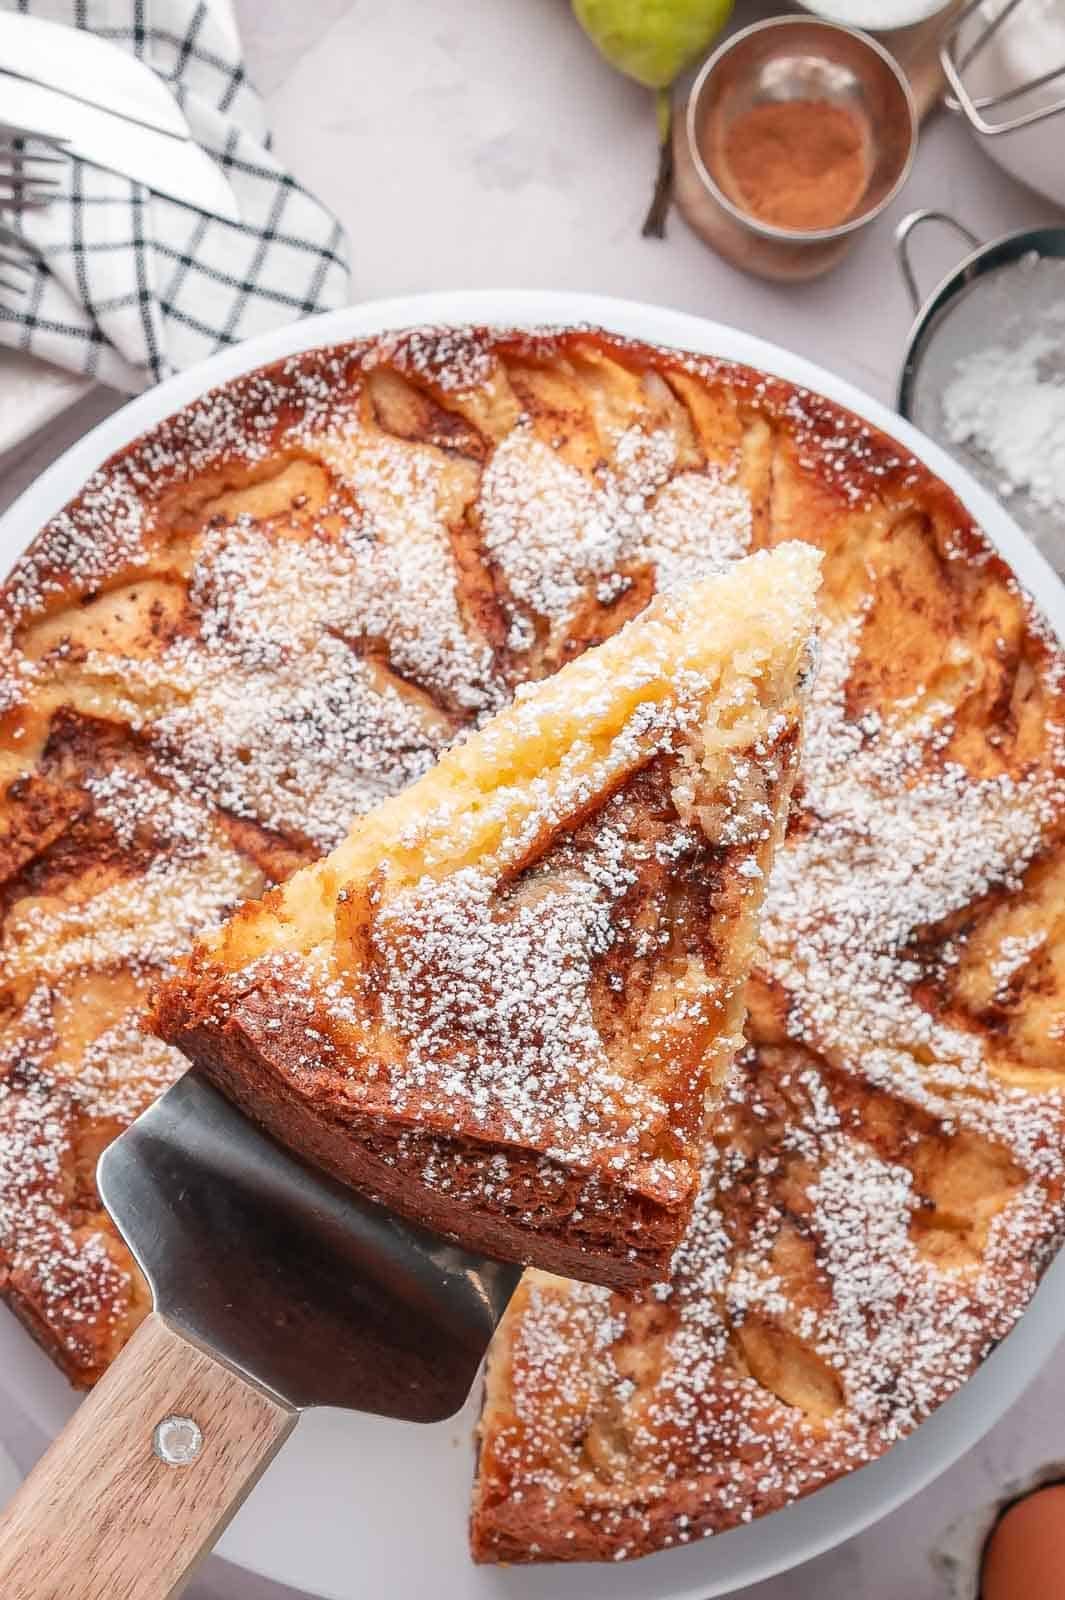
Easy Moist Pear Cake is the ultimate 20-minute prep dessert that delivers a bakery-style result with minimal effort. If you’ve been searching for a moist fruit cake that balances a buttery, light sponge with the natural sweetness of ripe pears, this recipe is designed for a perfect, tender crumb every single time.
The Secret to a Fluffy Crumb: Aeration
To prevent a gummy texture or sinking fruit, the secret is aeration. By whipping your butter and sugar on high speed before adding eggs, you create a structural “net” of air pockets. This ensures your sponge stays light and fluffy while keeping the pear slices perfectly suspended instead of sinking to the bottom.
The “Shield & Bake” Method
Pears have high water content, which means the center takes longer to set. To protect the crust while the inside finishes, use my Shield & Bake rule: Loosely tent the pan with aluminum foil at the 40-minute mark. This traps “carry-over heat” to cook the center without burning your cinnamon-sugar topping.
Quick Facts
Cuisine: Classic Dessert / Fruit Cake
Skill Level: Intermediate
Prep Time: 20 Minutes
Cook Time: 60 Minutes
Key Flavors: Warm Cinnamon, Buttery Vanilla, Jammy Pear
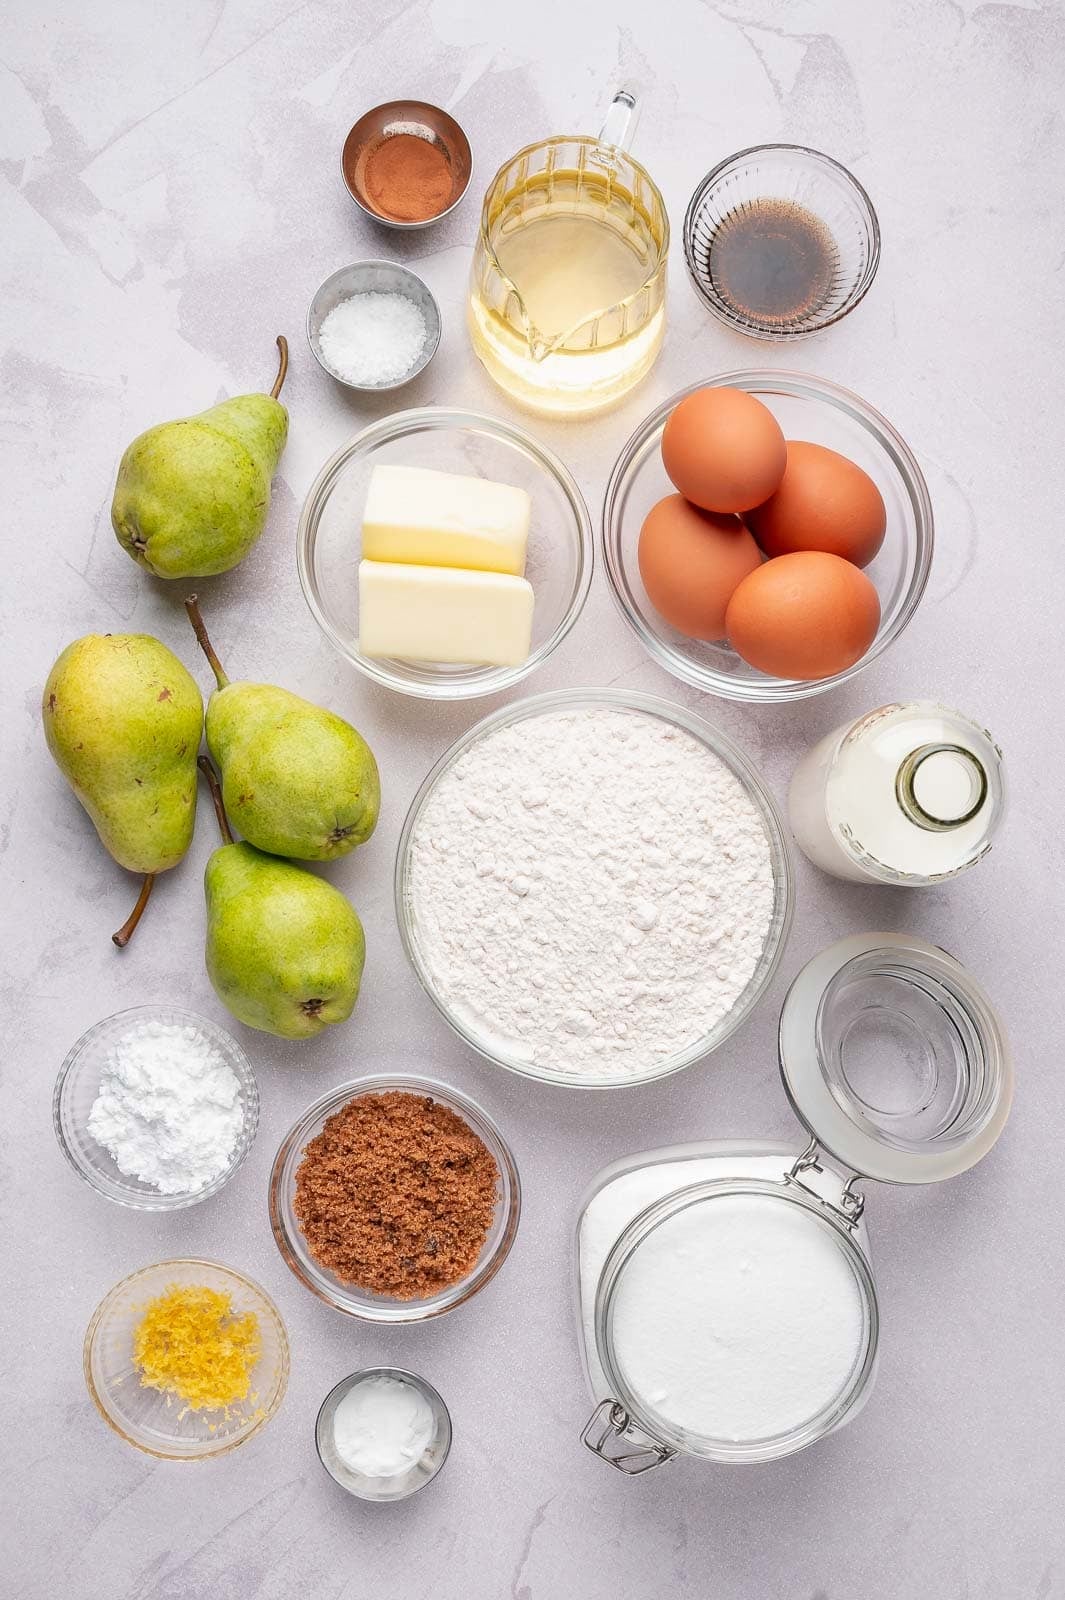
Pear Cake Ingredients
Before you even crack an egg, gather your ingredients. Having your butter and eggs at room temperature is non-negotiable for a silky batter.
The Fresh Fruit
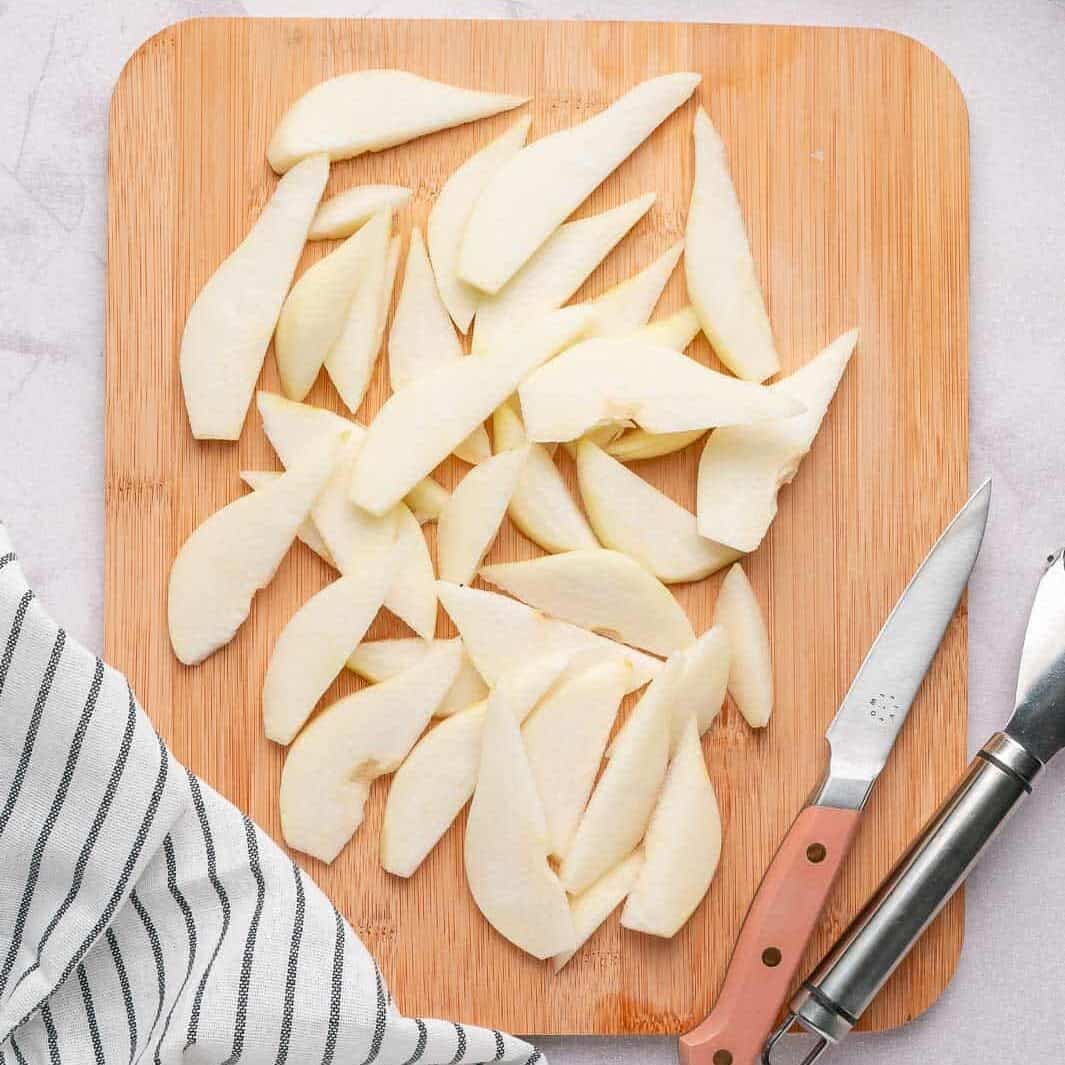
- 3 Ripe Pears (Bartlett or Bosc): Peeled and thinly sliced for a jammy texture.
The Batter Base
- Pantry Essentials: All-purpose flour, granulated sugar, and baking powder.
- Liquid Gold: Softened unsalted butter, whole milk, and room-temperature eggs.
- Flavor Aromatics: Vanilla extract, lemon zest, and a pinch of salt.
The Signature Topping
- Cinnamon & Brown Sugar: Sprinkled heavily to create a crackly, caramelized crust.
* Recipe measurements are in the recipe card below.
How to Make Pear Cake: Step-by-Step Instructions

Chef’s Tips
- Choosing the Right Pear: Use Bosc or Anjou pears if you want them to hold their shape perfectly. If you prefer a more “jammy” fruit texture that melts into the sponge, go with ripe Bartlett pears.
- Pan Size Matters: I recommend a 10×3 inch deep springform pan. If you use a wider, shallower pan, reduce the bake time by 10–15 minutes and keep a close eye on the center.
- Don’t forget the Shield & Bake foil tent at the 40-minute mark!
Storage & Freezing Tips
- Room Temperature: This cake stays moist for 2 days in an airtight container on the counter.
- Refrigeration: For longer storage, refrigerate for up to 5 days. Chef’s Tip: Bring a slice to room temperature or microwave for 10 seconds to restore the buttery crumb.
- Freezing: Wrap individual slices tightly in plastic wrap and aluminum foil. Freeze for up to 2 months. Thaw in the fridge overnight before serving.

Troubleshooting & FAQs
Yes! If using canned pears, drain them well and pat them dry to avoid excess moisture.
I highly recommend peeling them. While the skin looks rustic, it can become tough and papery during the long bake time. Peeling ensures a consistent, melt-in-your-mouth texture in every bite.
This usually happens if the oven door is opened too early or if the leavening agents (baking powder) are old. Ensure your oven is fully preheated before sliding the pan in!
This usually happens if the batter was over-mixed or not aerated enough. Ensure you whip the eggs/sugar for the full 2 minutes to create that sturdy base.
Easy Moist Pear Cake
Equipment
- 10 x 3 inch Round Springform (Easy Release) changing pan will change cook time.
Ingredients
- 2¼ cups cake or all purpose flour, sifted
- 1½ cup sugar, fine granulated white sugar
- ½ cup butter , soft, unsalted
- ⅓ cup canola oil, or vegetable oil
- 3 tsps. baking powder
- 1-2 tbsps. vanilla extract, per preference
- 4 whole eggs, large
- ½ cup milk, whole fat
- 3 whole ripe pears, peeled and thinly sliced
- ⅛ tsp. salt, Just a pinch
- 1 tsp. lemon zest, (optional)
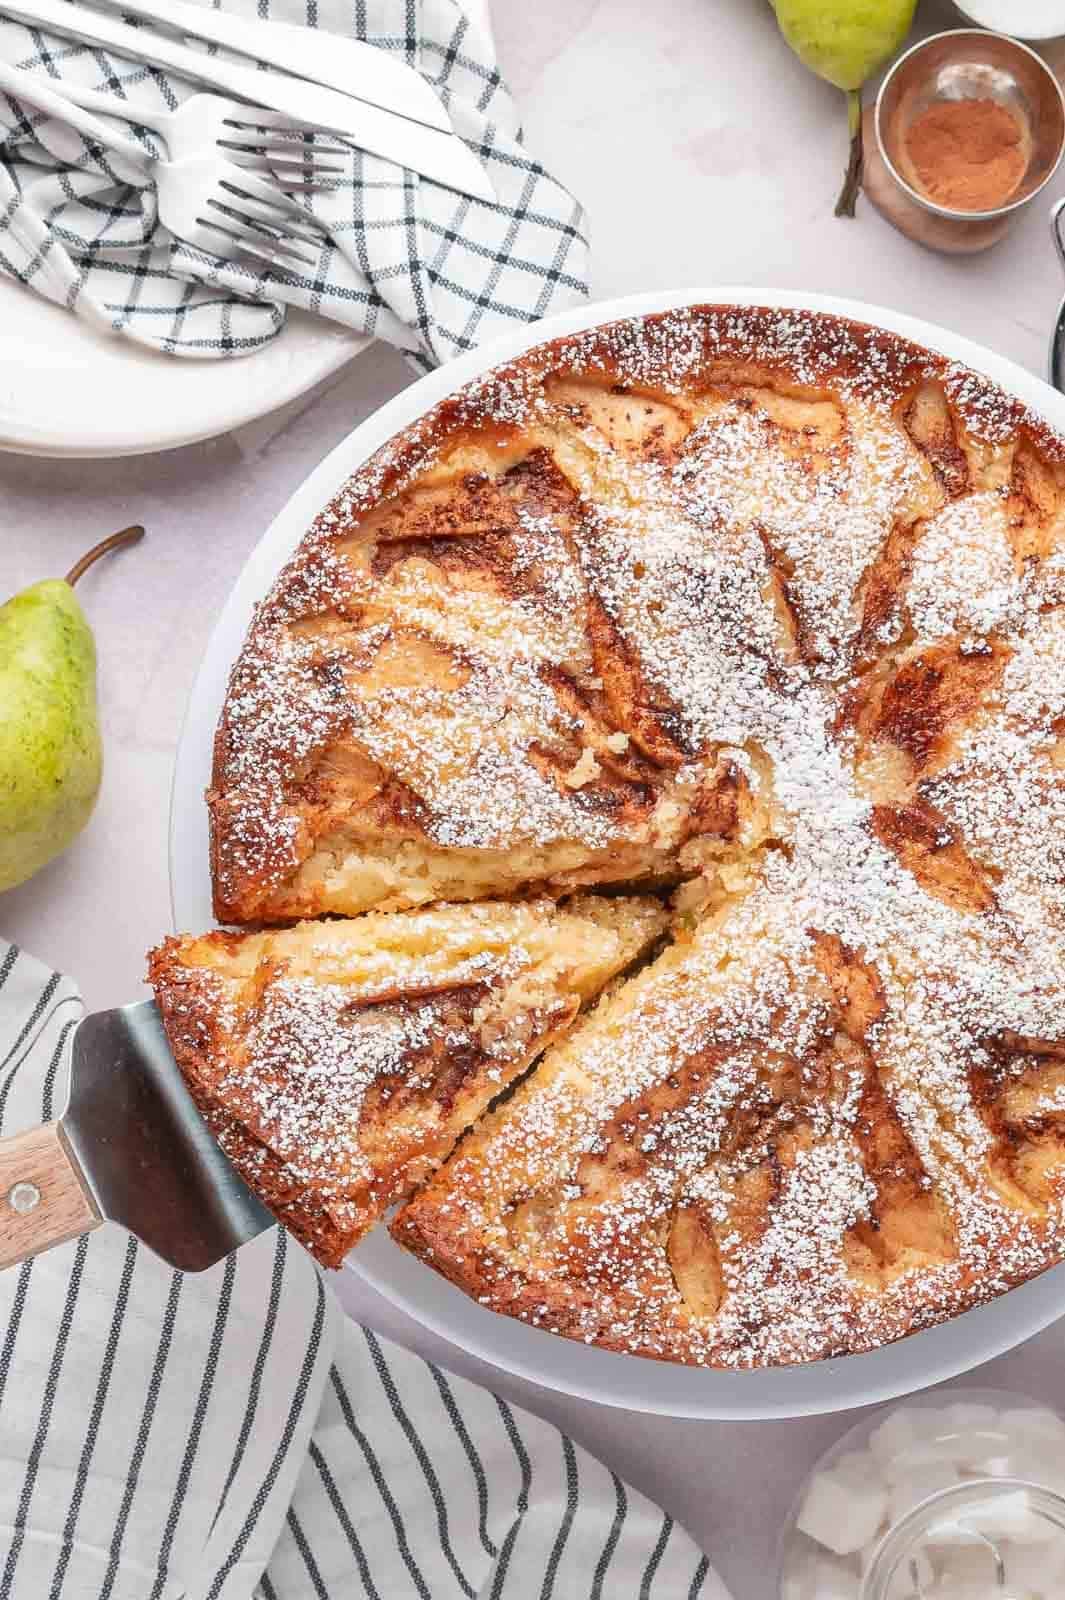
- 2 tbsps. confectioner suger, for dusting after baking
TOPINGS before baking:
- ¼ cup brown sugar, or less as desired
- ¾ tsp. cinnamon
Instructions
- Preheat and Prep: Preheat your oven to 350°F (175°C). Peel, core, and thinly slice the pears; set aside.
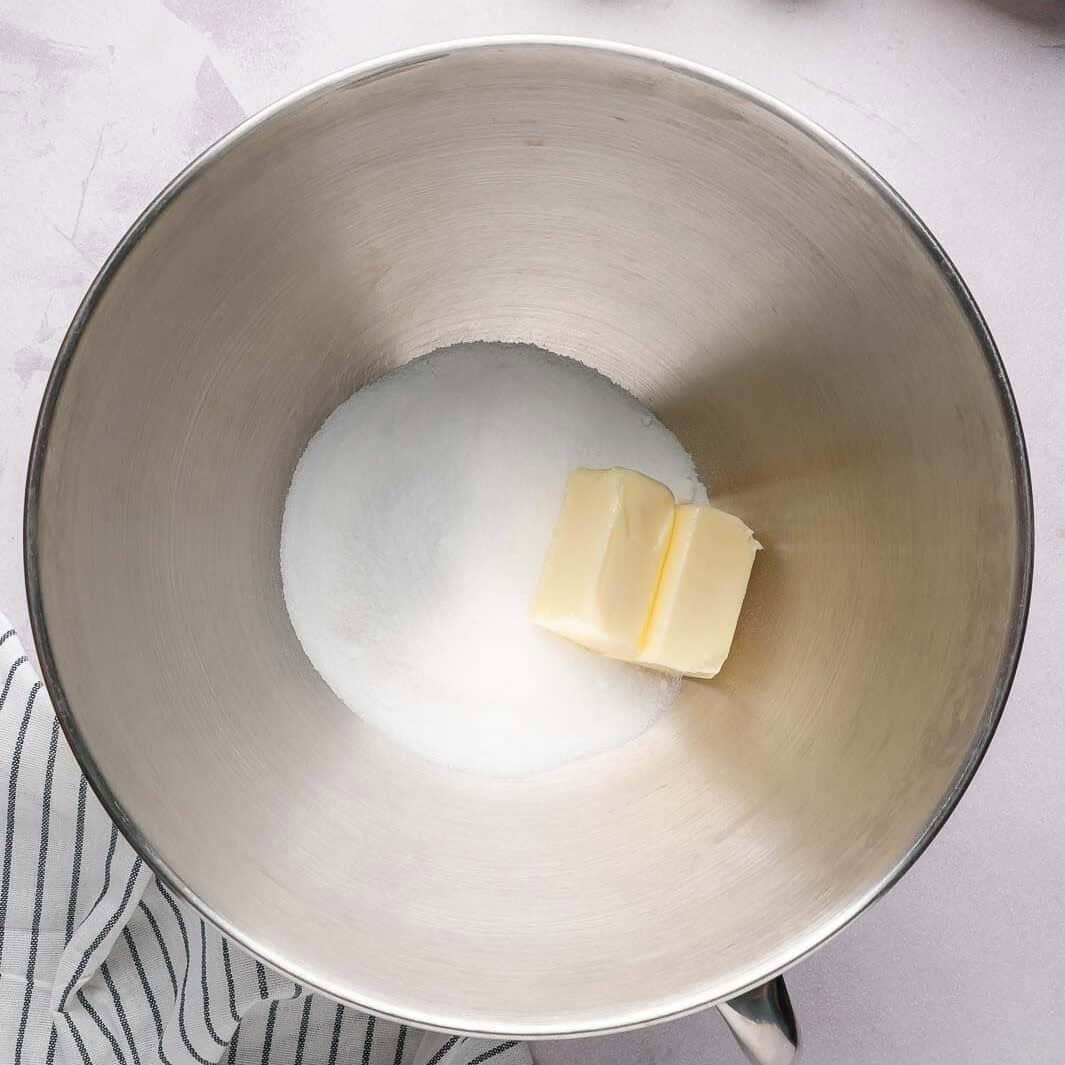
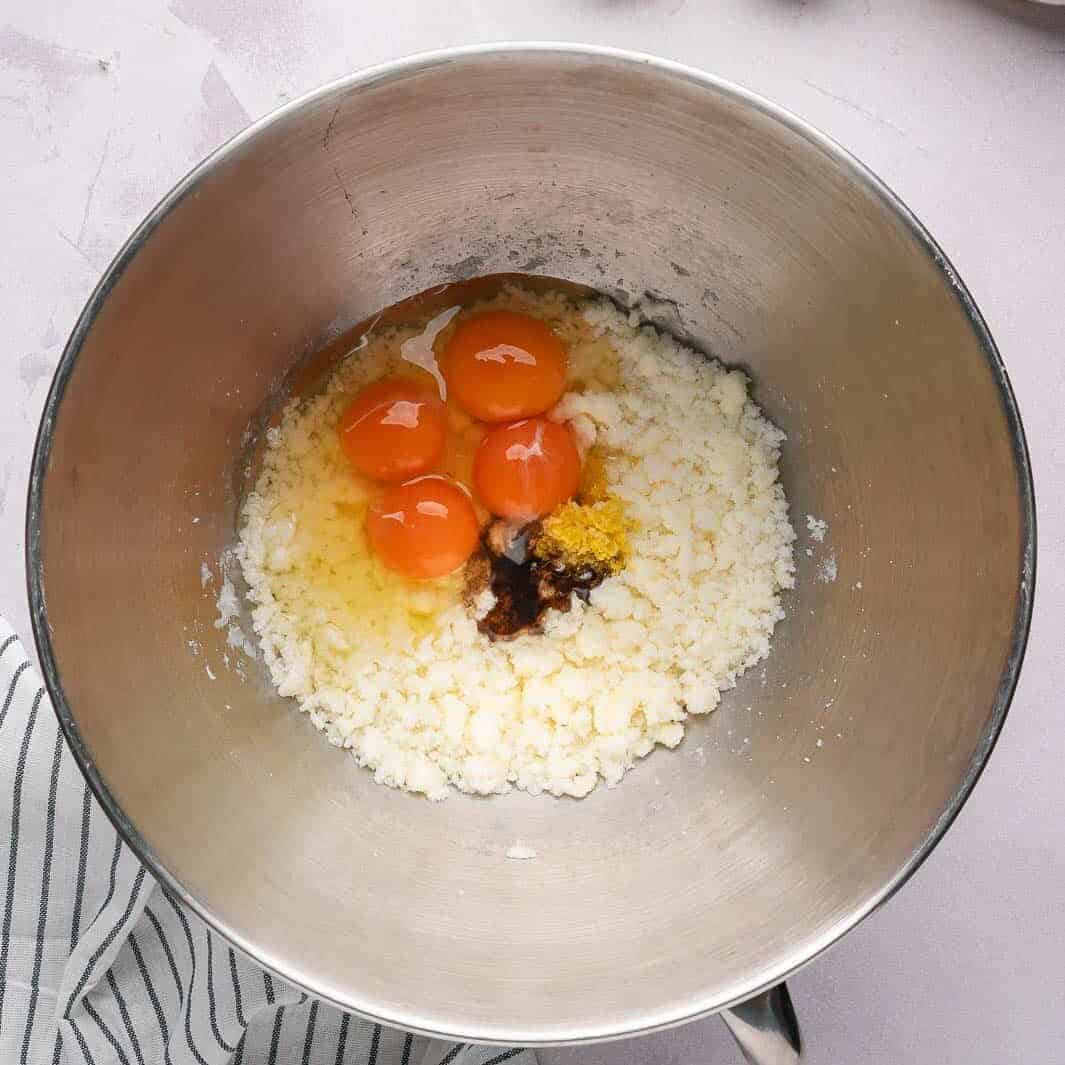
- Cream the Base: In the bowl of an electric mixer, cream the butter and sugar on medium-high speed for approximately 1 minute until well combined and smooth.
- Aerate the Batter: Add the vanilla extract, fresh lemon zest, and eggs. Continue to whip on high speed for 1–2 minutes until the mixture is noticeably pale, voluminous, and fluffy.
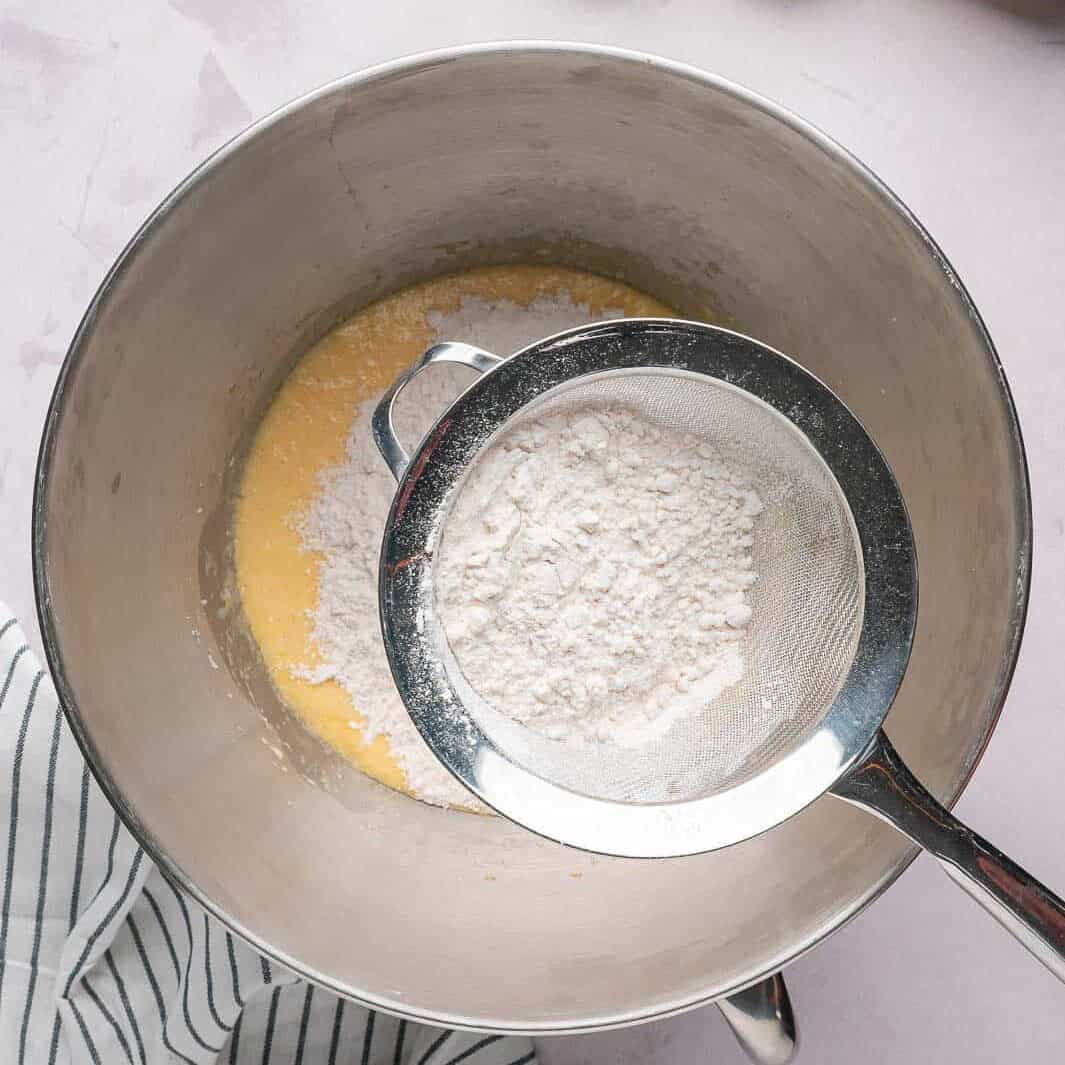
- Incorporate Dry Ingredients: Lower the mixer speed and add the baking powder, sifted flour, and a pinch of salt. Mix for about 1 minute until just combined.
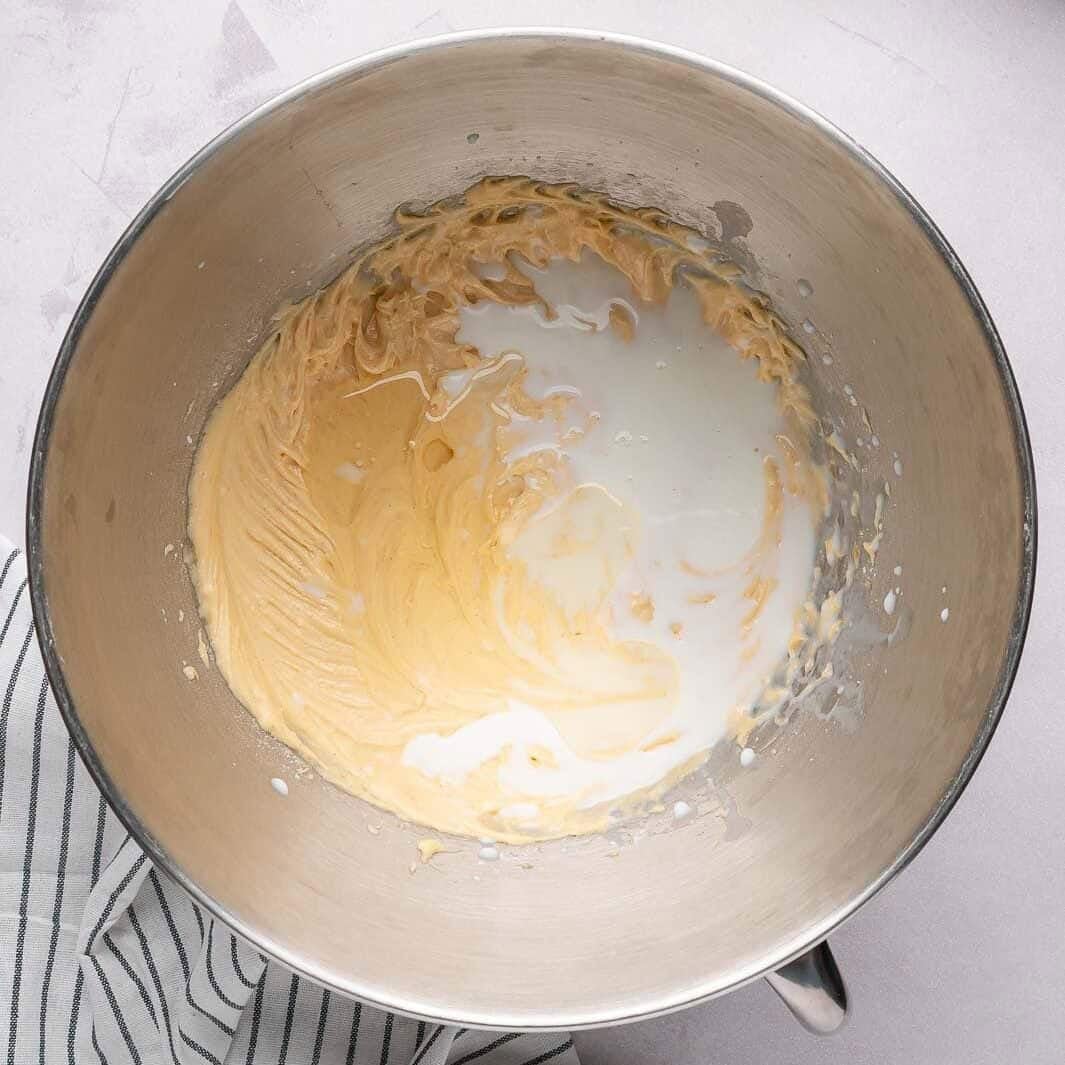
- Emulsify: With the mixer on low, gradually stream in the milk and oil. Continue mixing for another minute until the batter is thick and glossy. Mima’s Tip: The batter should be sturdy enough to hold the fruit, not runny.
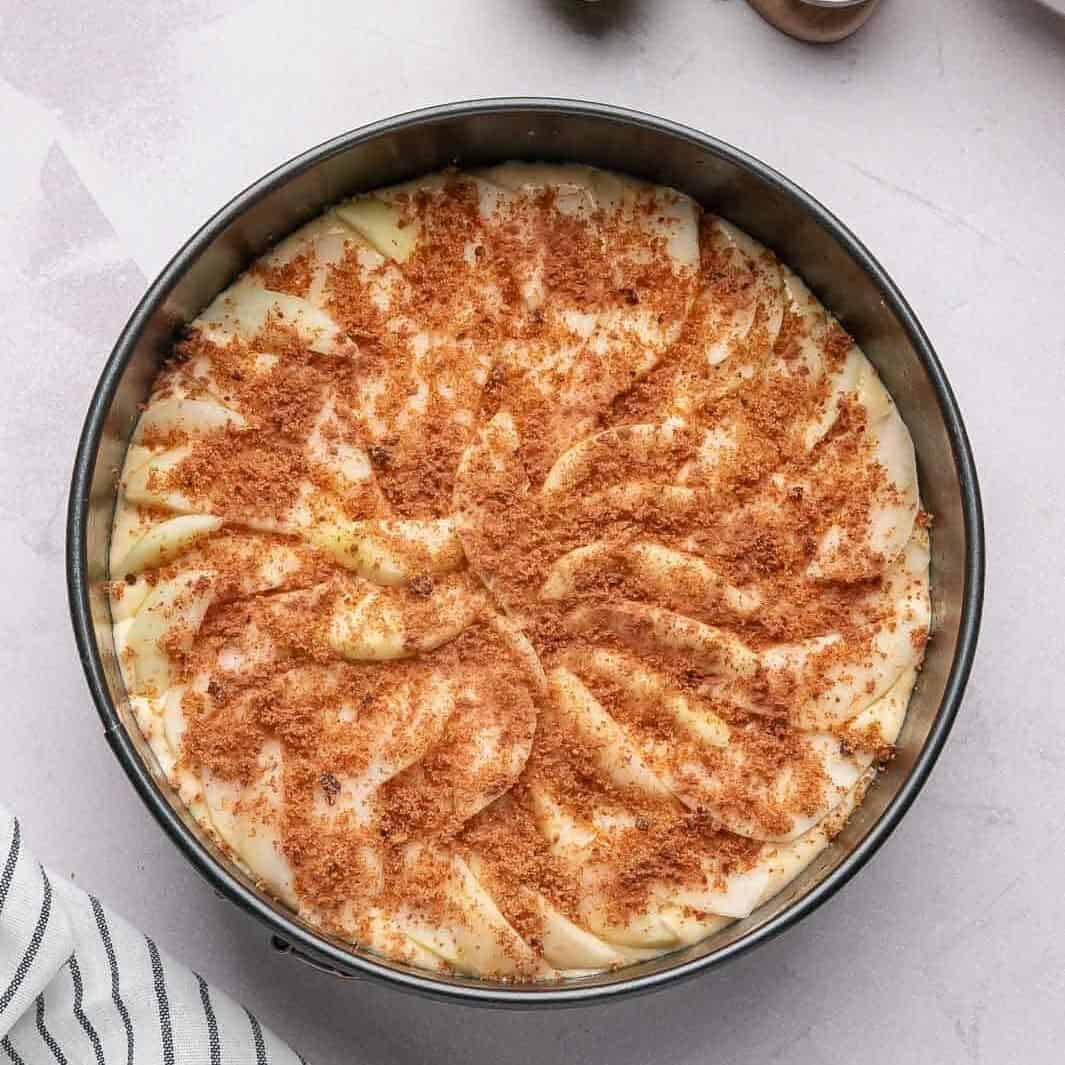
- Prepare the Pan: Line the bottom of a 10×3-inch deep springform pan with parchment paper and grease the sides thoroughly with baking spray. Transfer the batter into the pan and smooth the surface.
- Layer and Season: Carefully arrange the sliced pears in an even layer to cover the entire surface of the batter. Finish with a generous dusting of ground cinnamon and brown sugar.
- The Bake: Bake for 55 to 65 minutes. At the 40-minute mark, loosely tent the cake with aluminum foil to prevent the top from over-browning while the center finishes cooking.
- The Doneness Test: To ensure a moist crumb, avoid over-baking. Insert a wooden skewer into the center; it should come out completely clean before you remove the cake from the oven.
- Cool and Serve: Allow the cake to cool in the pan, covered with a clean kitchen towel to retain moisture. Once fully cooled (about 1 hour), remove from the springform pan and dust with confectioner’s sugar before serving.
Video
Notes
- Room Temp is Key: Ensure your butter and eggs are at room temperature for a silky, light sponge.
- The Foil Shield: If the top browns too quickly, loosely tent with foil at the 40-minute mark to let the center finish baking.
- Don’t Over-mix: Once the flour is in, mix just until combined to keep the texture delicate and soft.
- The Skewer Test: Always check the center with a wooden skewer; it should come out clean, as pears release extra moisture while baking.
Nutrition
If you love cake recipes, check out these other amazing cake recipe using pears: Pear Bundt Cake Recipe, Chocolate Cake with Pears, and Pear Upside-Down Cake.
More Cake Recipes
- Banana Walnut Cake
- Easy Easy Blueberry Breakfast Cake
- Super Moist Blueberry Bundt Cake
- Easy Cinnamon Apple Crumb Cake
I love seeing your bakes! If you made this Easy Moist Pear Cake recipe, please leave a star rating and a comment below. It helps the community and my kitchen! Also, follow me at Cookin’ With Mima on Facebook, Instagram, Pinterest for all of my latest social posts and recipes.


Really enjoyed this recipe! If i were to cut down the sugar to 1 cup instead of 1 1/2 cups would i need to make changes to the rest of the recipe?
Hi Maria!
Happy to hear you enjoyed the recipe. It would be just fine and it won’t affect the recipe in any way but make it less sweet.
This pear cake recipe was delicious!
I had ripe pears and was looking for a way to ise them and wanted to bake them in a cake..
I would make this again ! it was that good.. moist.. sweet but not sugary sweet..and share it with company.. we had it a scoop of icecream
It would also be great with whip cream..
we are a home that likes to cook..
I reccommend this recipe 😊
Hi Michelle,
so happy to hear you enjoyed this recipe. Thanks for the review.
I never post a comment about a recipe but I had to do that today. This cake is so simple and so surprisingly amazing. The sweetness is spot on, the cake is so moist and the pears add a very delicate texture. It was just a pleasure to eat it with my best cup of coffee. I will surely be making it again and again!!
Hi Nina,
Glad to hear you enjoyed this recipe. Thanks so much for the review.
I’ve tried this before and it was lovely. Now I’ thinking of makinfg amd freezing several cakes as I have a glut of pears. Any advice pls?
Mel,
Thanks for the review! I never froze this cake before, as I prefer eating them fresh. But you can try cutting a couple of pieces from the cake the next time you make it and wrap well with saran wrap and then foil wrap to preserve it. Place it in a freezer bag when you wrap and take it out a couple of weeks later. Thaw in the fridge or room temperature, dust before serving and see how it tastes. I think it would be fine. When you freeze cakes usually they stay moist.
I’ve made this twice already and it was so good! Very moist. Not too sweet. I did cut the pears thicker and used more. It’s great for breakfast or a light dessert.
Happy you are enjoying the cake Marty! I have some over ripe pears and I may as well make some soon as well!
Hi Miriam, the cake sounds delicious but I want to use either an 8/9 inch round tin. How much should I decrease the cooking time ? I am aware that I will have excess mixture.
Thank you
Hi Diane!
I am not sure as I have not used that size, but I would say about 40 minutes in, check the center of the cake with a wooden skewer. You can use the excess batter to make mini cakes in your cupcake pan instead of wasting it. Those will take shorter time as well.
i can’t fathom the weights. The cups I was given do not equate when I google them. Now I’m scared I’m going to mess up! Can you convert into ounces please?
these are based on American measuring cups. If you are converting them and not getting the exact amount in Oz. round up to the nearest whole number.
Could I make it with almond flour due to a sensitivity with gluten?
unfortunately almond flour is very different and had a weird texture after baking. You can use one on one of those all purpose gluten free flours out there.
Thank you!
So easy and just absolutely divine, so rich, so decadent, definitely a desert cake, but honestly who can wait that long? I went to have a slice with afternoon tea……..I thought I’ll just have a nibble, a taste while I wait for kettle to boil……..next minute……..I’ve eaten half the cake and the kettle hasn’t even finished boiling
Ha Ha! they are addictive! so good. Happy you enjoyed it. Thanks for leaving a review!
Can I make this cake in a bun loaf tin?
Hi Jennifer, you could but it will take longer to cook. And also the batter can’t go over 3/4 of the pan. If you feel like the top is getting brown and the center is still raw, cover the top with foil wrap until it cooks through.