This post may contain affiliate links, read my disclosure policy for details.
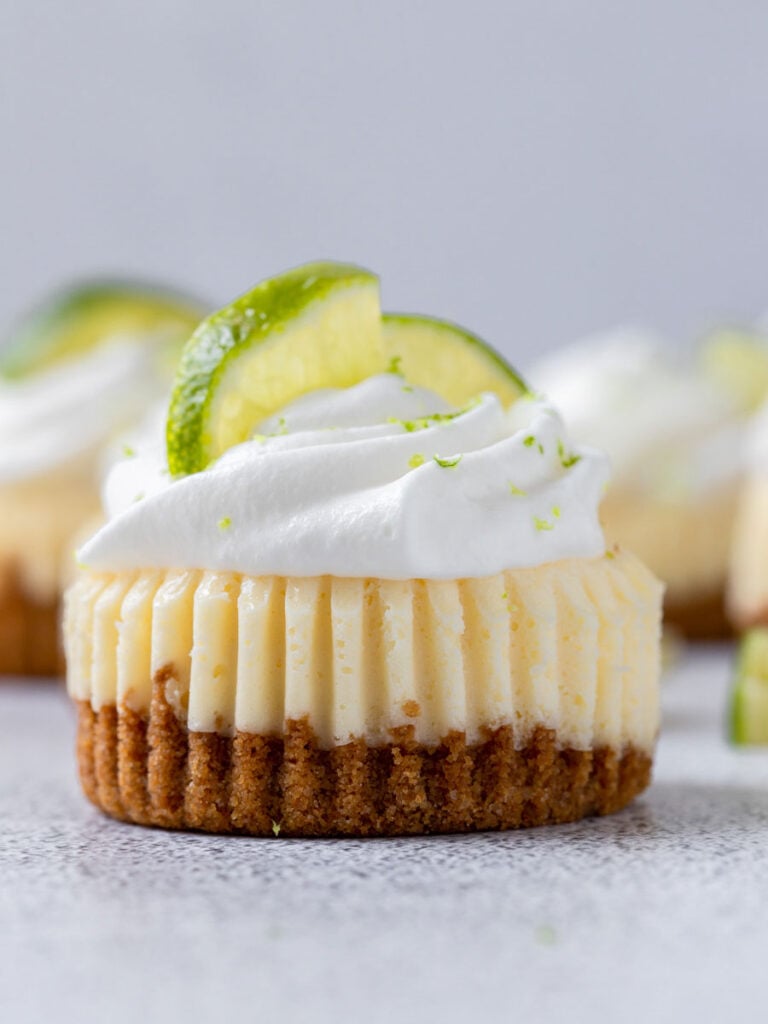
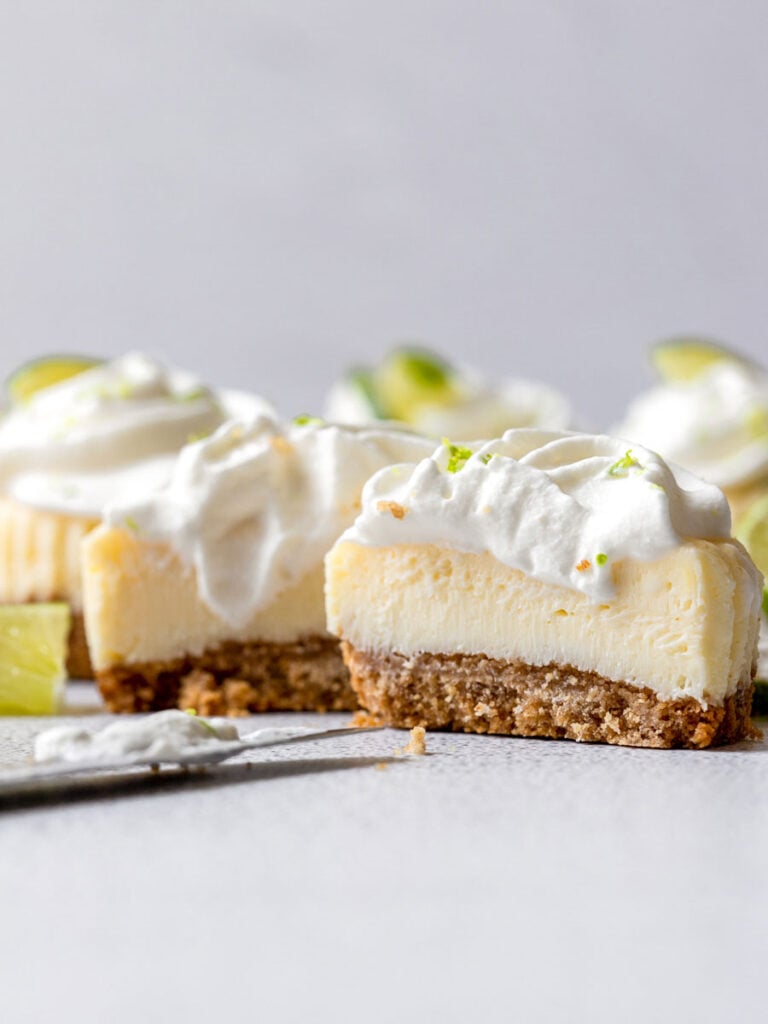
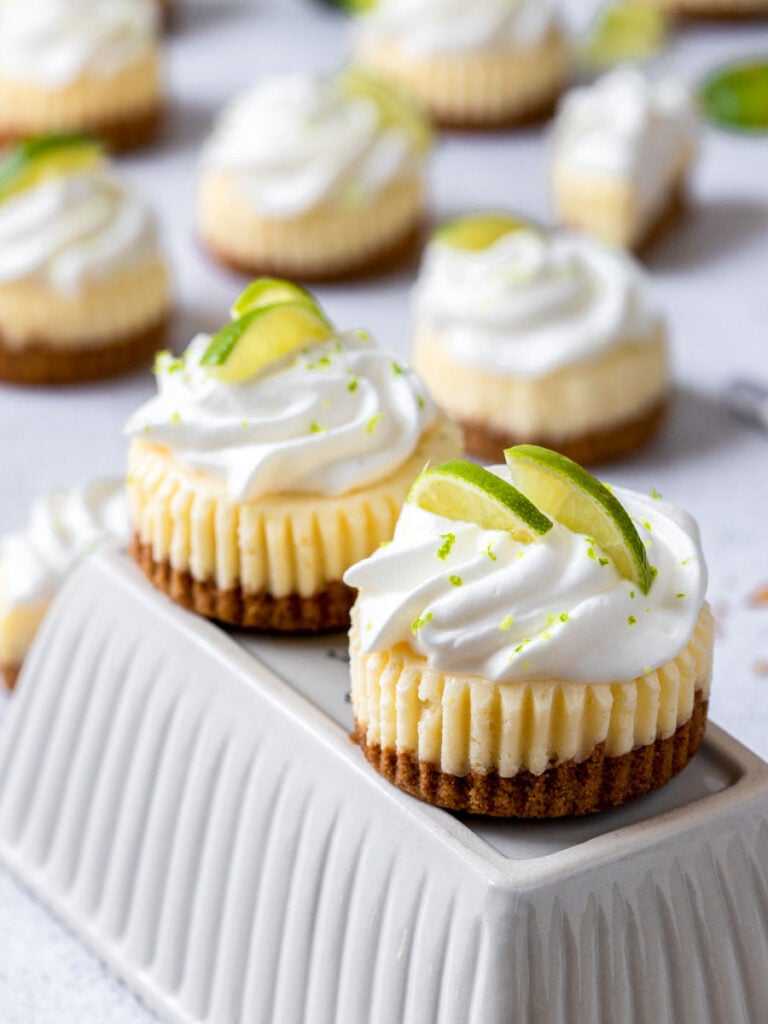
Sweet but tangy, these Mini Key Lime Cheesecakes are the perfect little desserts to end your meal with. A smooth and creamy key lime flavored filling overtop of a graham cracker crust, you’ll love this twist on a classic cheesecake.
We just love how key limes pie have a delicious tart and tangy taste to it and we wouldn’t get it out of our heads while making cheesecake so I thought why not combine it?! You’re going to love how well these two flavors pair together in these mini key lime cheesecakes. They’re such a fun and tasty twist to cheesecake.
Want more delicious dessert recipes? Try my Chocolate Covered Strawberries or my Mixed Berry Galette.
Why You’ll Love These Mini Cheesecakes
- They’re delicious! Such a perfect balance between sweet and tangy while still being super creamy.
- No water bath needed! This mini key lime cheesecake recipe uses a cupcake tin and we are able to skip the water bath completely.
- Freezer friendly. There’s nothing better than having these mini key lime cheesecakes waiting for you in the freezer!
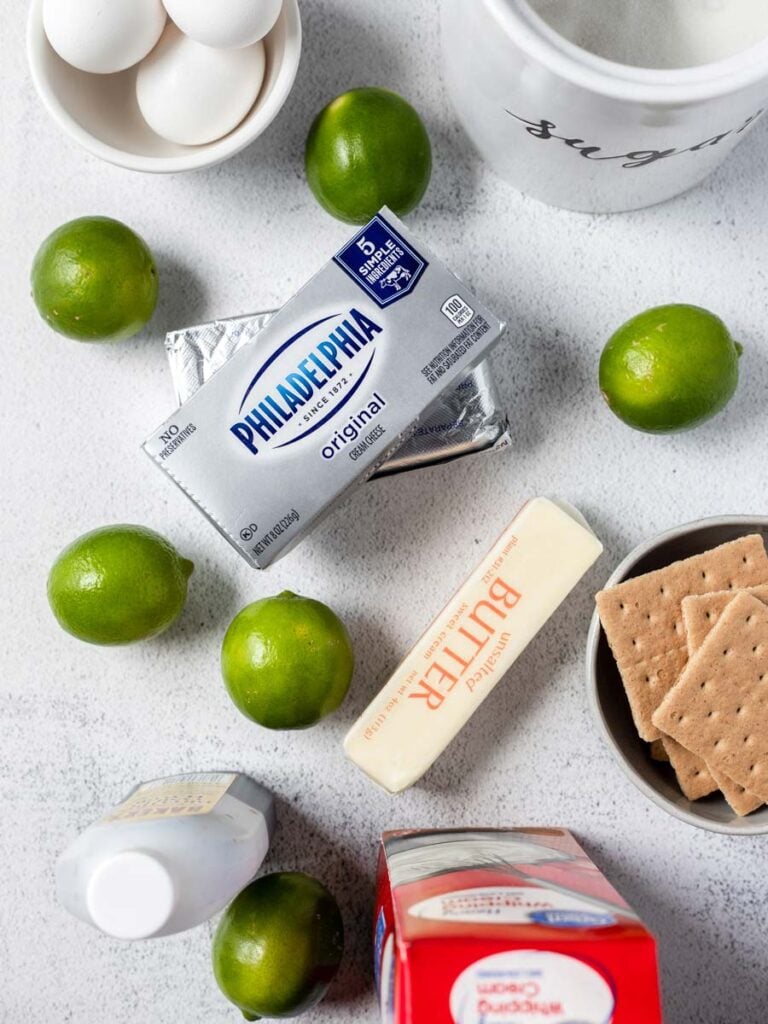
What You’ll Need to Make Mini Key Lime Cheesecake
For Crust:
- Graham crackers — finely crushed
- Salt
- Granulated sugar
- Butter — unsalted and melted
For Filling:
- Cream cheese — brought to room temperature
- Granulated sugar
- Eggs — brought to room temperature
- Key lime juice
- Vanilla
For Topping:
- Heavy cream — cold
- Powdered sugar
- Lime zest
How to Make Mini Key Lime Cheesecakes
- Prepare the oven and tin: Preheat the oven to 325F and then line a 12 cavity cupcake tin with cupcake liners and set aside.
- Make the crust: In a small bowl combine the graham cracker crumbs, salt, sugar, and melted butter. Mix until fully combined. The mixture should be the texture of wet sand. Firmly press 1-1 1⁄2 tablespoons of the crumb mixture into each liner.
- Bake the crust: Bake the crusts for 8-10 minutes or until golden brown. Remove the pan from the oven and allow to cool completely.
- Change the oven temperature: Turn the oven down to 300F.
- Make the mini cheesecake filling: In the bowl of a stand mixer or in a large bowl with a hand mixer, beat the cream cheese and sugar together on low speed until fully combined and smooth. Add the eggs one at a time. Add the lime juice and vanilla. Mix until fully combined.
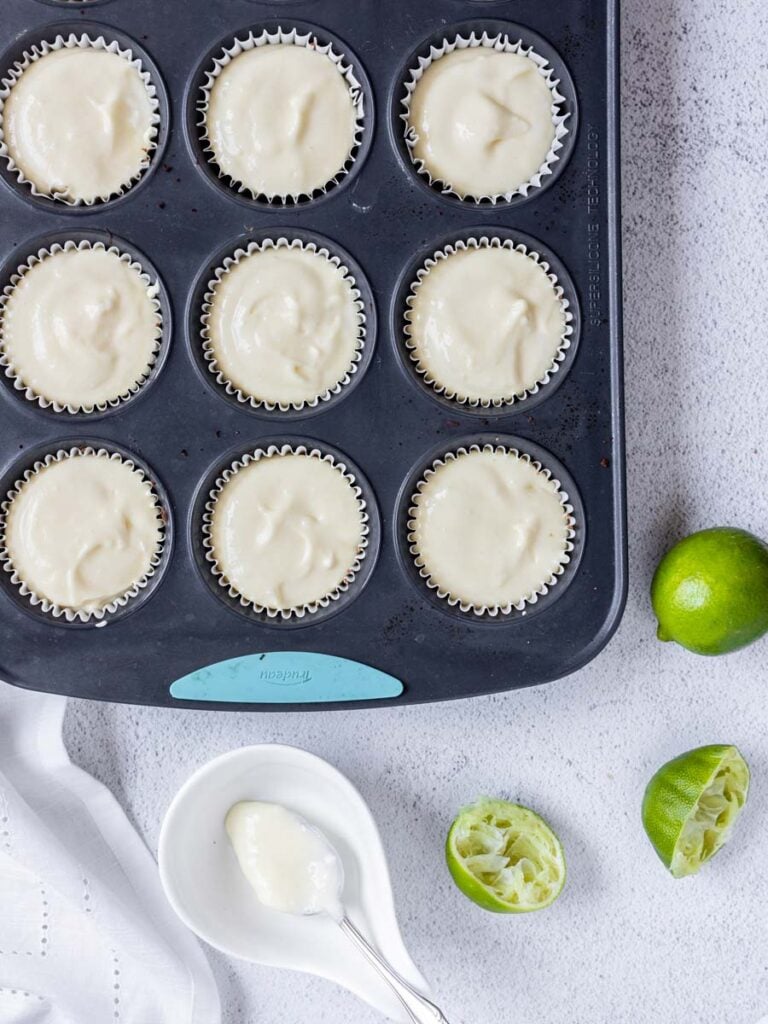
- Bake the cheesecakes: Fill each liner up almost to the top. Bake the cheesecakes for 15 minutes. Then turn the oven off and allow the cheesecakes to sit in the oven for 30 minutes. Crack the oven door open and allow to sit until cooled to room temperature.
- Refrigerate the mini cheesecakes: Transfer cheesecakes to the fridge until ready to serve.
- Make the topping: In a medium bowl with a hand mixer beat the heavy cream and powdered sugar to stiff peaks. Be sure not to overbeat. Pipe or scoop the whipped cream on top of the chilled cheesecakes. Sprinkle lime zest on top.
Tips for Making Mini Cheesecakes
- Crushed graham crackers can be purchased if you don’t want to crush your own.
- Be sure to use the blocks of cream cheese and not low fat cream cheese or spreadable cream cheese, they do not yield the same results!
- The ingredients need to be room temperature as it’ll help avoid your filling being lumpy. Since cold ingredients will need more mixing to combine, it’ll cause you to over mix your batter.
- Be sure to zest the limes before you juice them, It’s much easier doing it in that order.
FAQs
Key limes are more aromatic as well as being more tart with floral juices compared to regular limes. They also have more seeds than regular limes so be sure you have a strainer or a juicer that will catch all the seeds!
I really recommend you use fresh key lime for these mini cheesecakes. Bottled lime juice just does not have that fresh tart and tangy flavor that we want for the cheesecakes!
You can carefully use a vegetable peeler to get the lime skin off and then cut it up finely with a knife.
Do the jiggle test for your mini cheesecakes! When your mini key lime cheesecakes are done, the center of the cheesecakes should jiggle slightly.
Usually the middle of your cheesecake will sink down if there’s too much air in the batter. It’s important to not over-mix your batter and have room temperature ingredients.
The mini cheesecakes will last for up to 5 days in the fridge. You can make the whipped cream on the day of. The lime zest can be stored separately until you’re ready to top it off!
If you’d like to freeze the key lime cheesecakes, skip adding on the toppings and allow the cheesecakes to fully cool before attempting to freeze them. Transfer the cold cheesecakes to a sheet pan in the freezer and let it freeze, uncovered. When frozen solid, transfer the mini cheesecakes to a freezer safe bag or container for up to 3 months.
Thaw your cheesecake in the fridge overnight. If you’re in a rush, you can place it at room temperature until it’s no longer frozen.
Once you’ve chilled the cheesecakes, the liners should peel off cleanly. If they’re still having trouble with the liners sticking to the cheesecakes, try putting them in the freezer.
More Desserts You’ll Love
- Chocolate Lazy Cake
- Strawberry French Tart
- Lemon French Madeleines Cakes
- Valentine’s M&M Chocolate Chip Cookies
- Coconut Basbousa
- Easy Chocolate Cupcake
I hope you enjoy all the recipes I share with you, including this delicious Mini Key Lime Cheesecakes recipe. I hope you try it, enjoy it, rate it and share it with your friends and family!
If you try this recipe and like it, please use my hashtag to share it with me on INSTAGRAM for a chance to be featured in my story! Also, follow me at Cookin’ With Mima on FACEBOOK |INSTAGRAM |PINTEREST for all of my latest social posts and recipes.
Mini Key Lime Cheesecake
Ingredients
For the Crust:
- 8 sheets graham crackers, finely crushed
- ¼ tsp. salt
- 2 tbsps. granulated sugar
- ¼ cup unsalted butter, melted
For the Filling:
- 2 8 oz blocks cream cheese, room temperature
- ¾ cup granulated sugar
- 2 whole eggs, room temperature
- ⅓ cup key lime , fresh squeezed
- 2 tsps. vanilla
For the Topping:
- 1 cup heavy cream, cold
- 1 tbsp. powdered sugar
- Lime zest, as needed
Instructions
For the Crust:
- Preheat the oven to 325F. Line a 12 cavity cupcake tin with cupcake liners and set aside.
- In a small bowl combine the graham cracker crumbs, salt, sugar, and melted butter. Mix until fully combined. The mixture should be the texture of wet sand.
- Firmly press 1-1 ½ tablespoons of the crumb mixture into each liner.
- Bake the crusts for 8-10 minutes or until golden brown. Remove the pan from the oven and allow to cool completely.
For the Filling:
- Turn the oven down to 300F.
- In the bowl of a stand mixer or in a large bowl with a hand mixer, beat the cream cheese and sugar together on low speed until fully combined and smooth.
- Add the eggs one at a time, mixing well and scraping down the sides of the bowl between additions.
- Add the lime juice and vanilla. Mix until fully combined.
- Fill each liner up almost to the top.
- Bake the cheesecakes for 15 minutes. Then turn the oven off and allow the
- cheesecakes to sit in the oven for 30 minutes. Crack the oven door open and allow to sit until cooled to room temperature.
- Transfer cheesecakes to the fridge until ready to serve.
For the Topping:
- In a medium bowl with a hand mixer beat the heavy cream and powdered sugar to stiff peaks. Be sure not to overbeat.
- Pipe or scoop the whipped cream on top of the chilled cheesecakes.
- Sprinkle lime zest on top.
Notes
- Crushed graham crackers can be purchased if you don’t want to crush your own.
- Be sure to use the blocks of cream cheese and not low fat cream cheese or spreadable cream cheese, they do not yield the same results!
- The ingredients need to be room temperature as it’ll help avoid your filling being lumpy. Since cold ingredients will need more mixing to combine, it’ll cause you to over mix your batter.
- Be sure to zest the limes before you juice them, It’s much easier doing it in that order.


Great results and easy to follow instructions. It’s our new favorite!
Thanks for the review! Glad you enjoyed it.
WOW!! So creamy and easy to make. I’m making them again for friendsgiving, Thanksgiving, and 2 times at Christmas 😂
Hahaha apparently so good I had to review them twice 🤪😂😂😂
haha!
So glad you hear that you enjoyed the recipe Victoria! Thanks so much for the review.
So creamy and delicious!! Worth the wait 😍
Hi Victoria,
Glad you enjoyed the recipe! Thanks so much for taking the time to leave a review.