This post may contain affiliate links, read my disclosure policy for details.
Ghee is super easy to make at home and is much more budget-friendly than purchasing from the store! Thanks to the process of cooking the butter down, ghee has a fragrant buttery, nutty flavor to it.
Ghee is what you get when you slowly simmer butter until all of the water from the butter evaporates and the milk solids gently brown, sink to the bottom of the pan, impart a delicious nutty flavor, and then are removed.
Ghee is a staple in Indian cuisine, Middle Eastern and Asian recipes as it has a high smoke-point to help fry things to perfection and impart a rich buttery taste.
If you’d like some recipes that use ghee, you should try my Vermicelli Rice or my Pistachio Baklava Recipe. Alternatively, you can use ghee in place of oil for any recipe that requires you to sauté with oil.
Why You’ll Love Ghee
- Ghee has a high smoke point. Ghee has a higher smoke point than butter, so it doesn’t burn as quickly. Ghee has a smoke point of 485 F, whereas butter has a smoke point of 350 F. This is perfect for sautéing, roasting or frying foods without the risk of burning.
- Great for those with diet restrictions. If you’re sensitive to dairy, ghee is an excellent alternative to butter as we are removing the milk solids from it. It’s also great if you’re on the Paleo diet or Whole30 diet.
- It’s easy to make. You only need one ingredient (butter), and in less than 30 minutes, you’ll have ghee, just some cooking it down.
What You’ll Need for Homemade Ghee
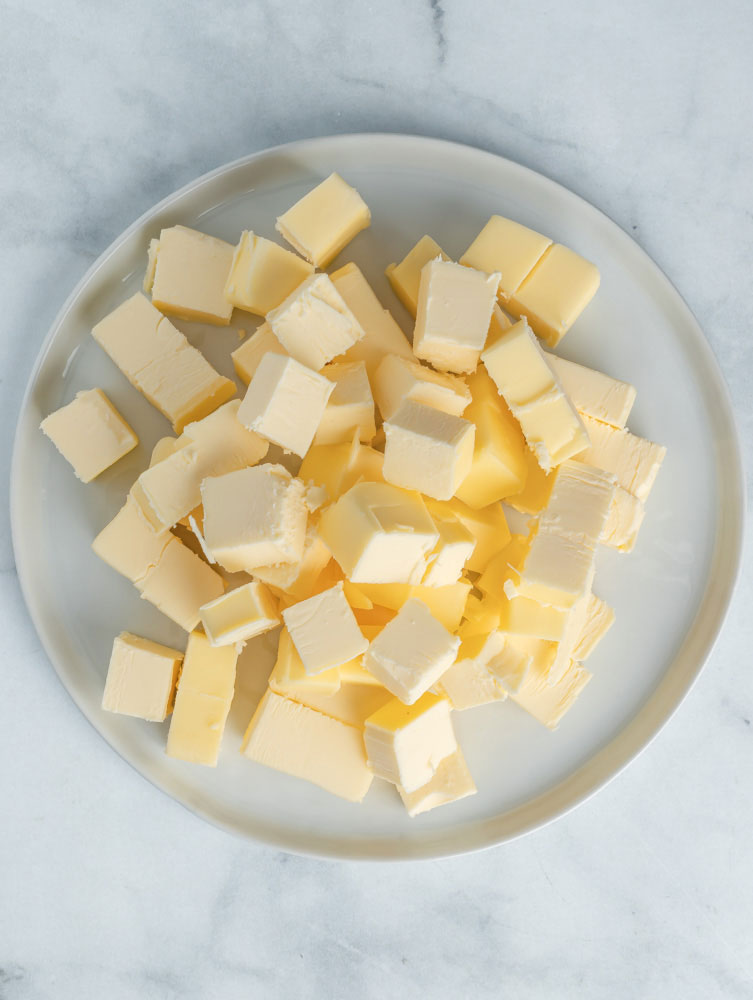
- Butter — be sure to use unsalted butter.
How To Make Ghee
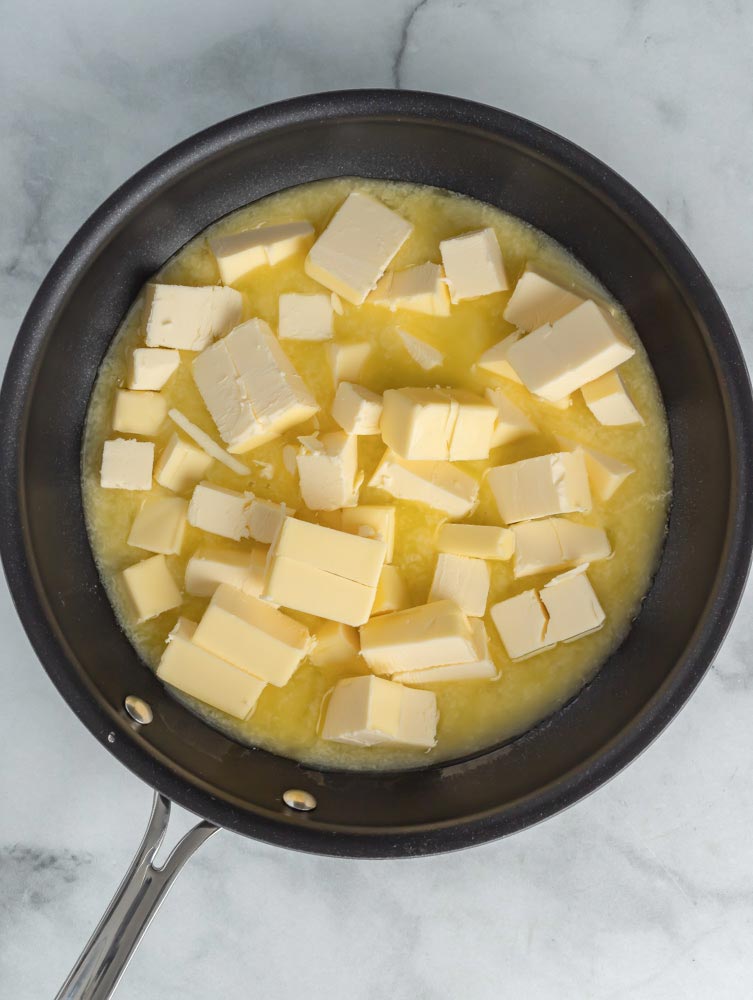
- Melt the butter: In a saucepan over medium low heat, melt the butter.
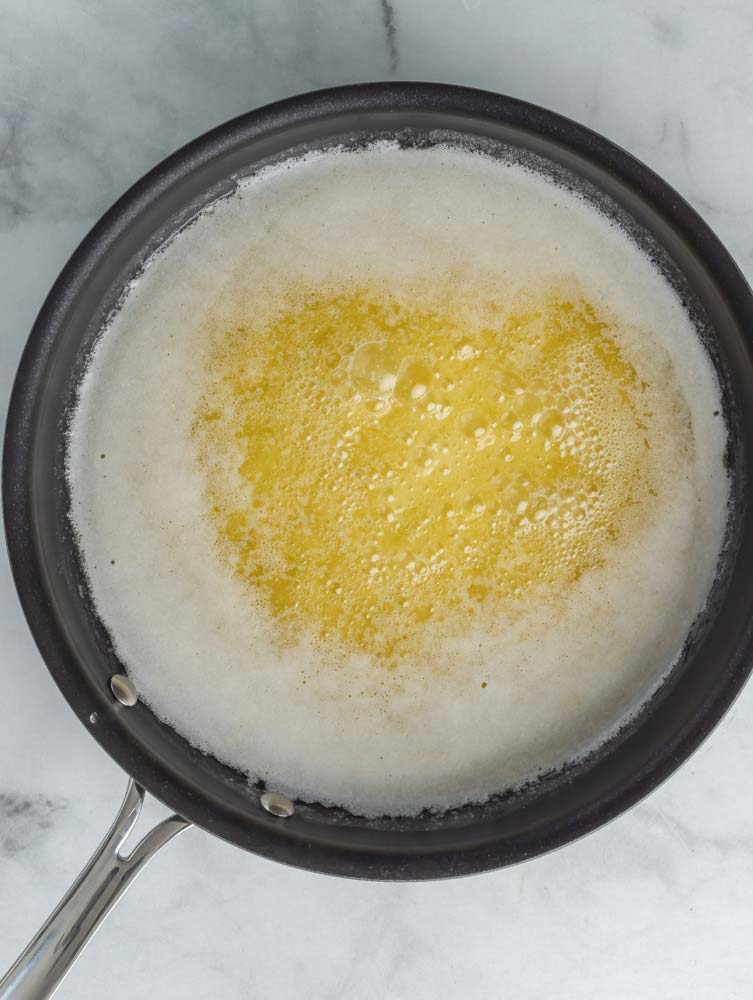
- Simmer: Simmer the melted butter until bubbles start forming.

- Skim the butter: Skim the milk solids that had formed on top.
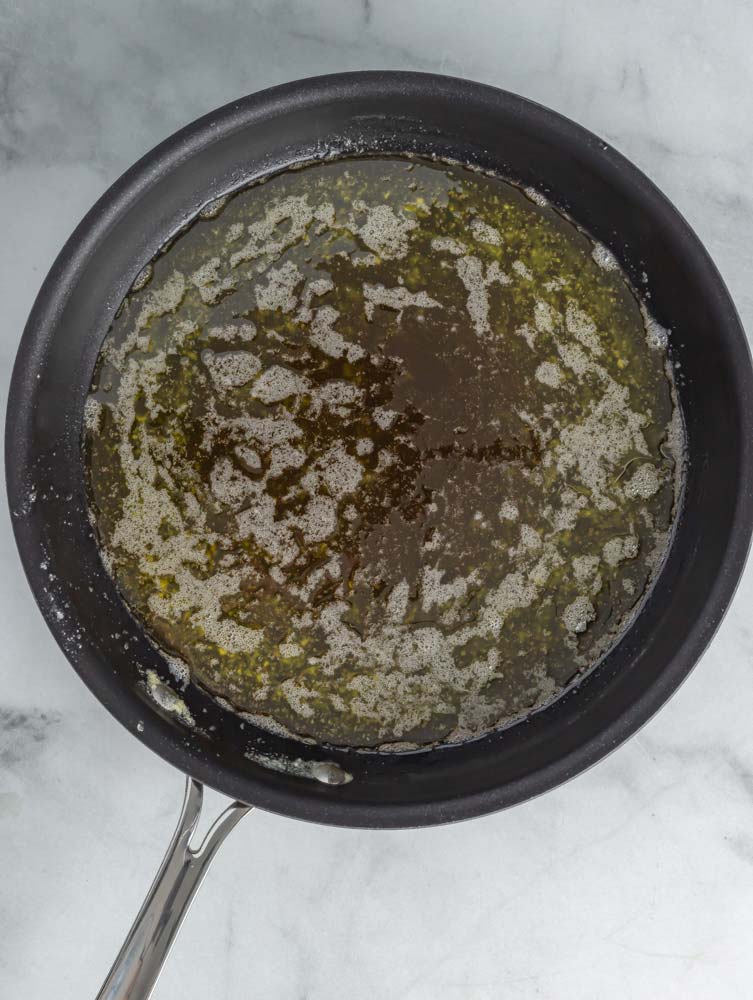
- Continue to simmer: Continue to simmer for 20-25 minutes.
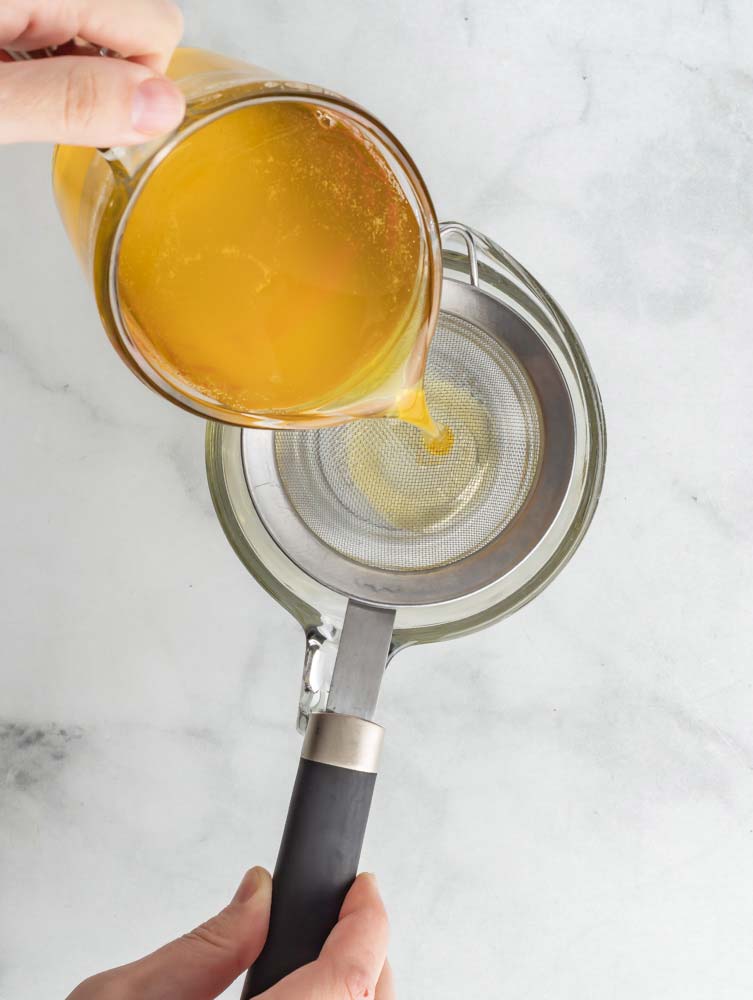

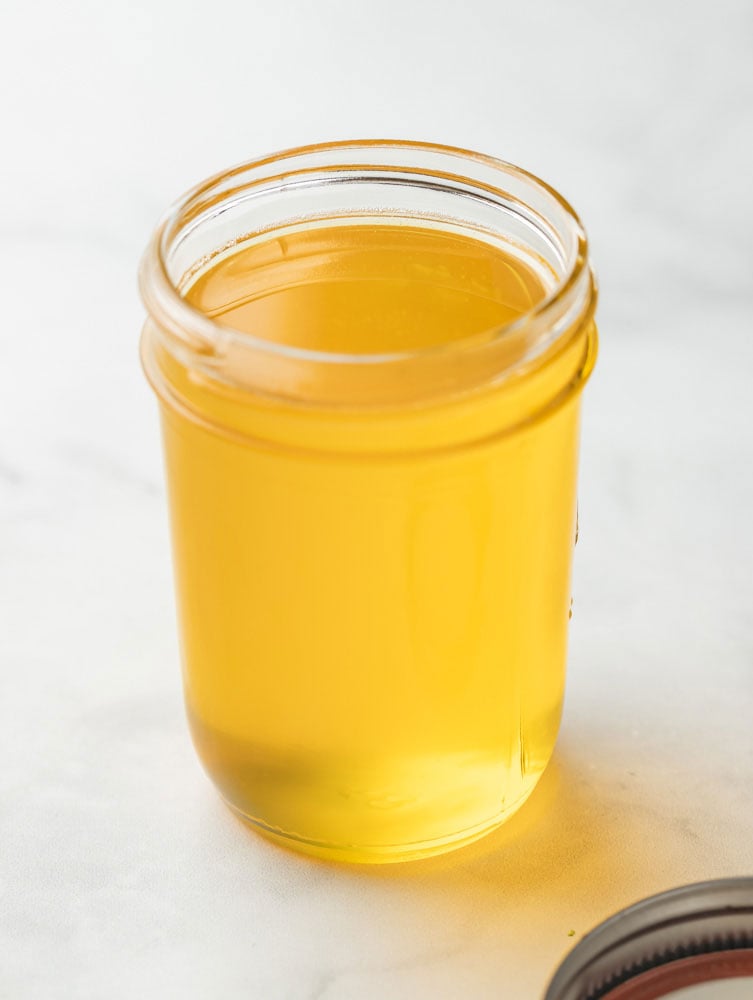
- Strain the ghee: Once the middle layer is translucent, remove the ghee from the stovetop and strain into a glass container.
Tips and Notes
- To make the butter melt faster and ghee cook evenly, cut the butter into cubes. You don’t want half of the melted butter to cook down while the other half is still melting.
- Be sure you are simmering the butter and not blasting it on high heat. Simmering helps to evaporate the water, whereas putting it straight on high heat will burn the butter.
- Don’t leave the saucepan unattended. You’ll have to continue to skim the white solids on top throughout.
- Be sure to use a glass jar to store your ghee. You don’t want to transfer your hot ghee into a plastic container.
- Be sure that the glass jar is thoroughly cleaned and sanitized. You don’t want to cross containment the ghee.
- It is perfectly normal for the ghee to solidify in as it cools and lighten in color.
- You can strain your ghee with a nut bag, cheesecloth, fine-mesh sieve, or a coffee filter.
FAQs
Ghee and clarified butter is almost the same thing. The main difference is the cooking time. Clarified butter is cooked to the point where the water just evaporates, and the milk solids separate, whereas ghee is cooked until all the moisture is removed. Ghee also lasts longer than clarified butter.
The difference between ghee and brown butter is also the length of cook time. Brown butter is cooked looker than ghee. Brown butter is when the milk solids in butter caramelize, and instead of removing the milk solids at the end, you keep it!
Ghee can last for up to 3 to 4 months on the counter. It can last even longer when refrigerated.
Ghee is a shelf-stable product, so you can store it on the counter/in the pantry. If you’d like for the ghee to last for up to a year, you can keep it in the fridge. Just be sure to use an airtight glass container to store the ghee. Also, be sure to use a clean spoon every time you scoop out the ghee and avoid allowing anything to contaminate the ghee in the jar.
You can definitely freeze ghee! However, ghee keeps in the fridge for up to a year so you may not need to freeze it for it to last long!
More Tutorials You May Find Useful
- How to cook Cauliflower Rice
- How to Bake Potatoes
- How to Poach an Egg
- How to make Perfect Hard Boiled Eggs
- How to Melt Chocolate
I hope you enjoy all the recipes I share with you, including this delicious guide to making Ghee. I hope you try it, enjoy it, rate it and share it with your friends and family!
If you try this recipe and like it, please use my hashtag to share it with me on INSTAGRAM for a chance to be featured in my story! Also, follow me at Cookin’ With Mima on FACEBOOK |INSTAGRAM |PINTEREST for all of my latest social posts and recipes.

How to Make Ghee
Ingredients
- 1 lb. Butter, unsalted
Instructions
- In a saucepan over medium low heat, melt the butter.
- Simmer the melted butter until bubbles start forming.
- Skim the milk solids that had formed on top.
- Continue to simmer for 20-25 minutes.
- Once the middle layer is translucent, remove the ghee from the stovetop and strain into a glass container.
Notes
- To make the butter melt faster and ghee cook evenly, cut the butter into cubes. You don’t want half of the melted butter to cook down while the other half is still melting.
- Be sure you are simmering the butter and not blasting it on high heat. Simmering helps to evaporate the water, whereas putting it straight on high heat will burn the butter.
- Don’t leave the saucepan unattended. You’ll have to continue to skim the white solids on top throughout.
- Be sure to use a glass jar to store your ghee. You don’t want to transfer your hot ghee into a plastic container.
- Be sure that the glass jar is thoroughly cleaned and sanitized. You don’t want to cross containment the ghee.
- It is perfectly normal for the ghee to solidify in as it cools and lighten in color.
- You can strain your ghee with a nut bag, cheesecloth, fine-mesh sieve, or a coffee filter.

