
This post may contain affiliate links, read my disclosure policy for details.
Filled with raspberry jam and finished with white chocolate, Jam Thumbprint Cookies combine a buttery cookie base with sweet, colorful fruit centers.

These raspberry jam cookies are simple enough for everyday baking and easy to customize with your favorite jam or preserves.
The combination of buttery cookies, fruity jam, and white chocolate makes them a great option for sharing, parties, or adding to a cookie tray.
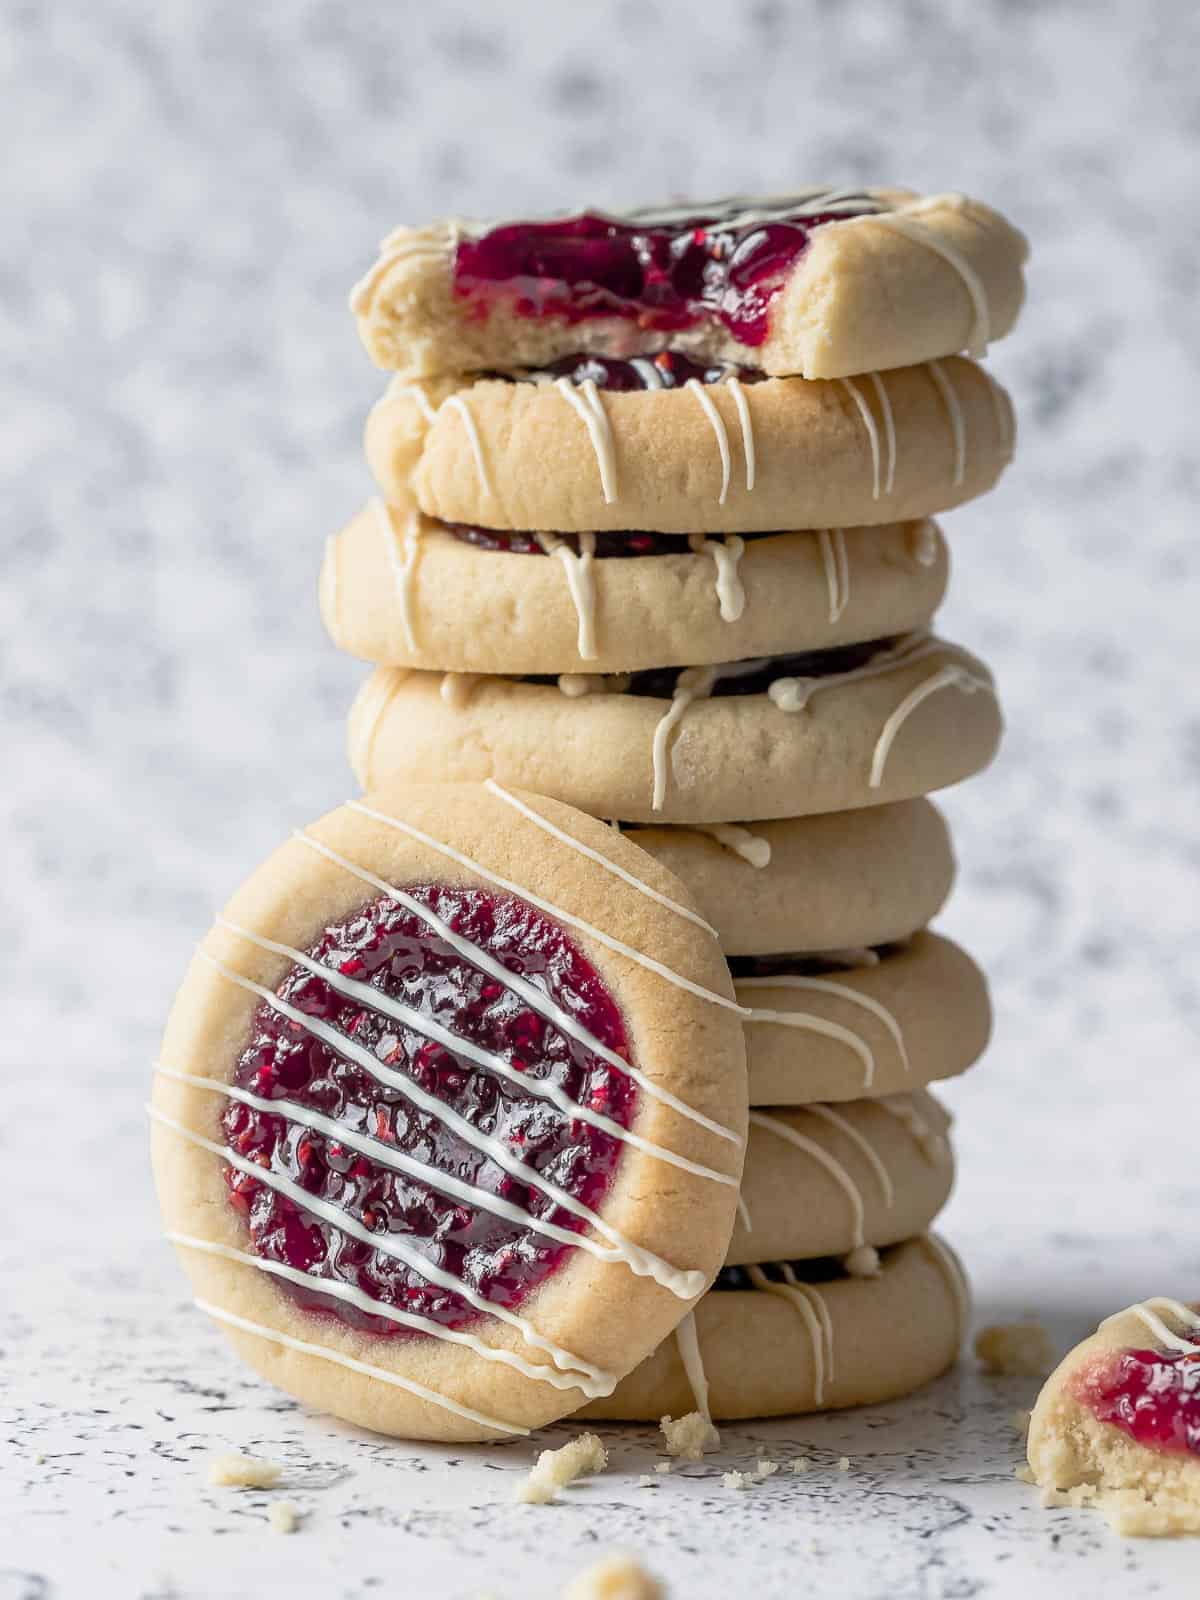
For more homemade cookie recipes, you may also like my Cranberry Orange Shortbread Cookies, Jam Linzer Cookies, Danish Butter Cookies, or Gingerbread Christmas Tree Cookies.
Why These Jam Thumbprint Cookies Are A Holiday Favorite
- Easy to prepare. The dough comes together in a stand mixer, and the cookies are shaped by hand without special cookie cutters.
- No chilling required. You can shape, fill, and bake the cookies as soon as the dough is ready.
- Simple to customize. Use raspberry jam for the centers or swap it for another jam you enjoy.
Thumbprint Cookie Ingredients
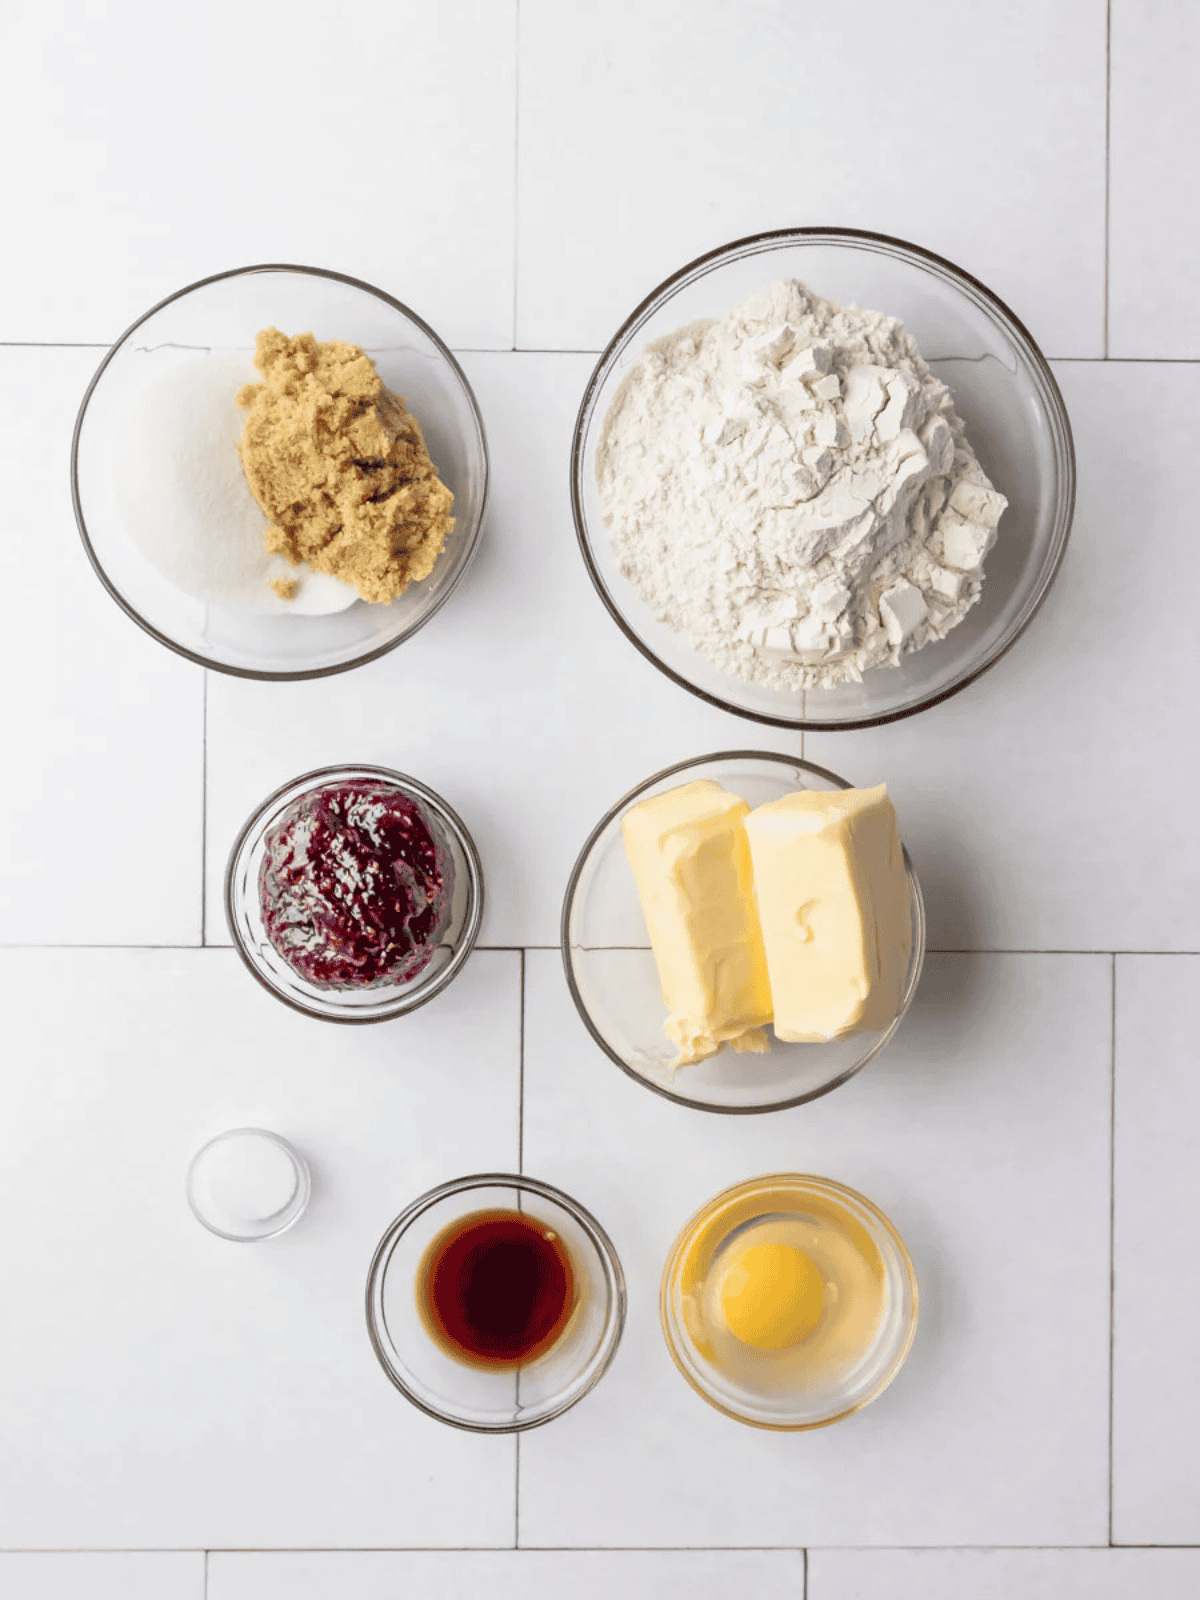
- Raspberry jam: Adds a concentrated fruit center with a slight tartness that cuts through the richness of the cookie. You can also use raspberry preserves.
- All-purpose flour: Provides structure while keeping the cookies tender enough to press and shape.
- Butter: Gives the cookies a rich base and contributes to their tender, crumbly texture.
- Granulated sugar and light brown sugar: Using both helps balance the texture. Brown sugar also adds moisture to the dough.
- Vanilla extract: Adds a warm, sweet flavor that pairs well with the butter and raspberry jam. Almond extract can be used instead for a nuttier flavor.
- Egg: Adds moisture and helps bind the dough so the cookies hold their shape.
- Salt: Enhances the other flavors in the cookie dough rather than making the cookies taste salty.
- White chocolate: Adds a sweeter, creamy finish that contrasts with the raspberry jam.
*See the recipe card for full information on ingredients and quantities.
How to Make Jam Thumbprint Cookies
Step 1: Preheat the oven. Preheat the oven to 350°F. Line a baking sheet with parchment paper.
Step 2: Combine the dry ingredients. Whisk the all-purpose flour and salt in a medium mixing bowl. Set aside.
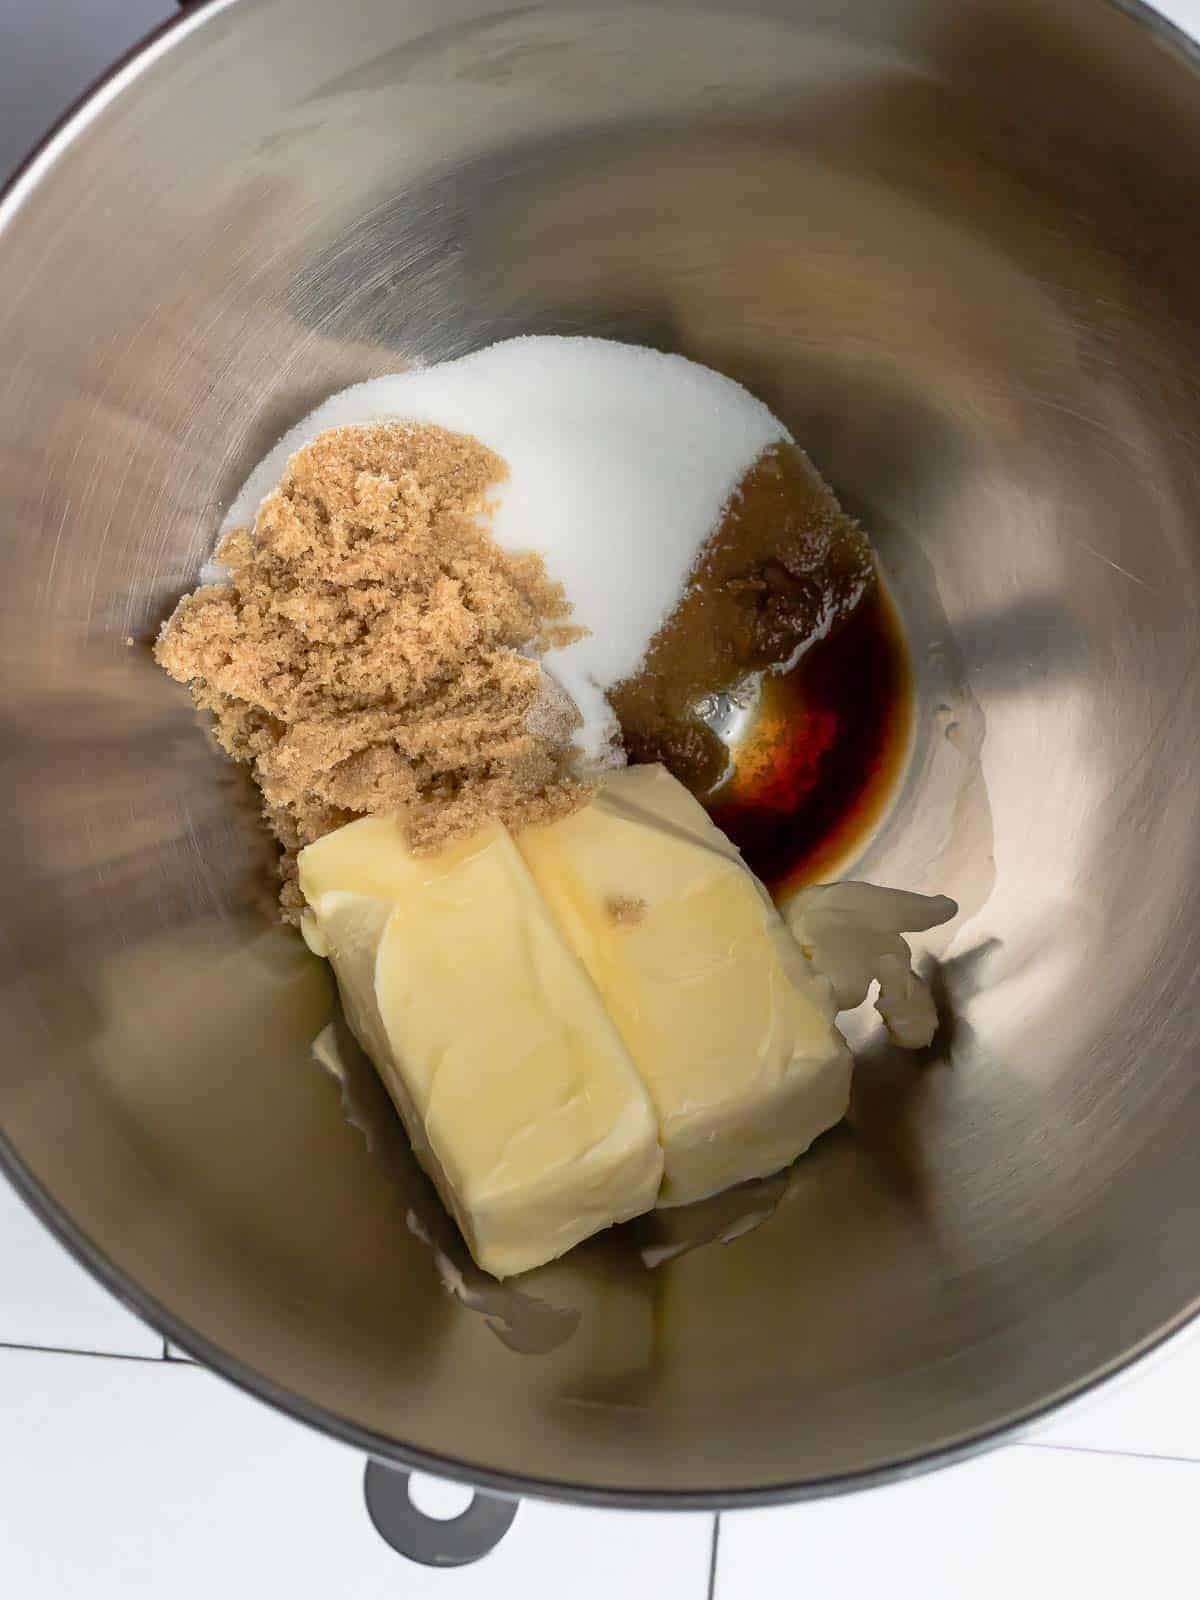
Step 3: Cream the butter and sugars. In the bowl of a stand mixer fitted with the paddle attachment, cream the butter, both sugars, and vanilla for about 5 minutes.
Step 4: Add the egg. Add the egg and mix lightly until incorporated. The mixture may separate slightly but will come together once the dry ingredients are added.
Step 5: Finish the cookie dough. With the mixer on low speed, add half of the dry ingredients and mix until incorporated. Stop the mixer and scrape the sides and bottom of the bowl. Add the remaining dry ingredients and mix just until incorporated.
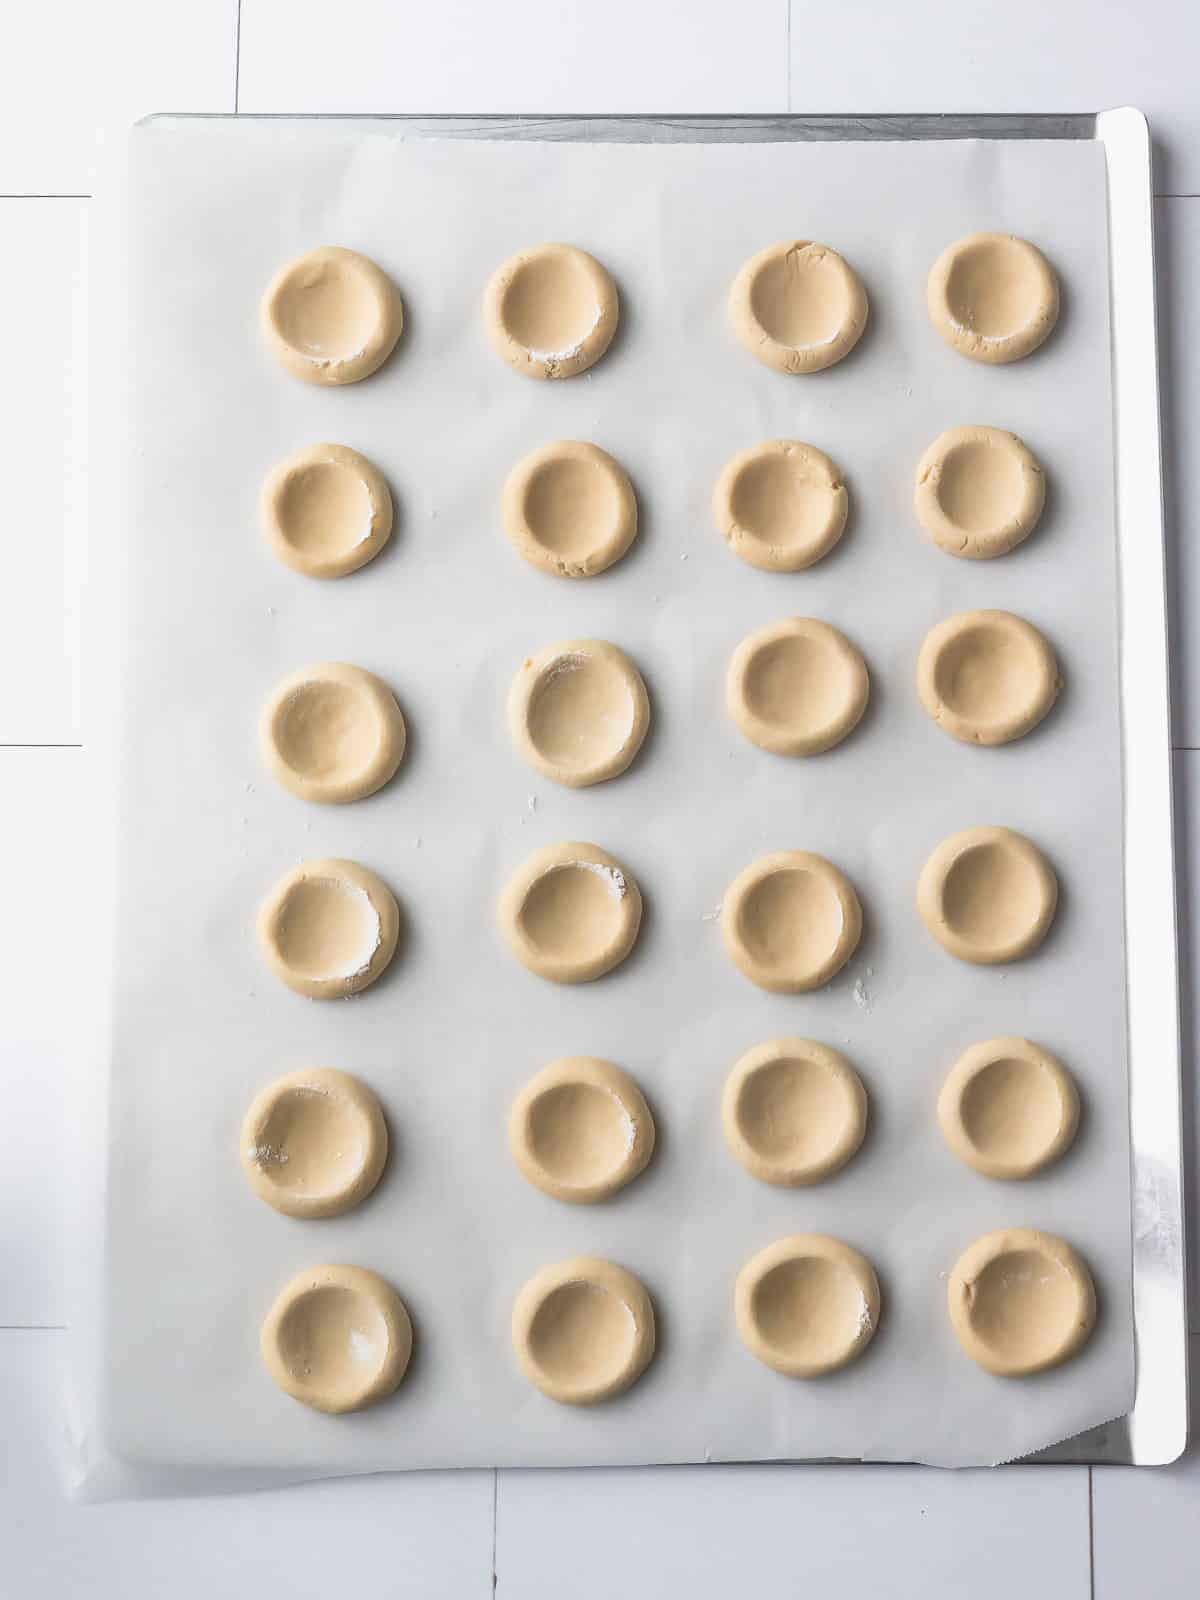
Step 6: Shape the cookies. Scoop about 20-25 g of cookie dough and roll it into a 1-inch ball. Place it on the parchment-lined baking sheet. Repeat with the remaining dough.
Step 7: Make the indents. Immediately use your thumb or the back of a small round spoon to make an indent in the center of each dough ball. Dip your thumb or spoon in flour as needed to prevent sticking.
Note: Space the cookies about 2-3 inches apart on the baking sheet to give them enough room as they bake.
Step 8: Fill with jam. Transfer the jam to a pastry bag or small zip-top bag. Cut a small opening in one corner and fill each indent with jam.
Note: If you’re using a zip-top bag, discard the cut corner immediately to prevent it from getting into the cookies.
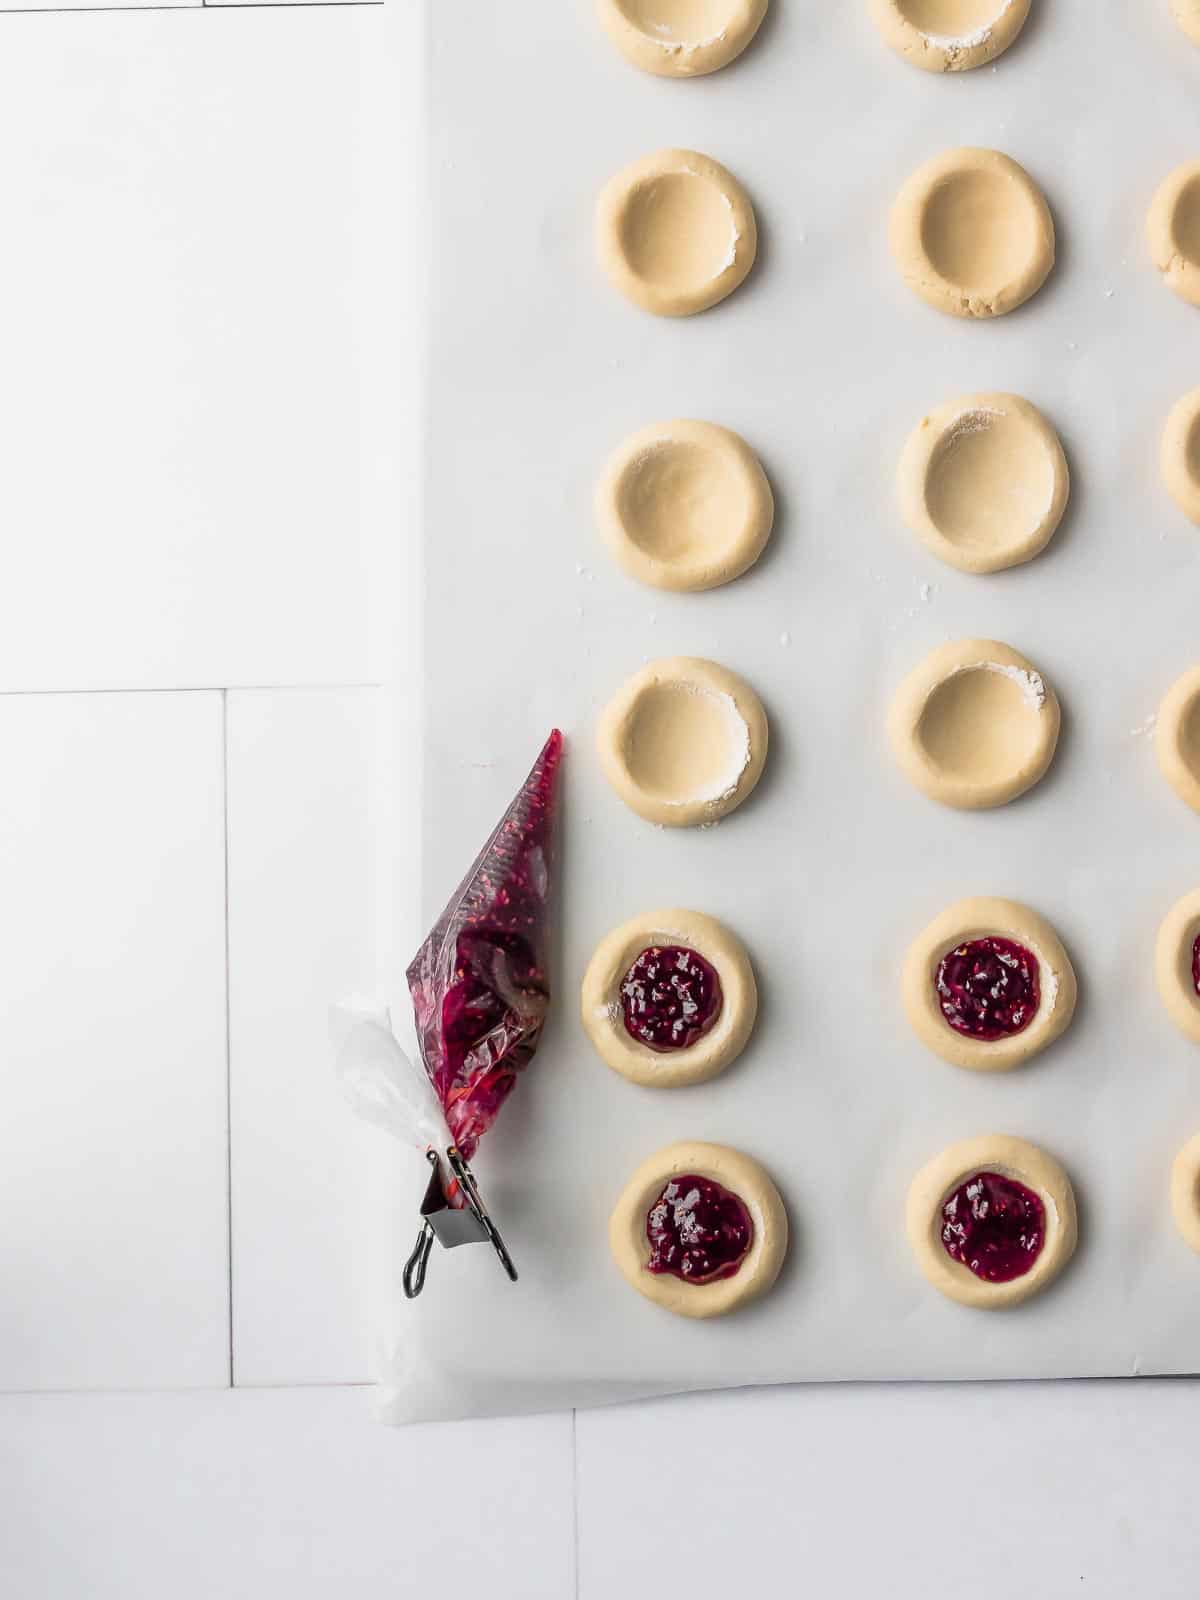
Step 9: Bake the cookies. Bake at 350°F for 15-20 minutes, or until the edges start to turn golden brown.
Step 10: Add more jam. Add more jam to the centers after baking, if desired, since some of the jam may absorb into the cookies as they bake.
Step 11: Drizzle with white chocolate. Melt the white chocolate and drizzle it over the cooled cookies. Let it set before serving or storing.

Ways to Switch It Up
Raspberry Almond Thumbprint Cookies: Dip the dough balls in beaten egg white, then roll them in finely chopped almonds before making the indents. Fill the centers with raspberry jam.
Jam or Preserves for Thumbprint Cookies: Try another fruit jam or preserve, such as apricot, cherry, or blackberry. If the preserves contain large pieces of fruit, chop or mash them first to help them fit neatly into the indents.
Jam Heart Thumbprint Cookies: Make two small diagonal indents in each dough ball to create a heart-shaped center. This shape works well for Valentine’s Day or other special occasions.
Tips for Perfect Jam Thumbprint Cookies
- Prepare thick or chunky jam before piping. Stir the raspberry jam well before transferring it to the pastry bag. Mash any large fruit pieces to prevent them from clogging the small opening.
- Avoid pressing through the dough. Make the indent deep enough to hold the raspberry jam without pressing all the way through the 1-inch dough ball.
- Leave room for the jam as it bakes. Fill each indent just below the rim rather than to the very top. This helps prevent the jam from bubbling over the sides in the oven.
- Fix cracks before adding the jam. If the edges crack when you make the indent, gently press them back together while the dough is still soft. This prevents the cracks from opening further as the cookies bake.
Frequently Asked Questions
Raspberry jam works well and is the flavor used in this raspberry jam cookies recipe. You can also use strawberry, apricot, or another fruit jam you enjoy. Stir the jam before adding it to the cookies to make it easier to pipe.
Yes. A hand mixer works well too. Cream the butter, sugars, and vanilla as directed, then mix in the flour just until the dough comes together.
The edges can crack when you press into the dough. Make the indent immediately after rolling each dough ball, and lightly flour your thumb or spoon if the dough sticks.
Yes. Finely chopped nuts can be added to the dough for extra texture. Almonds, pecans, or walnuts work well with raspberry jam.
Storing and Freezing
Store the Jam Thumbprint Cookies in an airtight container at room temperature for up to 1 week.
You can also freeze the cookies in a freezer-safe container for up to 3 months. Place parchment paper between the layers to prevent the jam from sticking. If frozen, let them come to room temperature before serving.
More Dessert Recipes You’ll Love
If you try this recipe, I’d love to hear how it turned out. Leave a comment and rate the recipe! Also follow me at Cookin’ With Mima on Facebook |Instagram |Pinterest for all of my latest social posts and recipes.

Raspberry Jam Thumbprint Cookies
Ingredients
- 1 cup butter, room temperature
- ⅓ cup sugar
- ⅓ cup packed light brown sugar
- 1 tsp. pure vanilla extract
- 1 large egg
- 2 ¼ cups all-purpose flour
- ¾ tsp. salt
- ¾ cup jam, I used raspberry jam for this recipe
Instructions
- Preheat the oven to 350°F. Line a baking sheet with parchment paper.
- Whisk the all-purpose flour and salt in a medium mixing bowl. Set aside.
- In the bowl of a stand mixer fitted with the paddle attachment, cream the butter, both sugars, and vanilla for about 5 minutes.
- Add the egg and mix lightly until incorporated. The mixture may separate slightly but will come together once the dry ingredients are added.
- With the mixer on low speed, add half of the dry ingredients and mix until incorporated. Stop the mixer and scrape the sides and bottom of the bowl. Add the remaining dry ingredients and mix just until incorporated.
- Scoop about 20-25 g of cookie dough and roll it into a 1-inch ball. Place it on the parchment-lined baking sheet. Repeat with the remaining dough.
- Immediately use your thumb or the back of a small round spoon to make an indent in the center of each dough ball. Dip your thumb or spoon in flour as needed to prevent sticking.Note: Space the cookies about 2-3 inches apart on the baking sheet to give them enough room as they bake.
- Transfer the jam to a pastry bag or small zip-top bag. Cut a small opening in one corner and fill each indent with jam.Note: If you're using a zip-top bag, discard the cut corner immediately to prevent it from getting into the cookies.
- Bake at 350°F for 15-20 minutes, or until the edges start to turn golden brown.
- Add more jam to the centers after baking, if desired, since some of the jam may absorb into the cookies as they bake.
- Melt the white chocolate and drizzle it over the cooled cookies. Let it set before serving or storing.
Notes and Recipe Tips
- Whisk the jam well before filling the cookies to make it easier to pipe into the indents.
- Use real butter rather than margarine or butter substitutes.





I just made some for the first time and they’re so good, thank you for the recipe!
Just ate one and the others are cooling off, they wont last long here.
Hi Sheryl,
I am happy you enjoyed the recipe. Thanks for leaving a review.