
This post may contain affiliate links, read my disclosure policy for details.
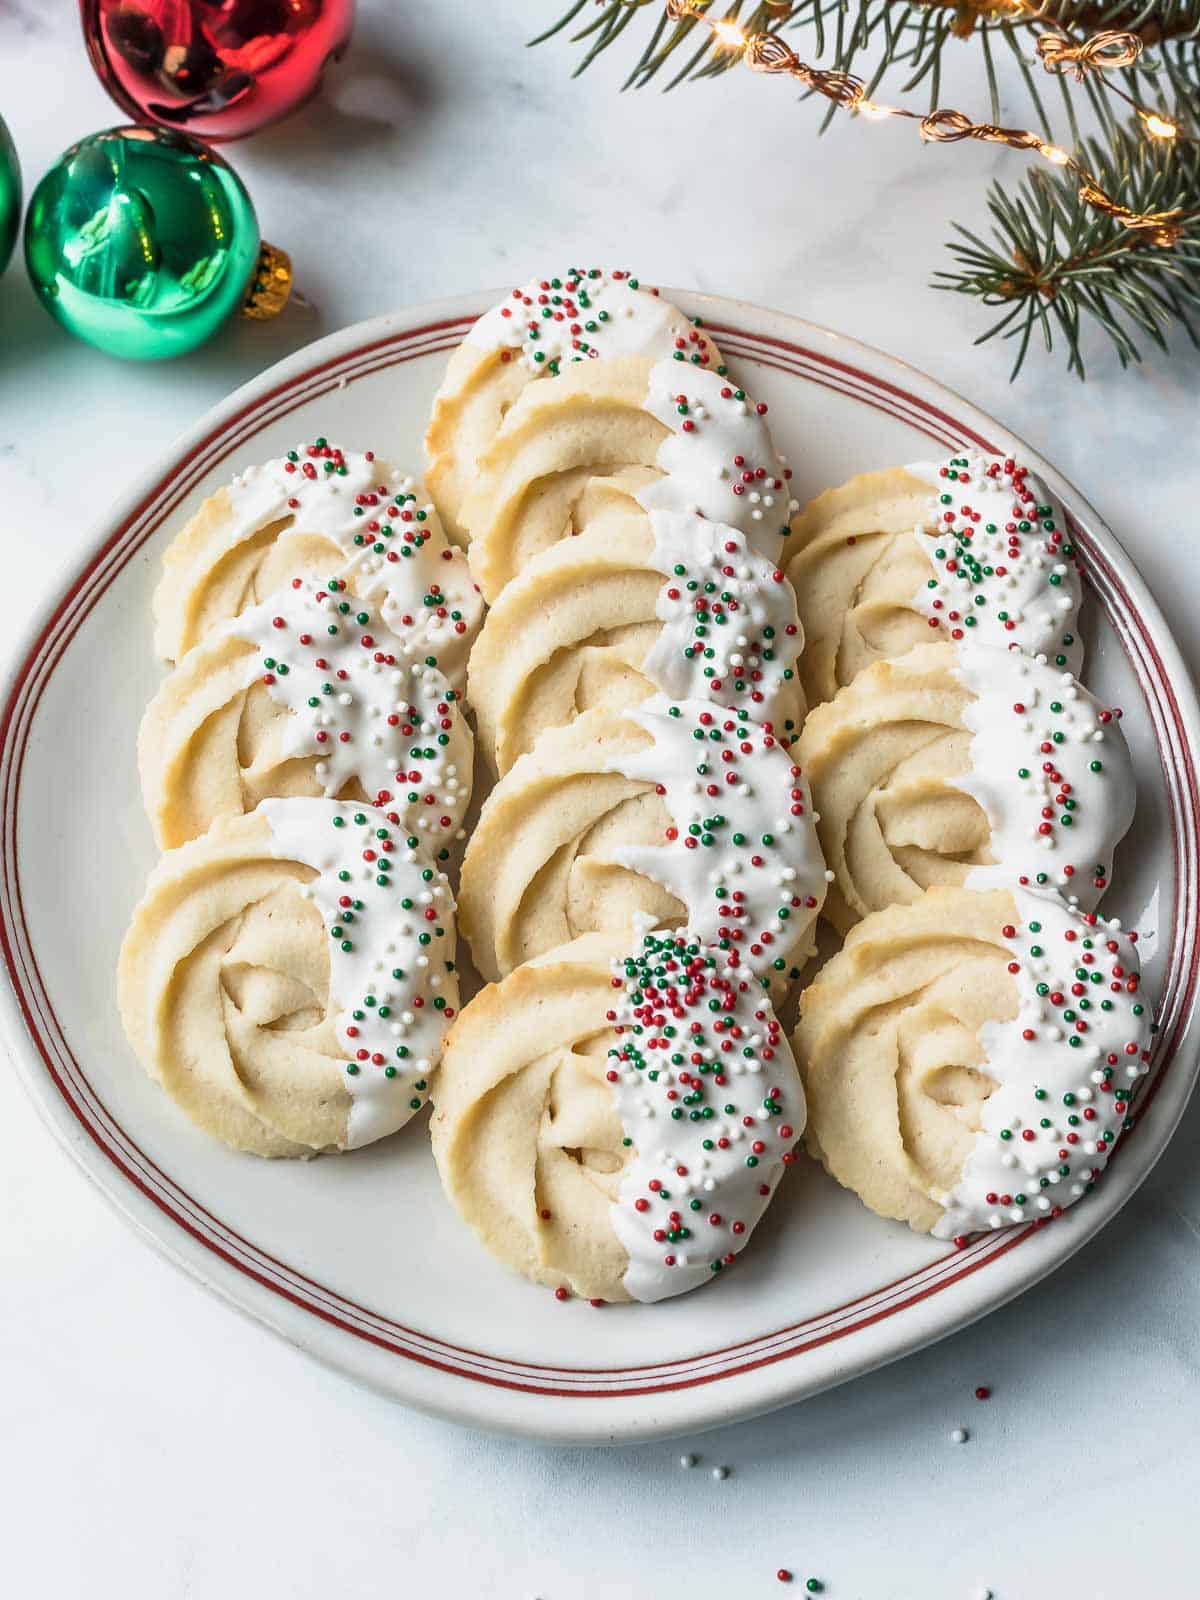
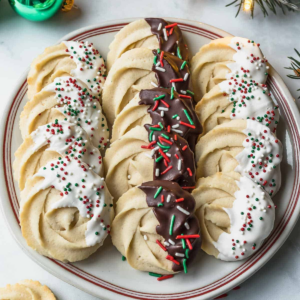
Buttery, crumbly, perfectly sweet and melt in the mouth – this Christmas version Danish Butter Cookies recipe has it all! Plus they’re dipped in chocolate and sprinkles. Made with simple staple ingredients, this is the perfect holiday cookies.
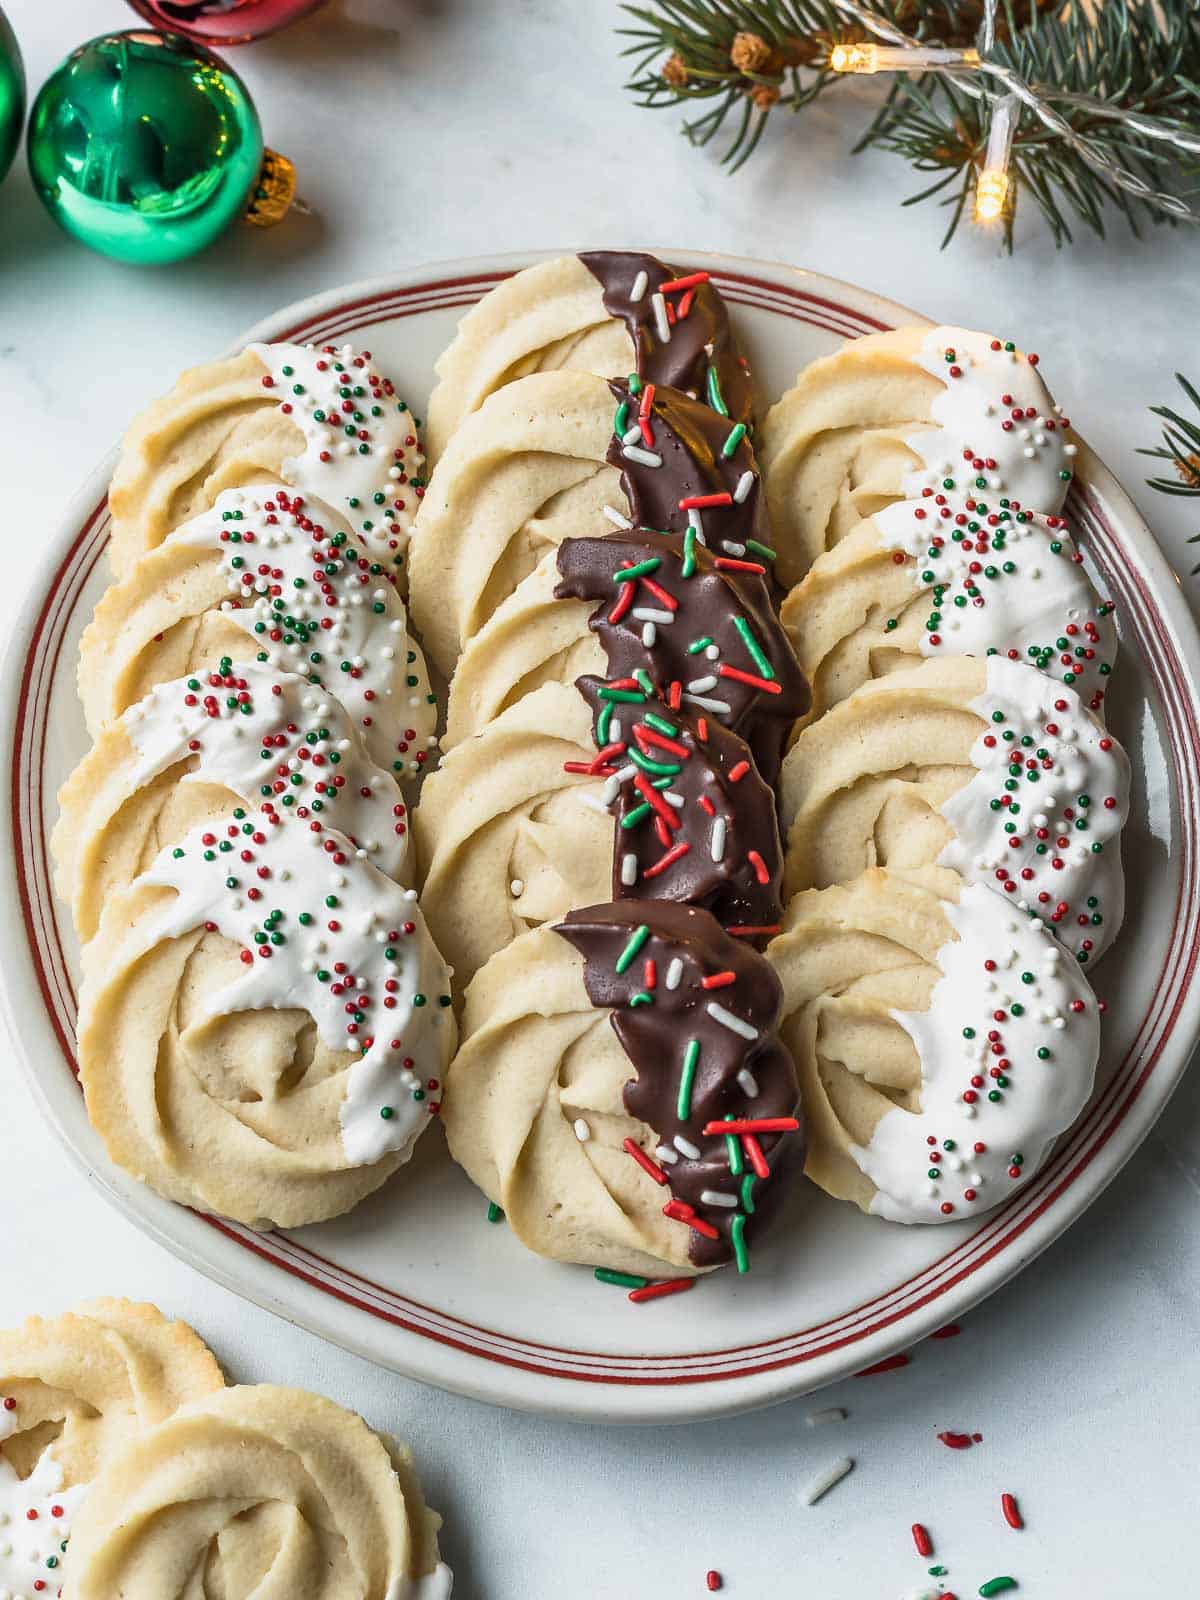
Who can forget the blue tin of addictive, buttery cookies that came out every winter as a child? This Danish Butter Cookies recipe serves up the most delightful homemade butter cookies, perfect for the festive season.
Looking for more cookie recipes? Why not also try my Raspberry Jam Thumbprint Cookies, Cranberry Orange Shortbread Cookies, Gingerbread Christmas Tree Cookies, and Apple Pie Cinnamon Oatmeal Cookies.
Jump to Section
- What are Danish Butter Cookies
- Why these Danish Biscuits are so good!
- Ingredients in Danish Cookies
- How to make Homemade Butter Cookies
- Tips to make the Best Danish Butter Cookies at home
- How to Dip Butter Cookies in Chocolate
- Frequently Asked Questions
- Variations for Homemade Danish Cookies
- Other Holiday Desserts to Try
- Traditional Danish Butter Cookies Recipe
What are Danish Butter Cookies
Danish Butter Cookies are popular cookies all around the world known as Blue Tin Cookies because they are usually stores in a blue tin container which are very common. Some also call them just Butter Cookies or Royal Butter Cookies. But they are all referring to the same buttery cookies in those popular blue tins. They are known to melt in your mouth as the most important ingredient in Danish Butter Cookies is butter. They are originated from a village in Denmark and mostly served during Christmas in North America.
Why these Danish Biscuits are so good!
- Buttery and melt in the mouth. These homemade butter cookies just melt away in every bite, crumbly and super satisfying.
- Dipped in chocolate! Danish Butter Cookies are great on their own. But dipped in melted white or milk chocolate? Next level!
- An easy holiday cookie recipe. Six ingredients, minimal prep, these scrumptious cookies go from pantry to table in 35 mins.
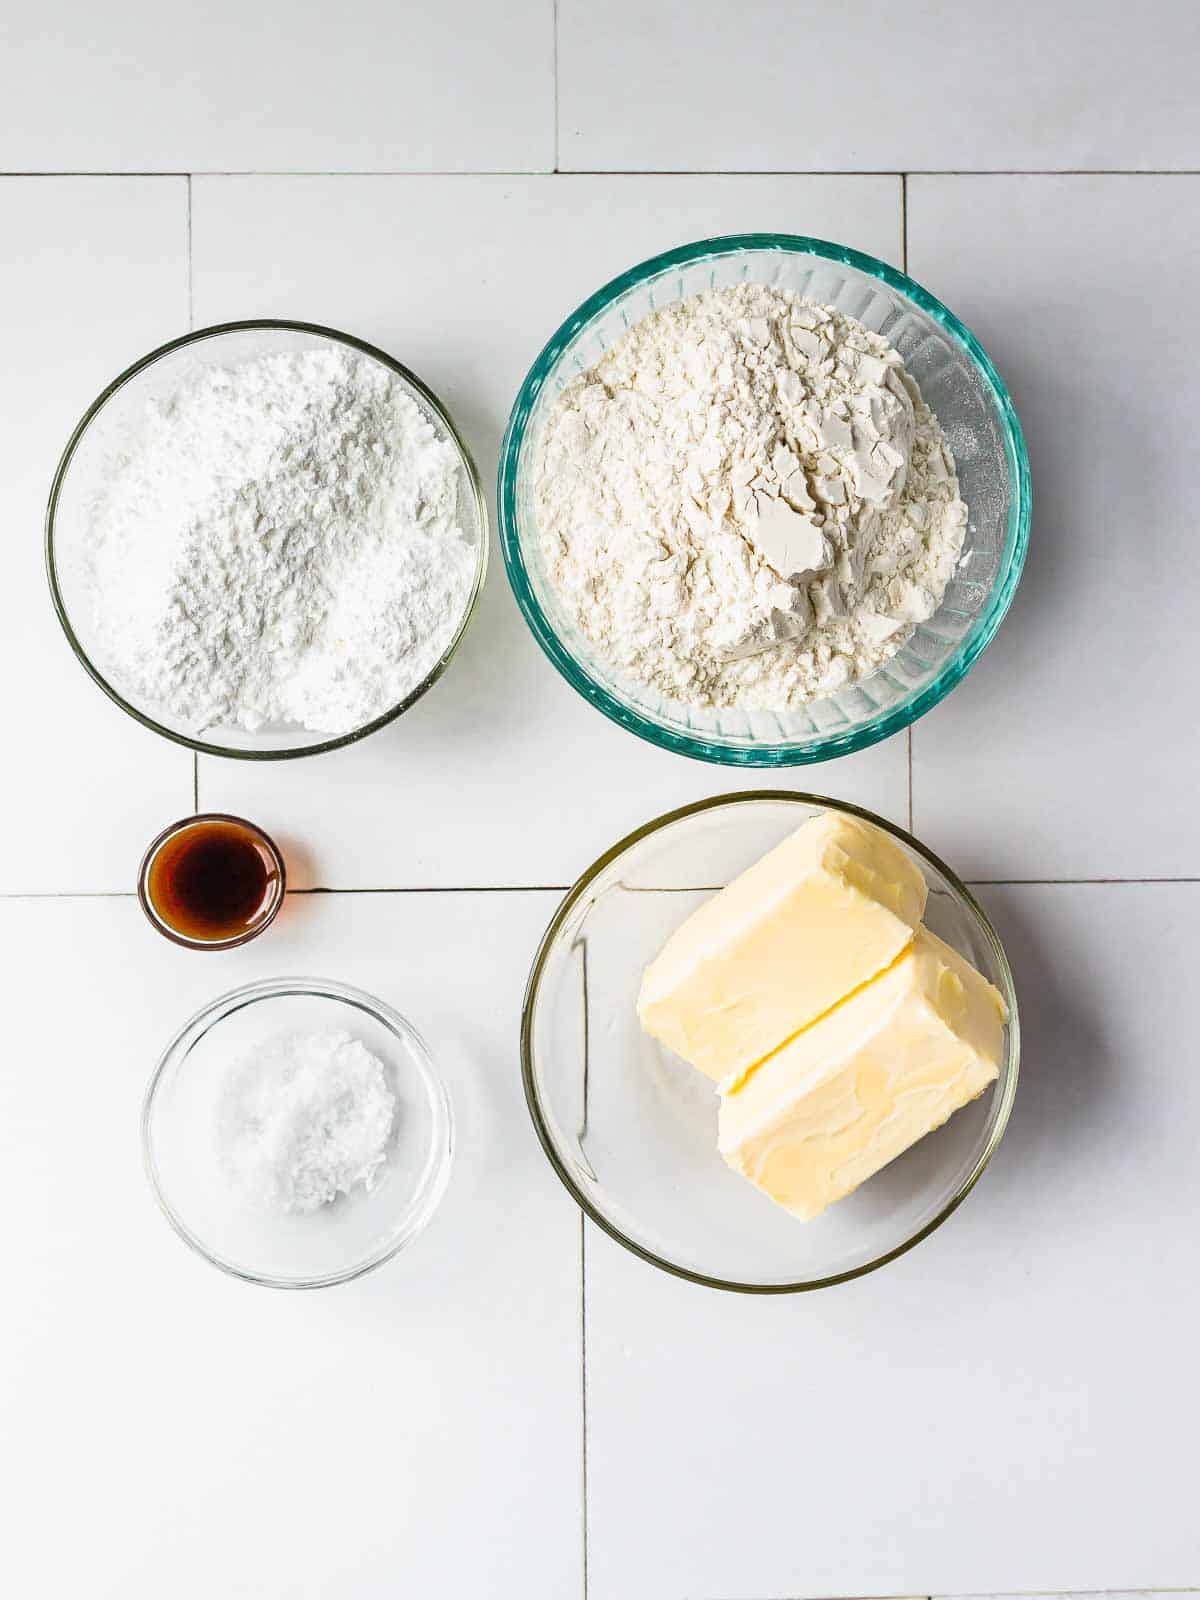
Ingredients in Danish Cookies
- Unsalted Butter– Make sure it’s at room temperature. Butter adds flavor and structure to the cookie.
- Confectioner Sugar-sift well to make sure you don’t have any clumps.
- Vanilla Extract– adds flavor to the cookies. You can also add a few drops of almond extract if you have some.
- Milk– whole fat preferred, used to thin out the cookies just a little bit.
- All Purpose Flour– sift well before use. Holds up the best for these cookies.
- Salt– to balance out the flavor.
- Chocolate and Sprinkles (optional)- you can use white or dark chocolate for these recipes and use any kind of sprinkles you like, depending on what time of the year you make them.
How to make Homemade Butter Cookies
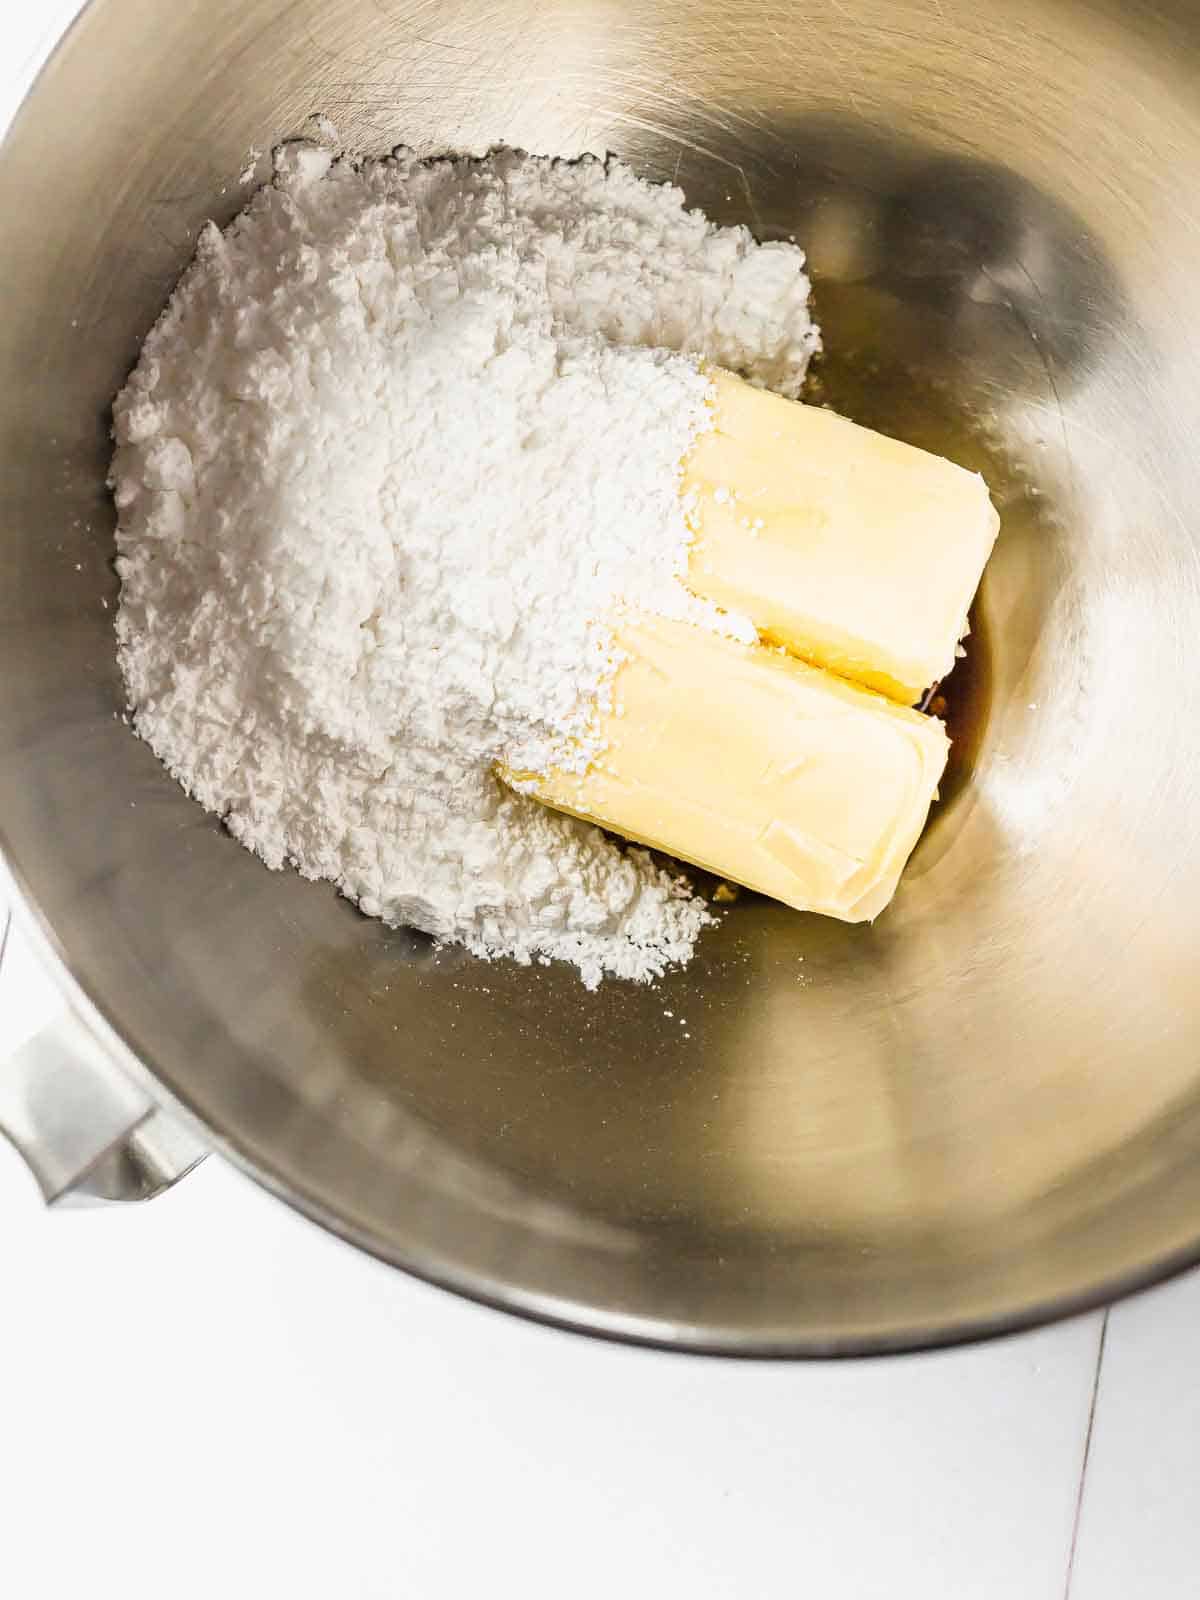
- Make your cookie dough: Whisk together salt and flour in a bowl, set aside. Using an electric mixer, mix the rest of the ingredients and, blending in milk and the flour mixture.
- Pipe the cookies: Using a pastry bag and attachment, pipe the dough onto a cookie baking sheet.
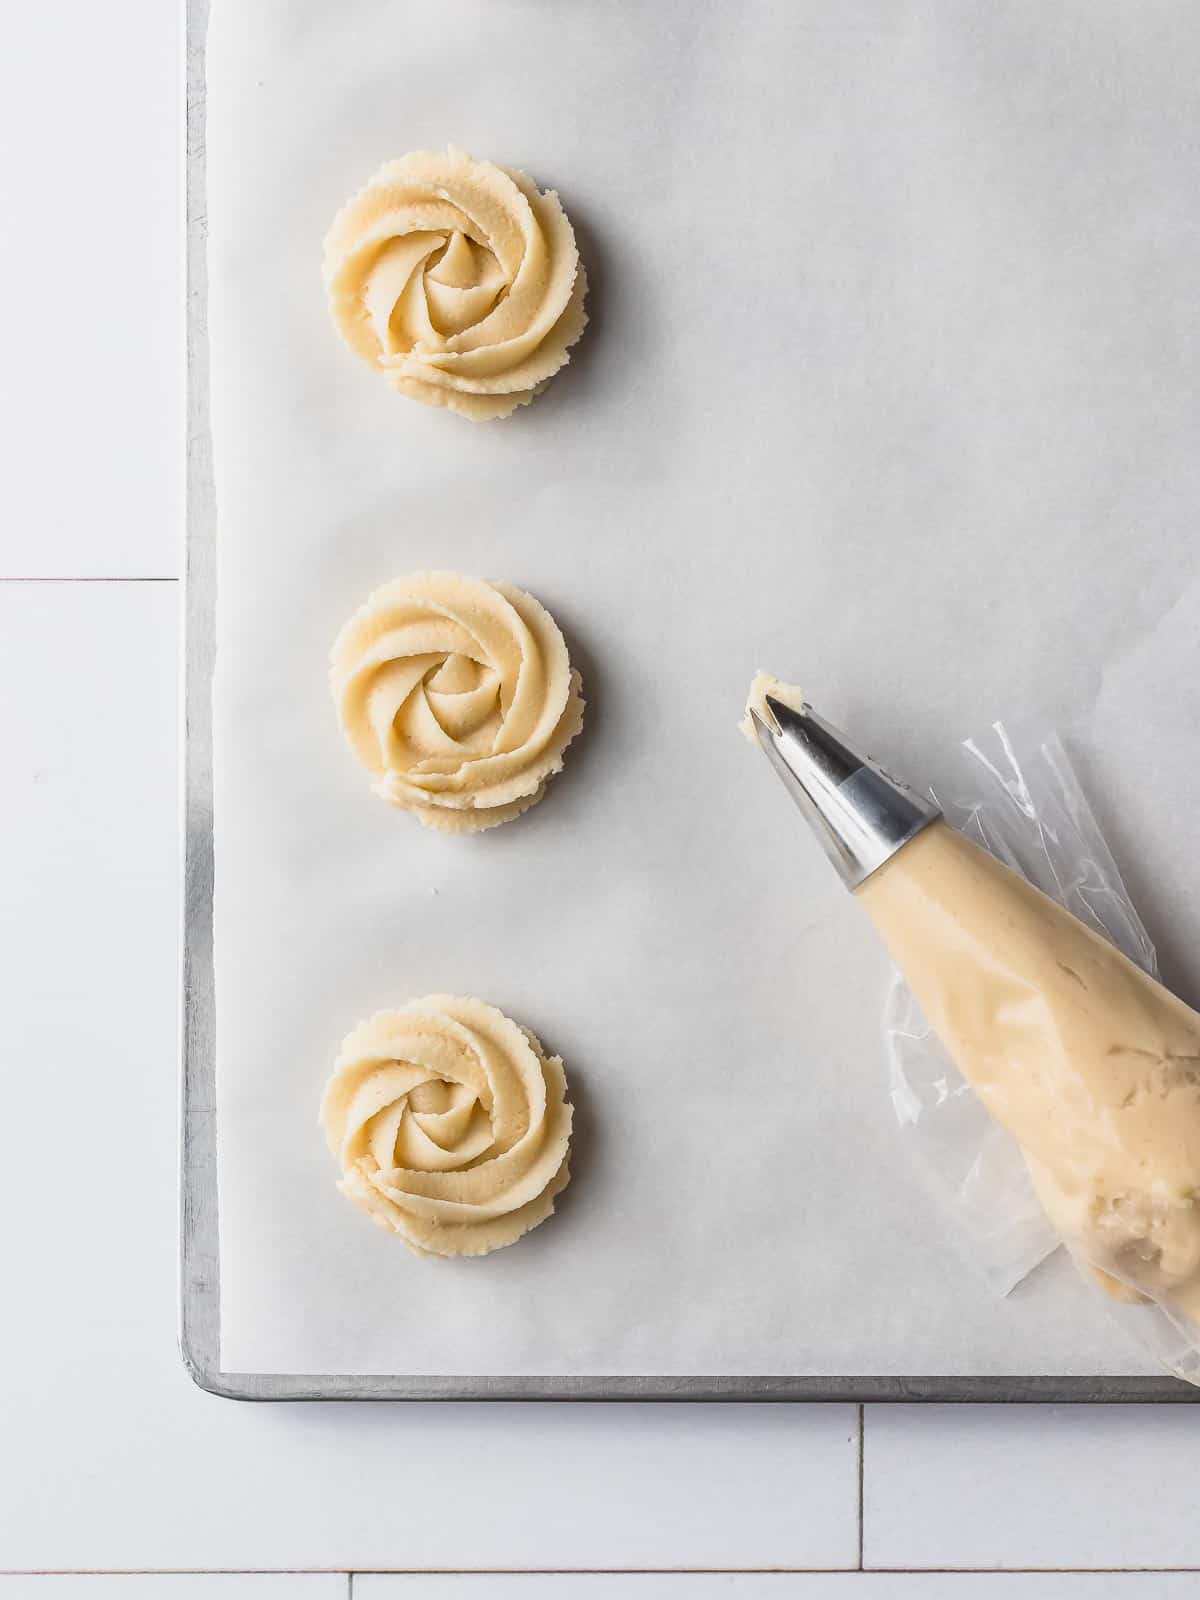
- If you have time, refrigerate the piped dough 30 minutes before baking to prevent the dough from spreading while baking and ensure that the cookies keep their beautiful piped shape.
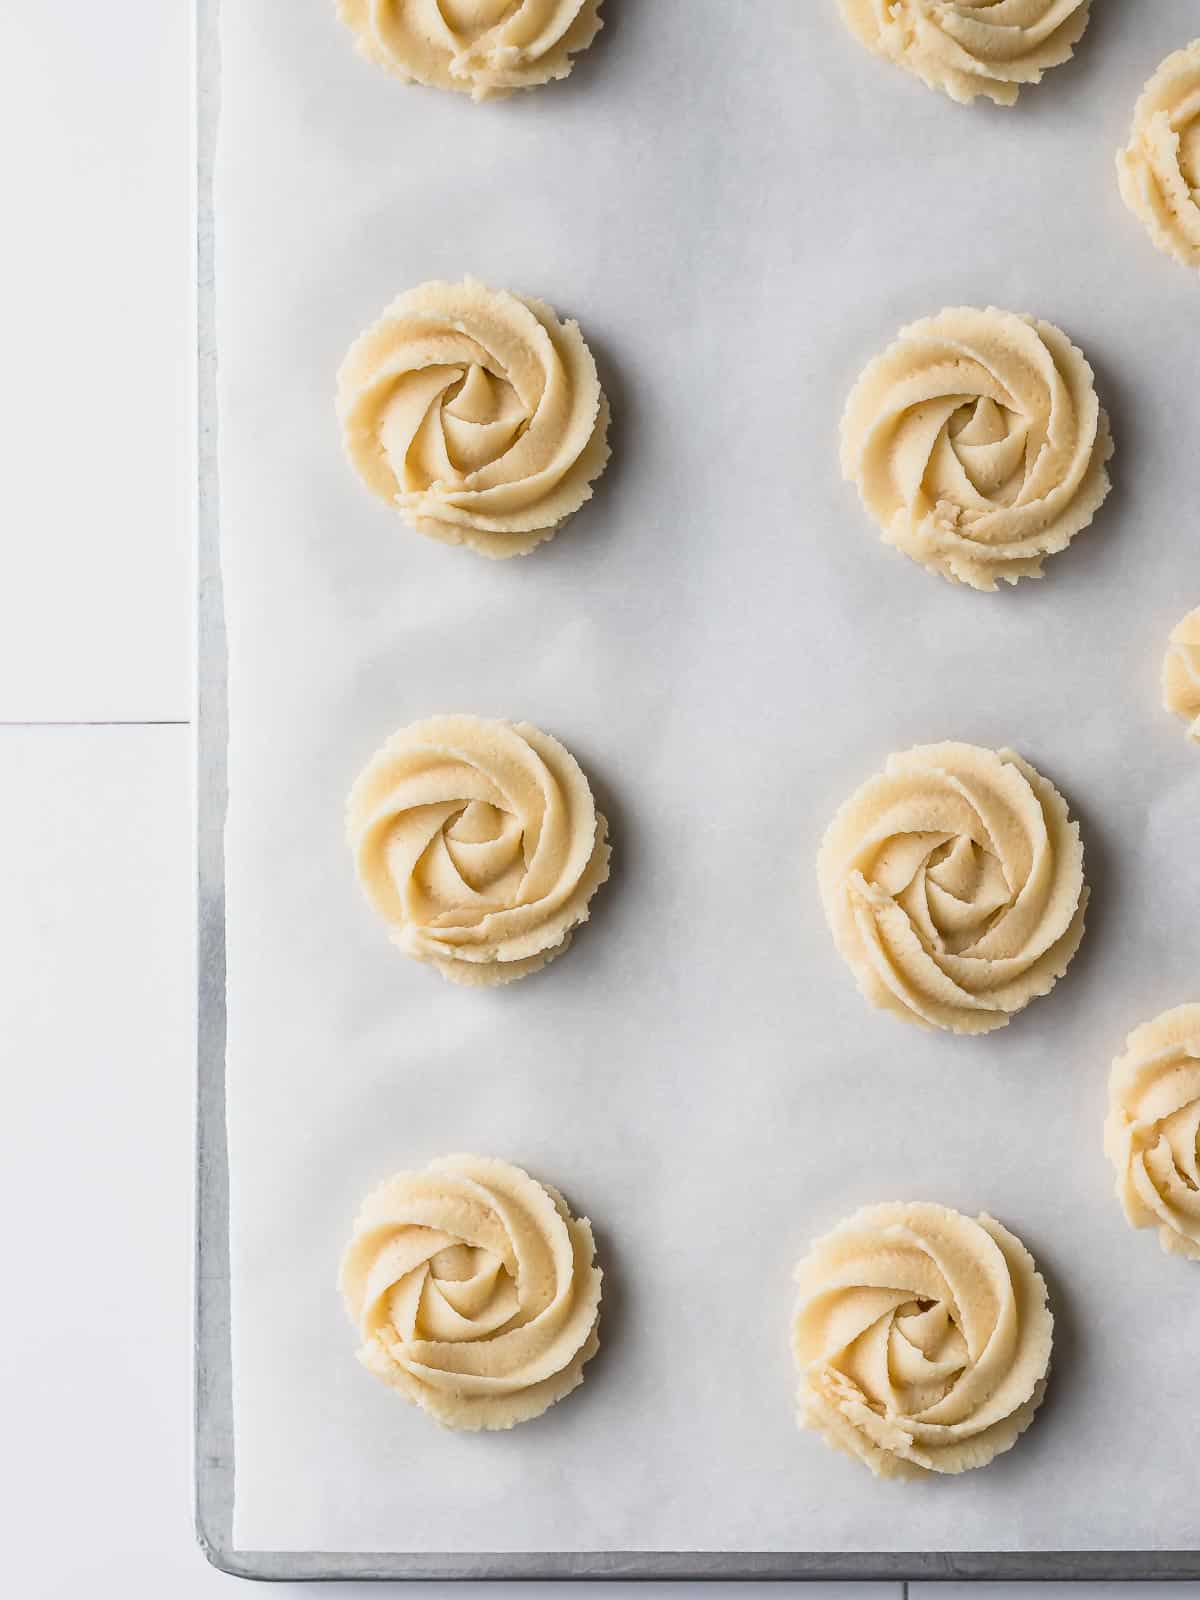
- Cook: Bake for 13-15 mins or until slightly brown peaks start on the crust.
- Dip: If you like you can dip the cookies into some melted chocolate
- Allow to cool, serve and enjoy!
Tips to make the Best Danish Butter Cookies at home
- Use a preheated oven.
- I highly recommend refrigerating the piped dough for about 30 minutes before baking if you can to prevent the dough from spreading while baking and ensure that the cookies keep their beautiful piped shape.
- Make sure you ingredients are up to room temperature.
- In order to get that amazing swirl look, the dough has to be piped. Use a 1M tip.
- When piping, start with a little bit of dough so you can determine if it’s creamy enough to pipe.
- Use a cookie baking sheet lined with parchment, for easy removal and cleanup.
- When the butter cookies are slightly brown on the side, they are done.
- You can use white, milk or dark chocolate for dipping.
- Allow to cool slightly before serving.
How to Dip Butter Cookies in Chocolate
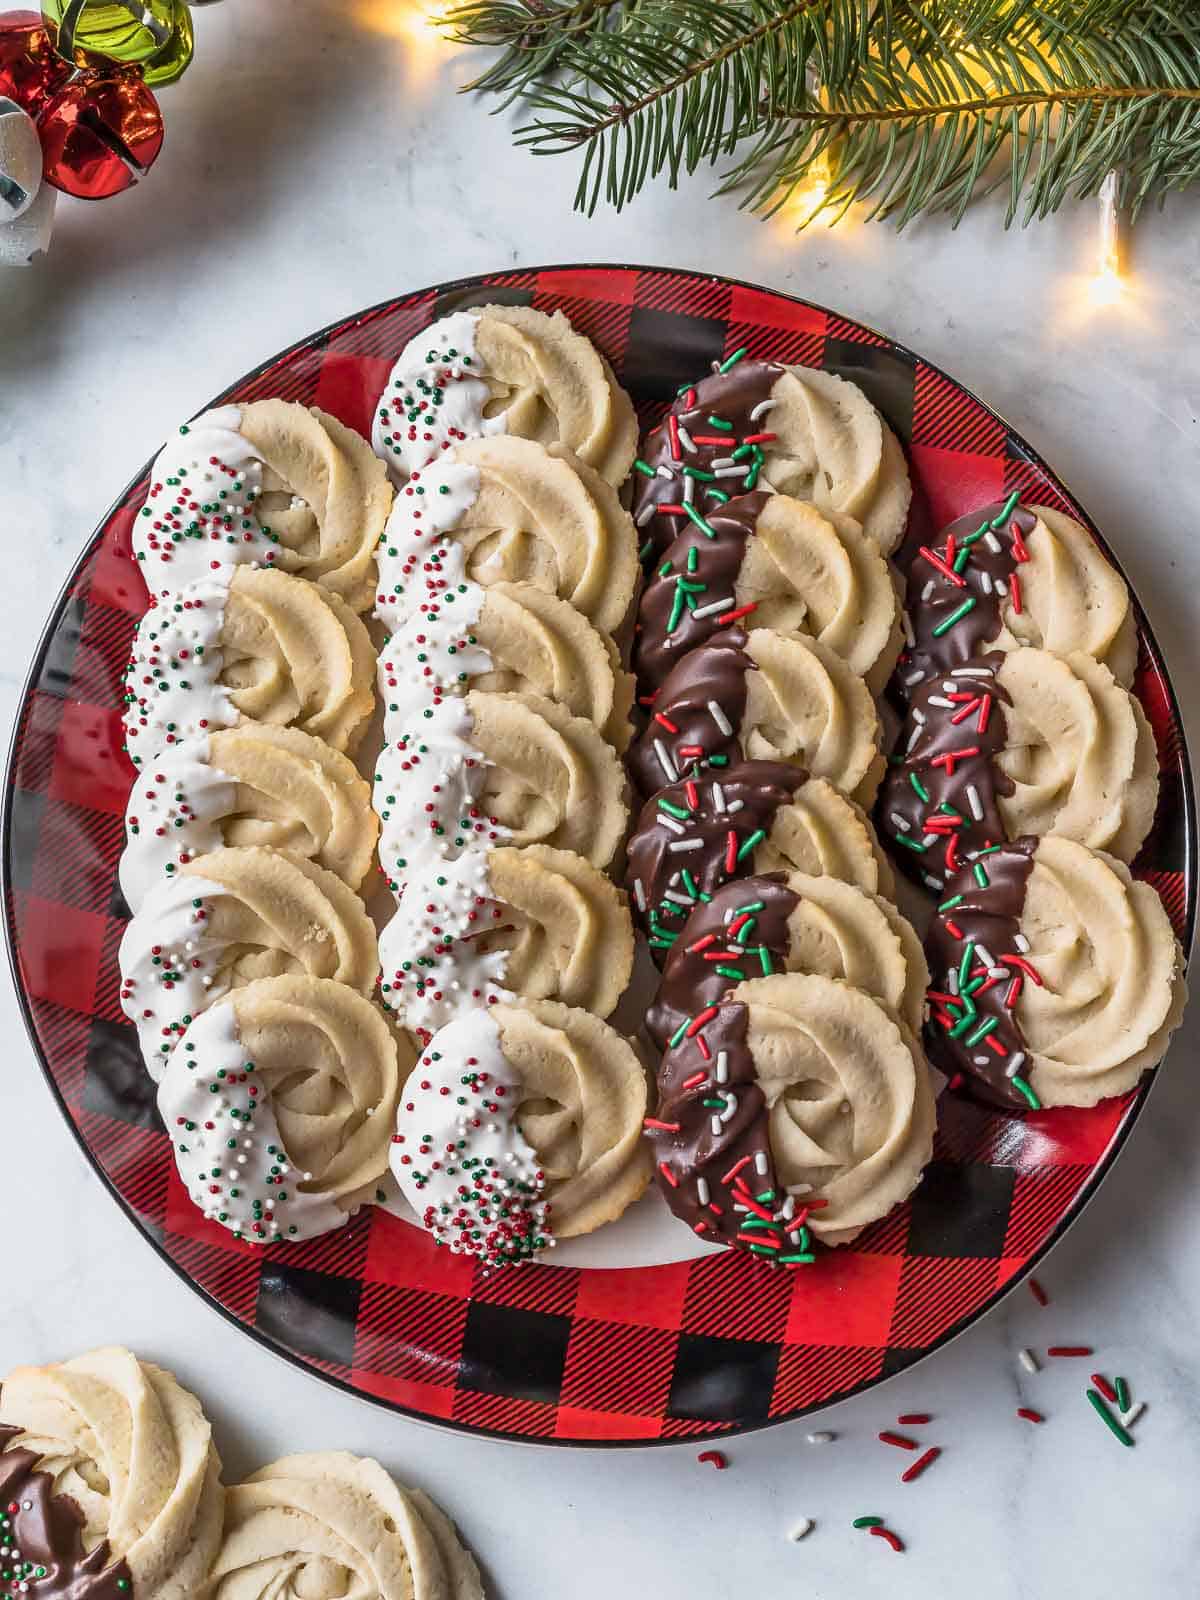
These Danish Butter Cookies are great on their own, but why not dip them in chocolate for an extra festive treat!
- Melt some chocolate in a microwave oven by 30 seconds increments. Mix after each time. If your melted chocolate seems too thick you can add a little bit of vegetable oil to it.
- Dip cooled cookie into the melted chocolate and sprinkle with some holiday sprinkles right away.
- Place chocolate dipped cookies onto the parchment paper and transfer to the refrigerator for 10-15 minutes.
- Once the chocolate has set take the cookies out of the fridge and let come to room temperature.
Frequently Asked Questions
The cookies can be stored in an airtight container at room temperature for up to 1 week, or frozen for up to 3 months.
Butter cookies are very similar to shortbread, with the main variation being an increase in sugar. Also the texture also differs as shortbread cookie dough is a bit more firm and can be cut out while butter cookies cannot.
Yes, the piped or shaped dough can be frozen overnight or up to 1 month before baking. Simply freeze them on a sheet pan over parchment paper first, and then transfer to store them in an air tight container after frozen. When ready to bake, thaw them on a sheet pan again over parchment paper, leaving space between the cookies and bake as directed.
You can bake a batch, cool them and freeze them in an air tight container for up to 3 months. You can also freeze it uncooked. See the question above for freezing tips.
Variations for Homemade Danish Cookies
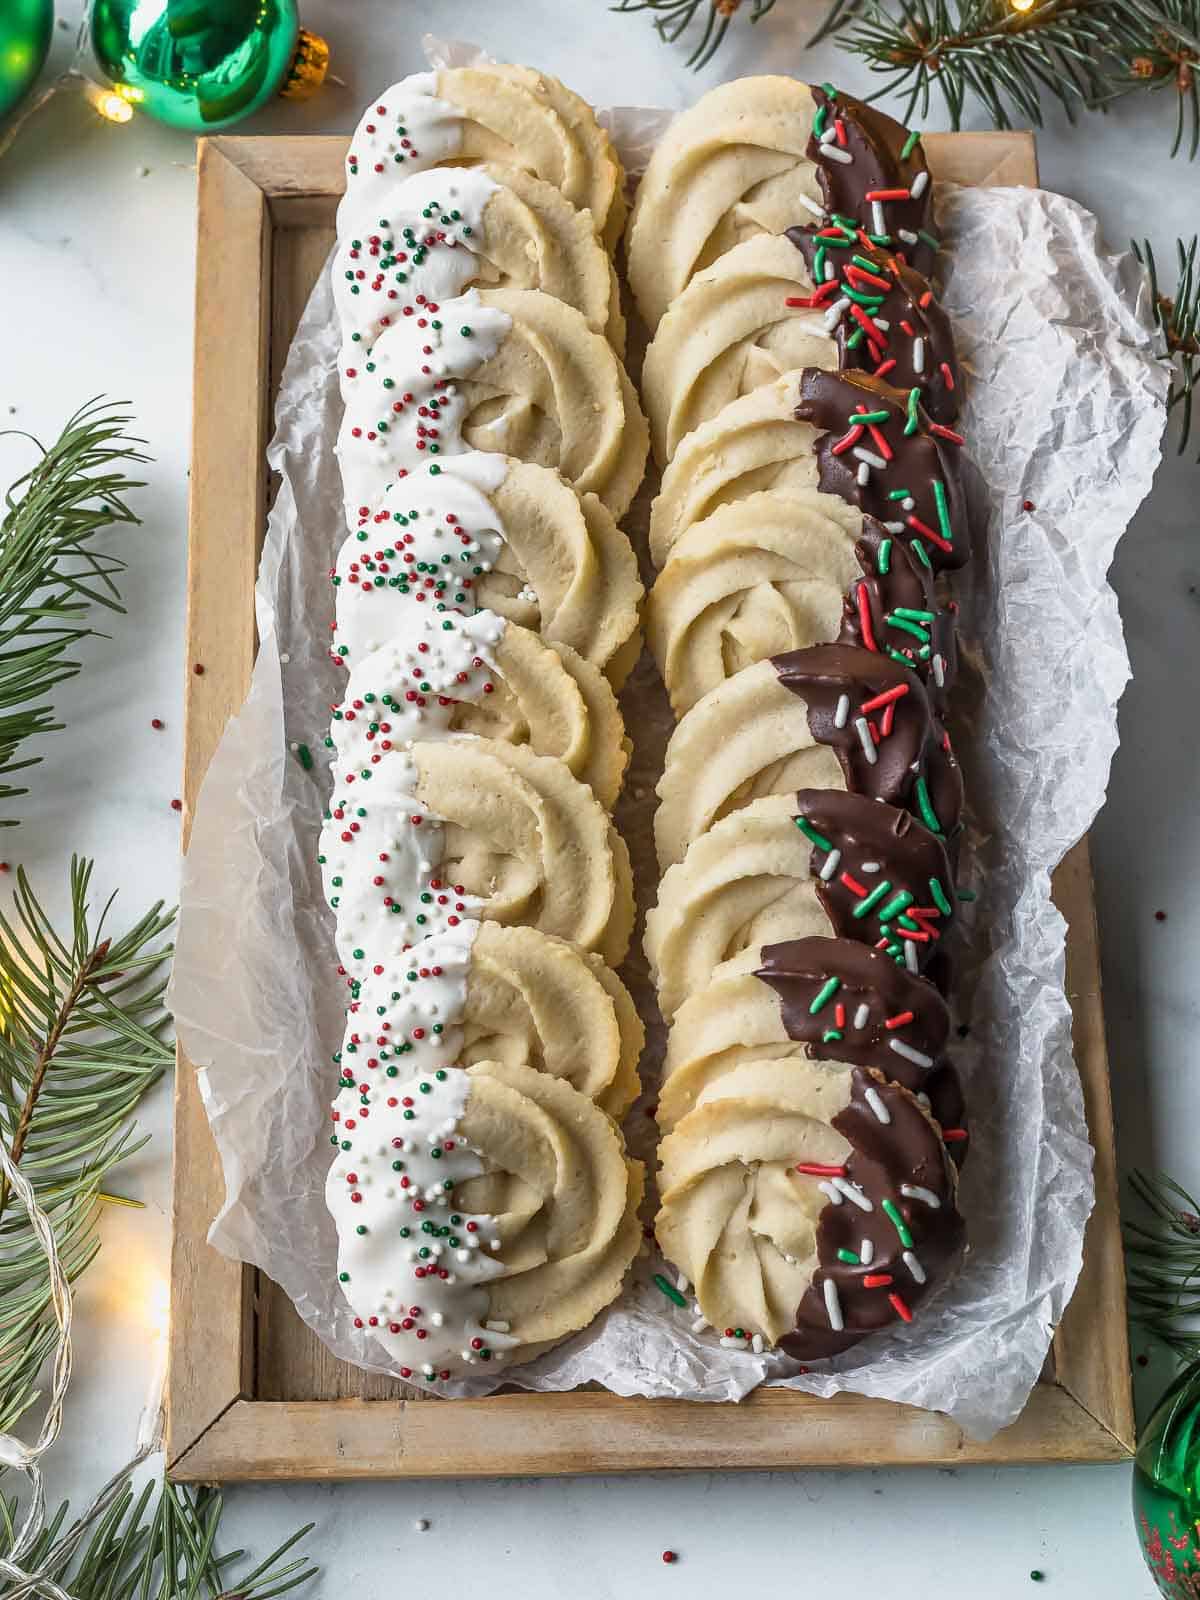
- As mentioned you can dip these beauties in different kinds of chocolate. For a more festive presentations, dip the chocolate side of the cookies into sprinkles or balls.
- You could also but a maraschino cherry on top of them for a pop of color.
- Or keep tings simple and sprinkle on some coarse sea salt, coconut flakes, or nuts after dipping into chocolate.
Other Holiday Desserts to Try
I hope you enjoy all the recipes I share with you, including this Danish Butter Cookies recipe. I hope you try it, enjoy it, rate it and share it with your friends and family!
If you try this recipe and like it, please use my hashtag to share it with me on INSTAGRAM for a chance to be featured in my story! Also, follow me at Cookin’ With Mima on FACEBOOK | INSTAGRAM | PINTEREST for all of my latest social posts and recipes.
Danish Butter Cookies
Ingredients
- 1 cup unsalted butter, softened to room temperature
- 1 cup confectioners’ sugar
- 2 teaspoons pure vanilla extract
- 2 tablespoons milk
- 2 cups all-purpose flour
- ½ teaspoon salt
- chocolate, for dipping
- sprinkles, optional
Instructions
For the Cookies
- Preheat the oven to 350°F.
- In a medium bowl, whisk together the salt and all-purpose flour. Set aside.
- In the bowl of an electric stand mixer, add the butter, confectioners’ sugar, and vanilla for the cookie dough. Using the paddle attachment, beat on medium-high speed for 3-5 minutes, until light and fluffy.
- Add the milk to the cookie dough mixture and mix until incorporated.
- Add the flour mixture to the cookie dough in 2-3 additions, mixing thoroughly after each addition.Note: The cookie dough will clump together once fully mixed, which is normal and means it’s ready to transfer to the pastry bag.
- Transfer the cookie dough to a sturdy pastry bag fitted with a Wilton 1M attachment.
- Pipe the cookie dough into rosettes onto a cookie baking sheet lined with parchment paper.
- Bake the cookies for 13-15 minutes, or until lightly golden on the sides.
- Let the cookies cool completely.
For the Chocolate Coating
- Melt the chocolate in the microwave in 30-second increments. Stir after each interval. If the chocolate seems too thick, add a small amount of vegetable oil.
- Dip the cooled cookies into the melted chocolate and immediately top with holiday sprinkles.
- Place the chocolate-dipped cookies on parchment paper and transfer them to the refrigerator for 10-15 minutes.
- Once the chocolate has set, remove the cookies from the refrigerator and let them come to room temperature.
- Store the cookies in an airtight container for up to a week.
Notes and Recipe Tips
- If the melted chocolate is too thick for an even coating, add a small amount of vegetable oil to help thin it out.
- Let the chocolate set completely before you store the cookies to keep the coating neat and prevent the cookies from sticking together.
- Chocolate and sprinkles are optional. You can leave the cookies plain or decorate them to match any holiday or occasion.
- Store the cookies in an airtight container at room temperature for up to 1 week. Keep the container in a cool, dry place to help maintain their texture.





You mention to start with a little bit of dough to see if it’s creamy enough to pipe. What do you recommend if it’s not creamy enough?
So easy and delicious! Will be making again and forever forget about the blue tin!
Glad you enjoyed it! Thanks Sheri for the review!